Arduino cloud editor
If you and your group have any questions or get stuck as you work through this in-class exercise, please ask the instructor for assistance. Have fun!
To use the IDE for Arduino development, you could use the desktop versions supporting Windows, Linux and Mac, please go to the Arduino website and download the “Arduino IDE” for either Windows or Mac, and then install the software on your computer. The other option is to use the cloud editor based on browser which would be even simpler.
-
Using the provided USB cable plug your Arduino into your computer.
-
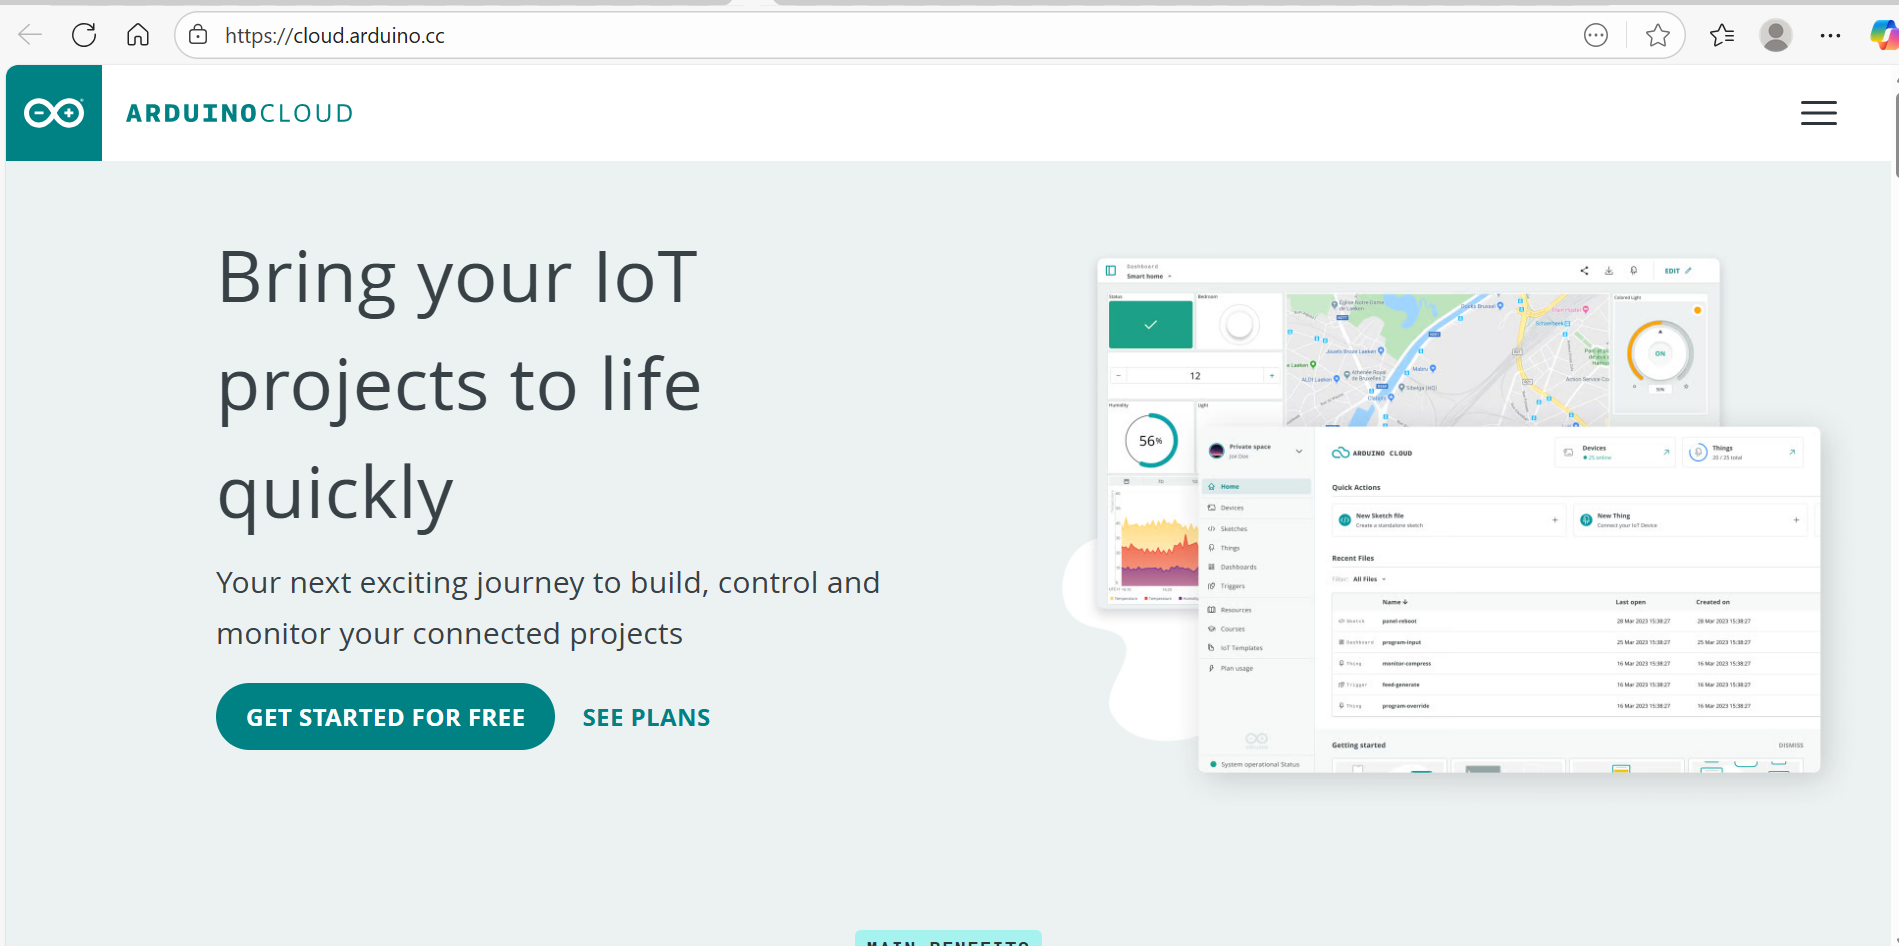
Visit the ulr: https://cloud.arduino.cc/ with your browser:
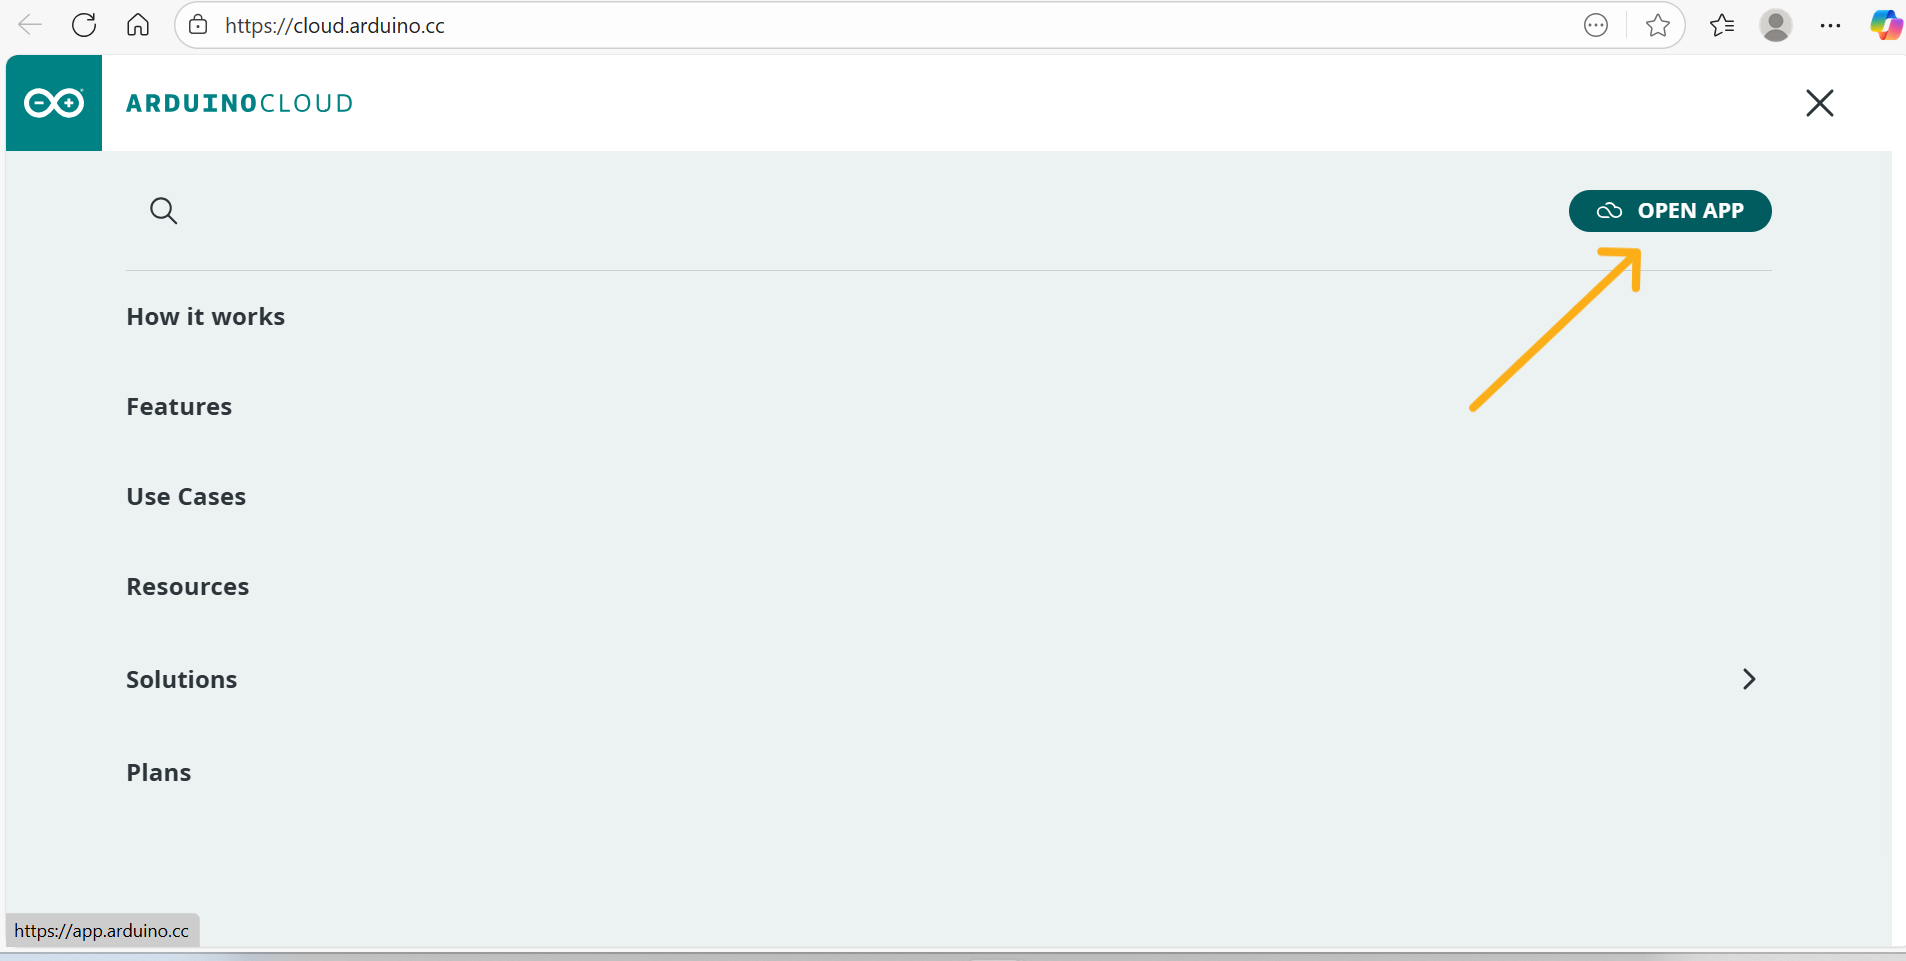
- Click the menu icon on the top right corner of the page and enter into the app:
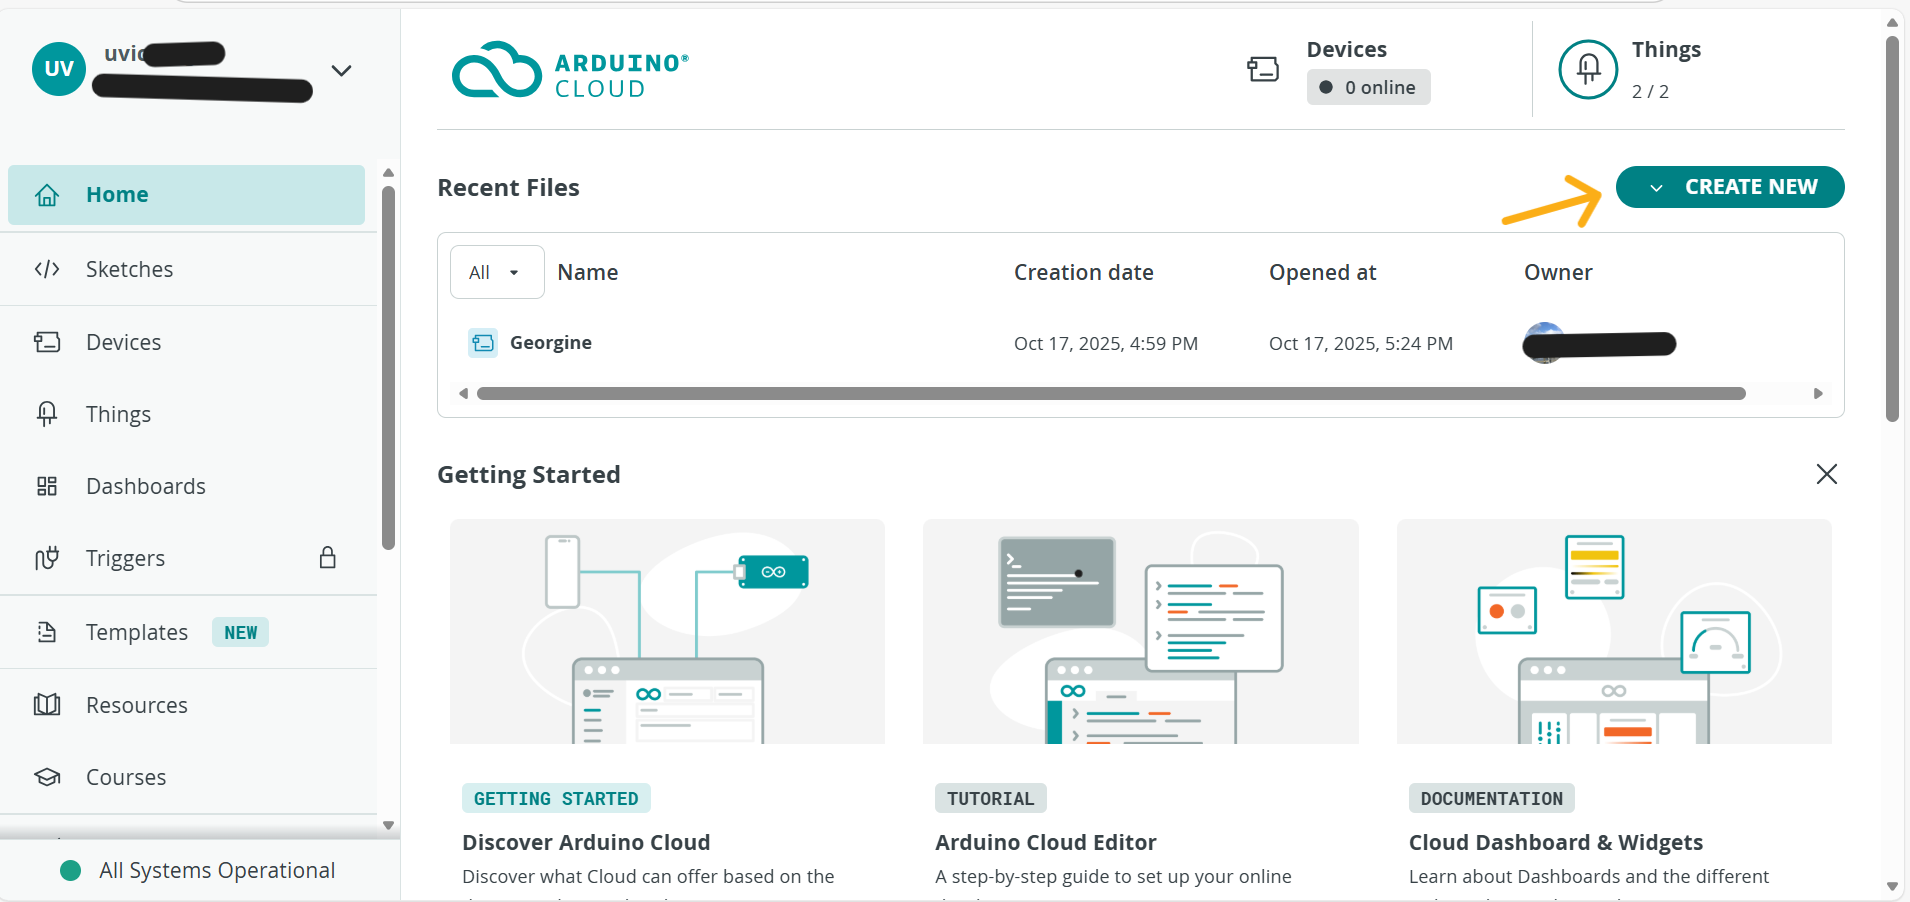
- After installing the Arduino Cloud Agent plugin and create an account or use third-party account like github, you will enter into the profile page of your account
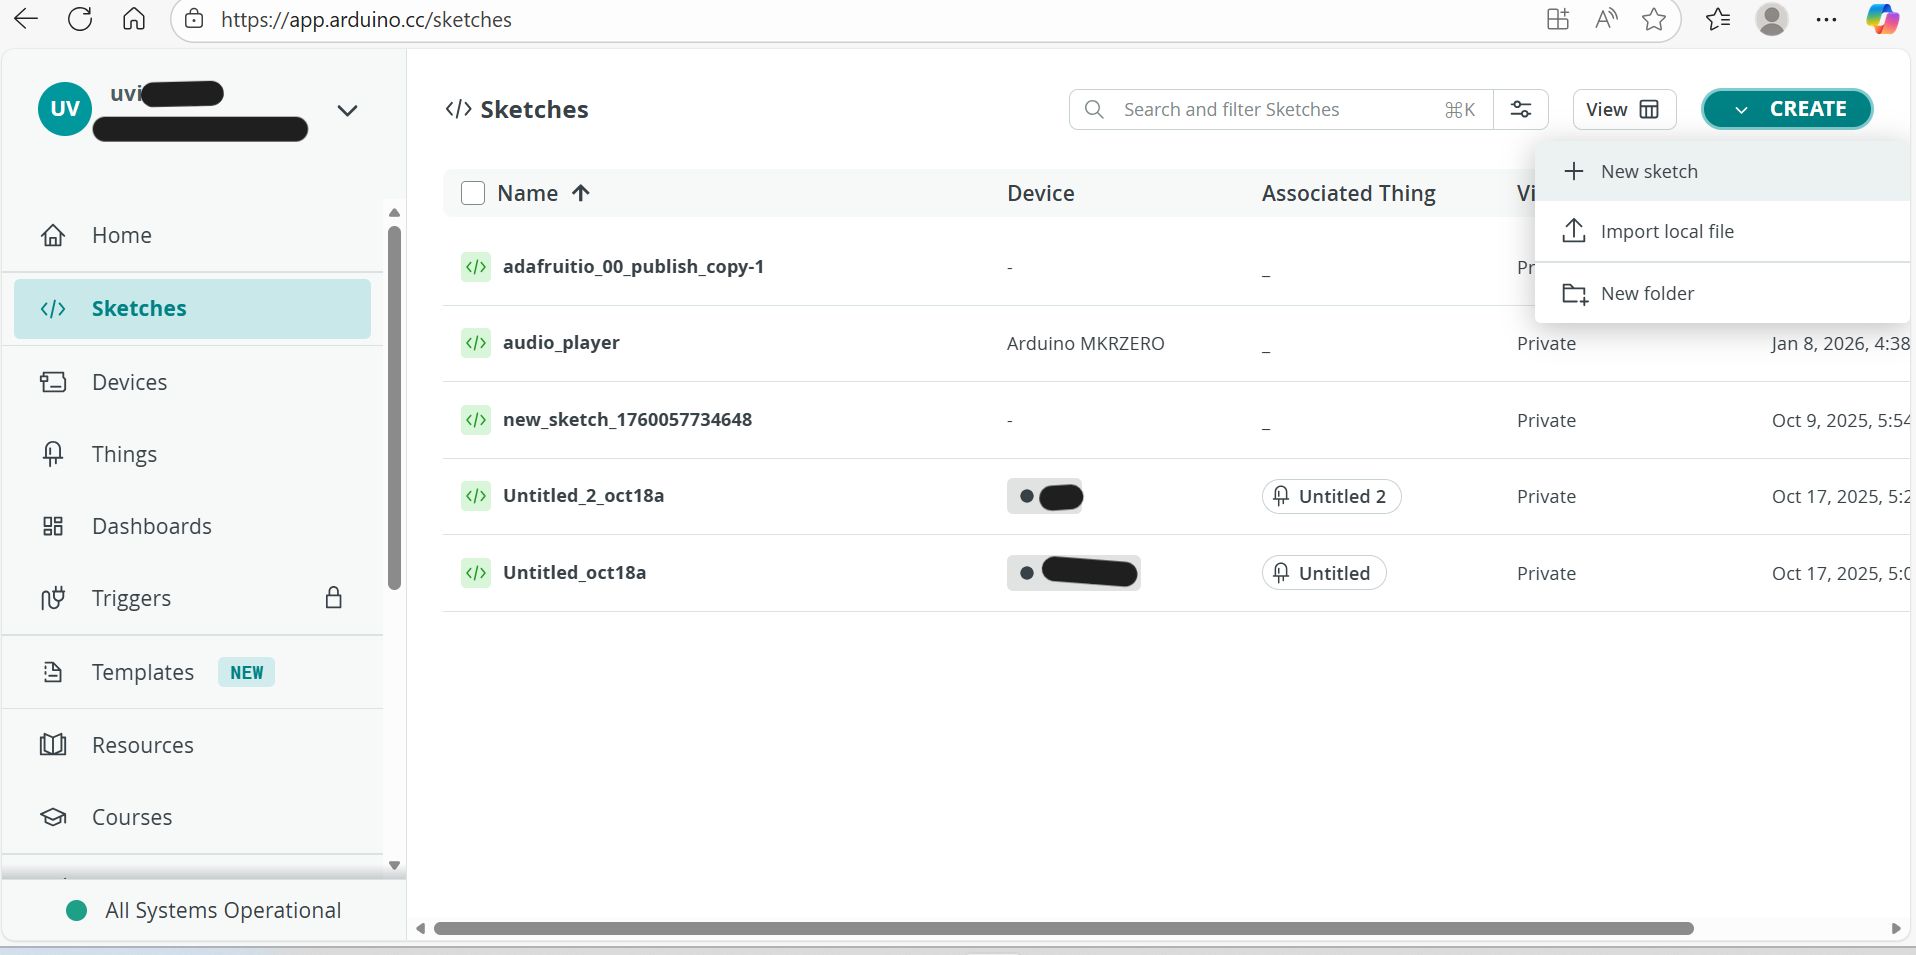
- Create a new sketch:
- Edit the codes in the sketch:
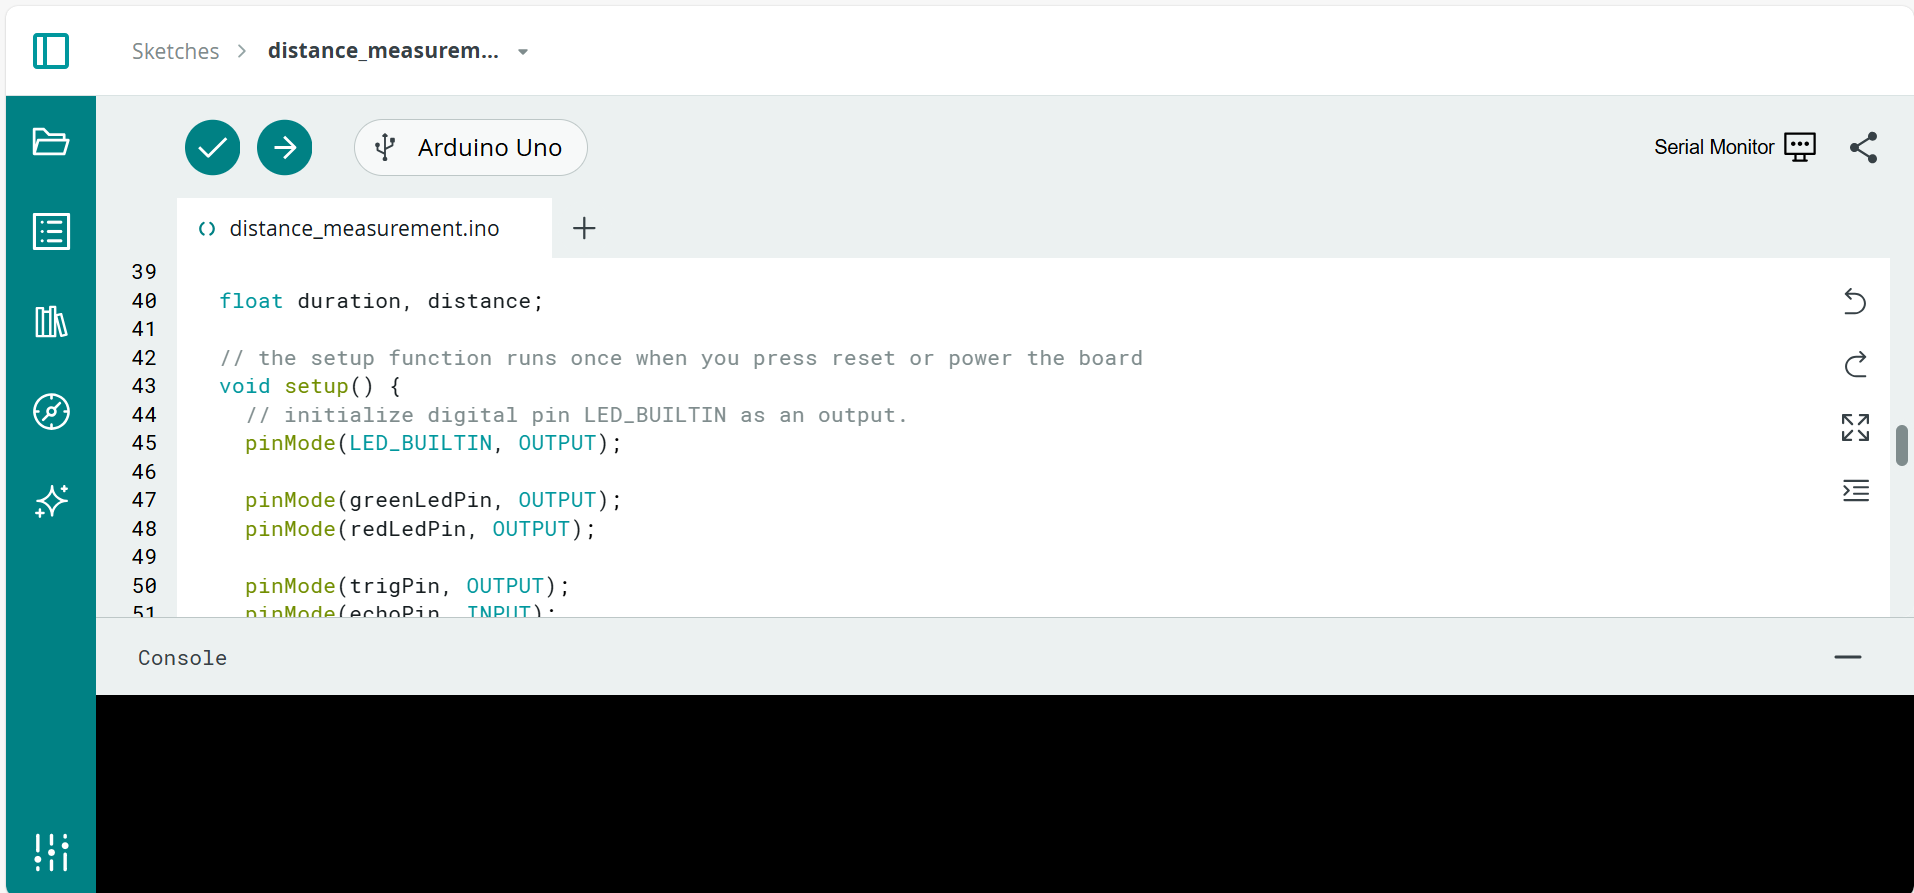
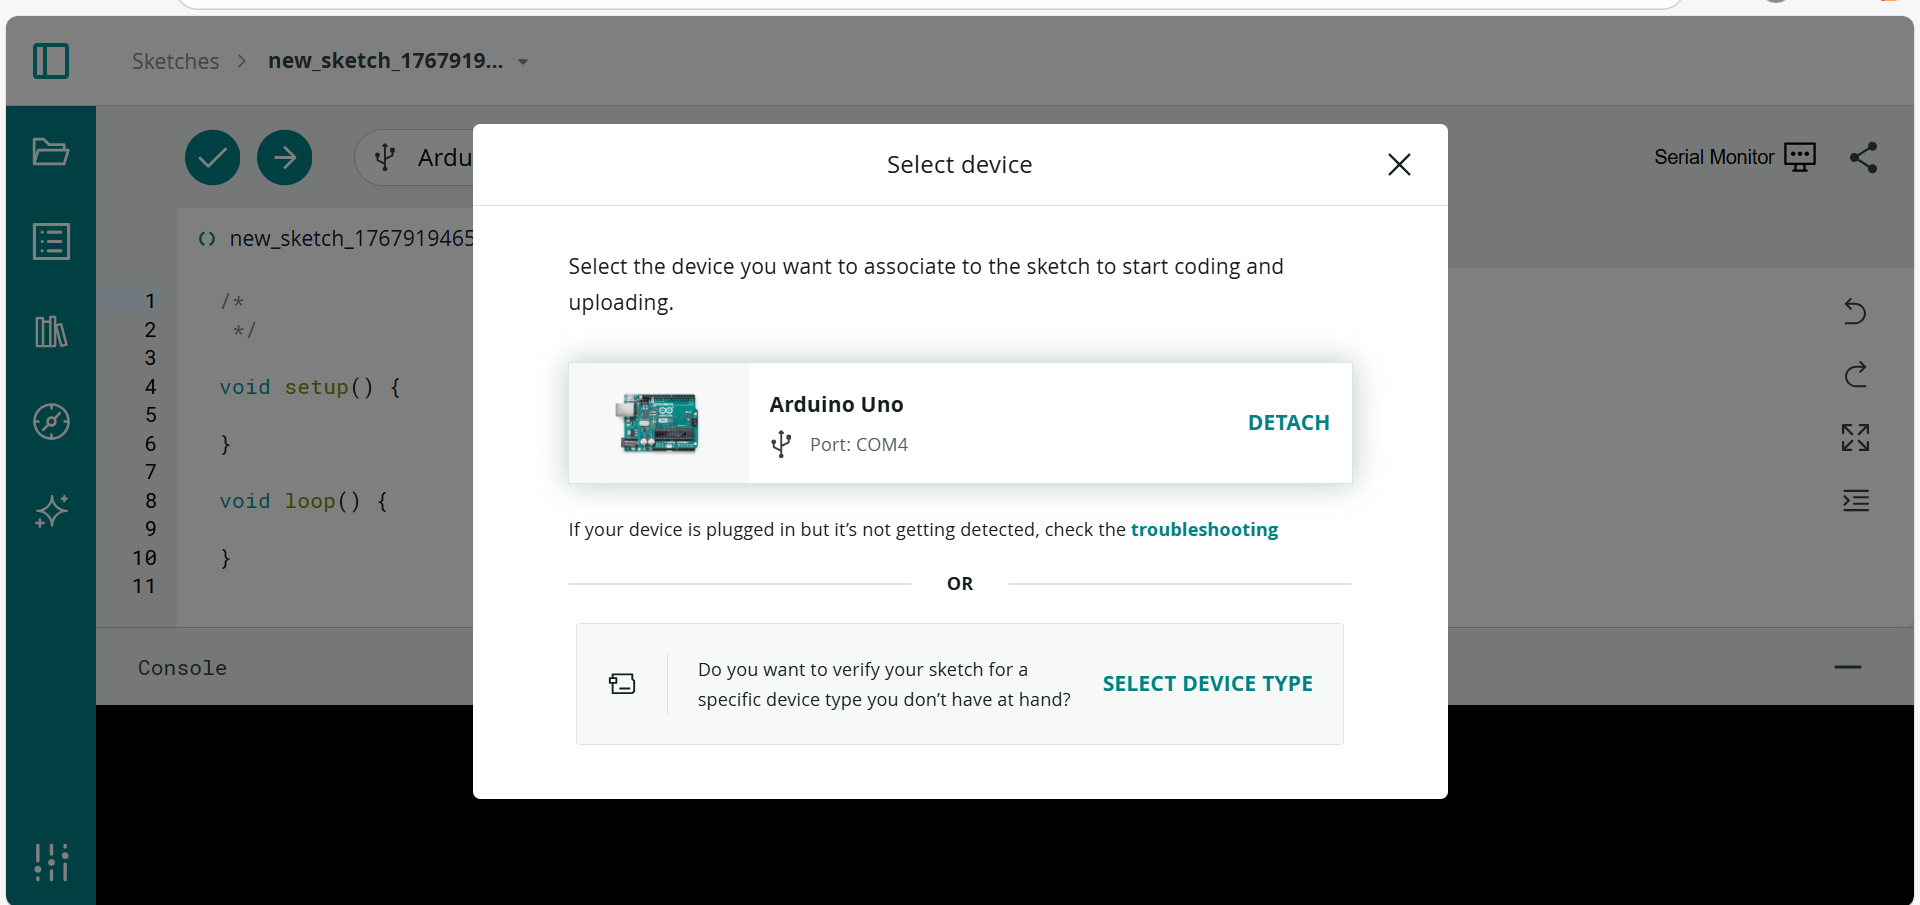
- Select the device and ports:
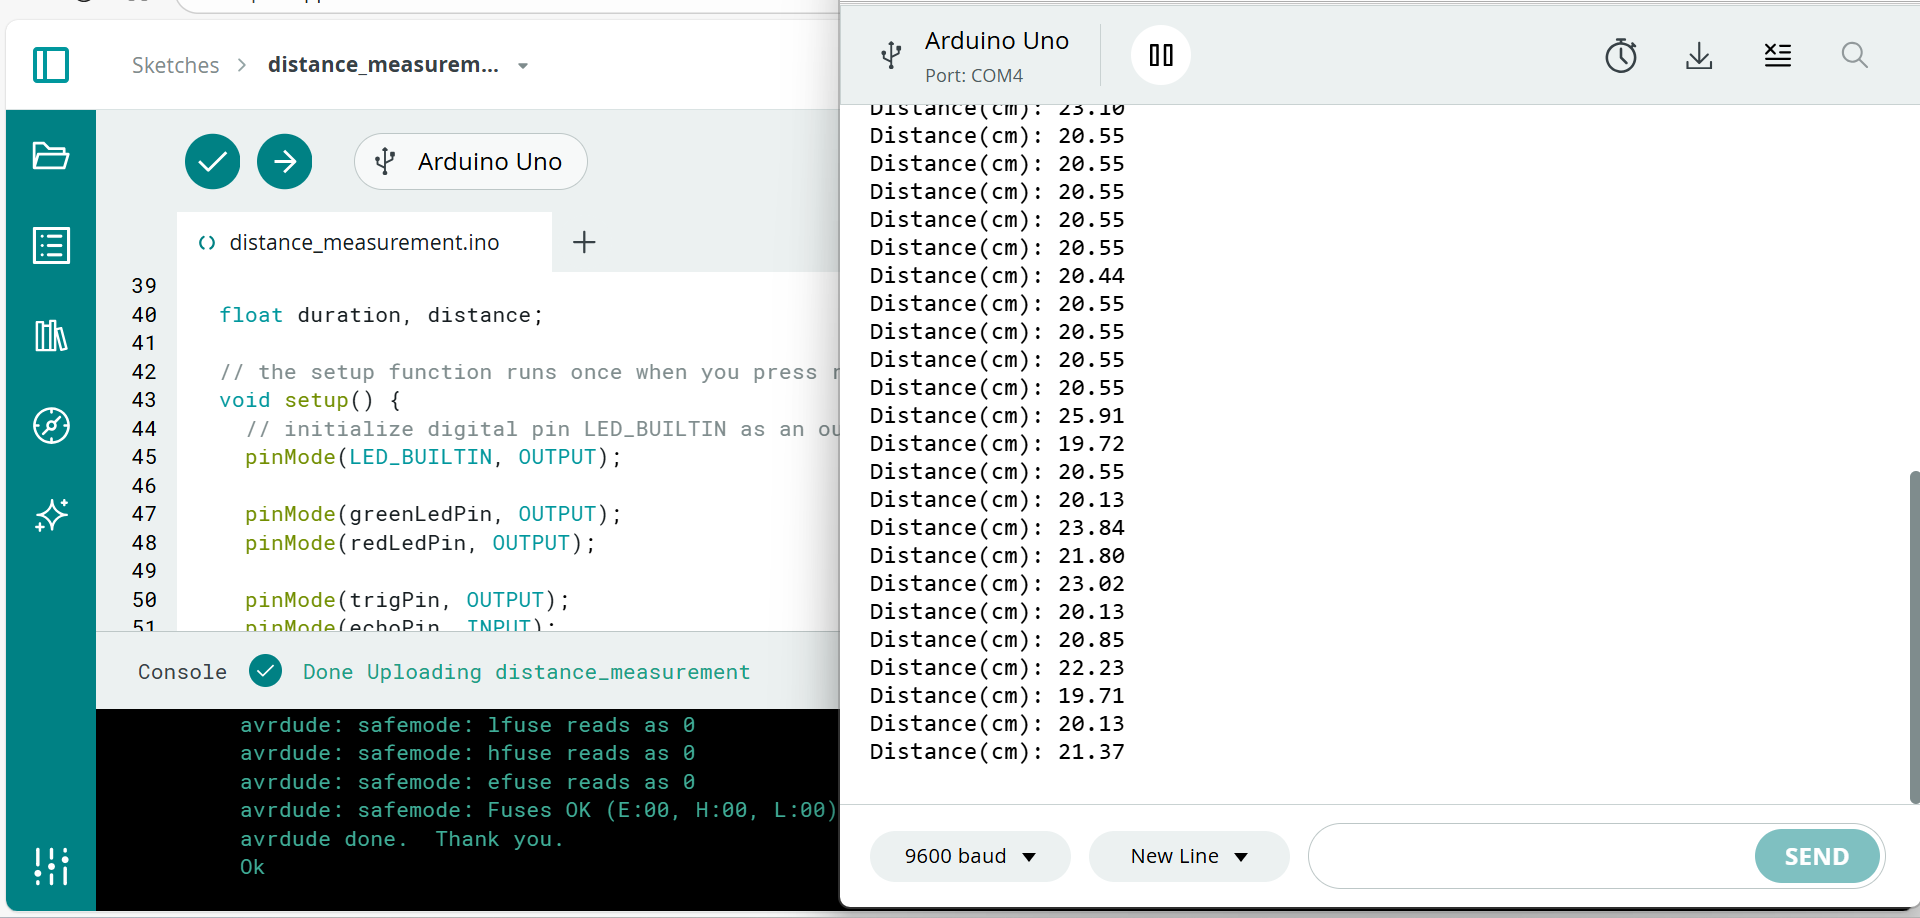
- Complie the codes and upload the codes to the Arduino boards:

- Turn on the serial monitor window by clicking the top right corner of the sketch page and get the serial port printing outputs:
***Cloud editor can only support boards that compatible with desktop Arduino IDE, such as Arduino UNO, MKR Zero and Adafruit feather Huzzah 8266.