Light Theremin
If you and your group have any questions or get stuck as you work through this in-class exercise, please ask the instructor for assistance. Have fun!
-
If you haven’t already, please go to the Arduino website and download the “Arduino IDE” for either Windows or Mac, and then install the software on your computer.
Materials needed:
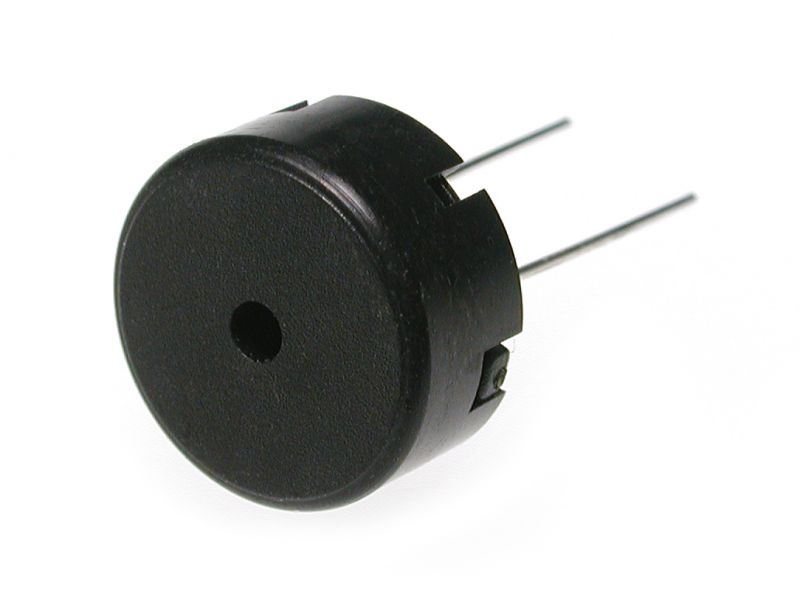
- 1 Piezo (this is basically a small speaker)
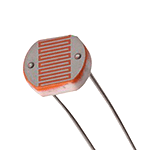
- 1 Photoresistor (this is a light sensor)
- 1 10k-ohm resistor with the following striping in order: brown, black, orange, gold
- 1 Long Red Wire
- 1 Long Black Wire
- 2 Short Wires
- 1 Medium Wire
- 1 Long Wire
-
Connect as shown in this diagram (note: the Piezo legs are closer together than displayed here – just make sure the two adjacent wires in Column A are in the same row as the Piezo legs):
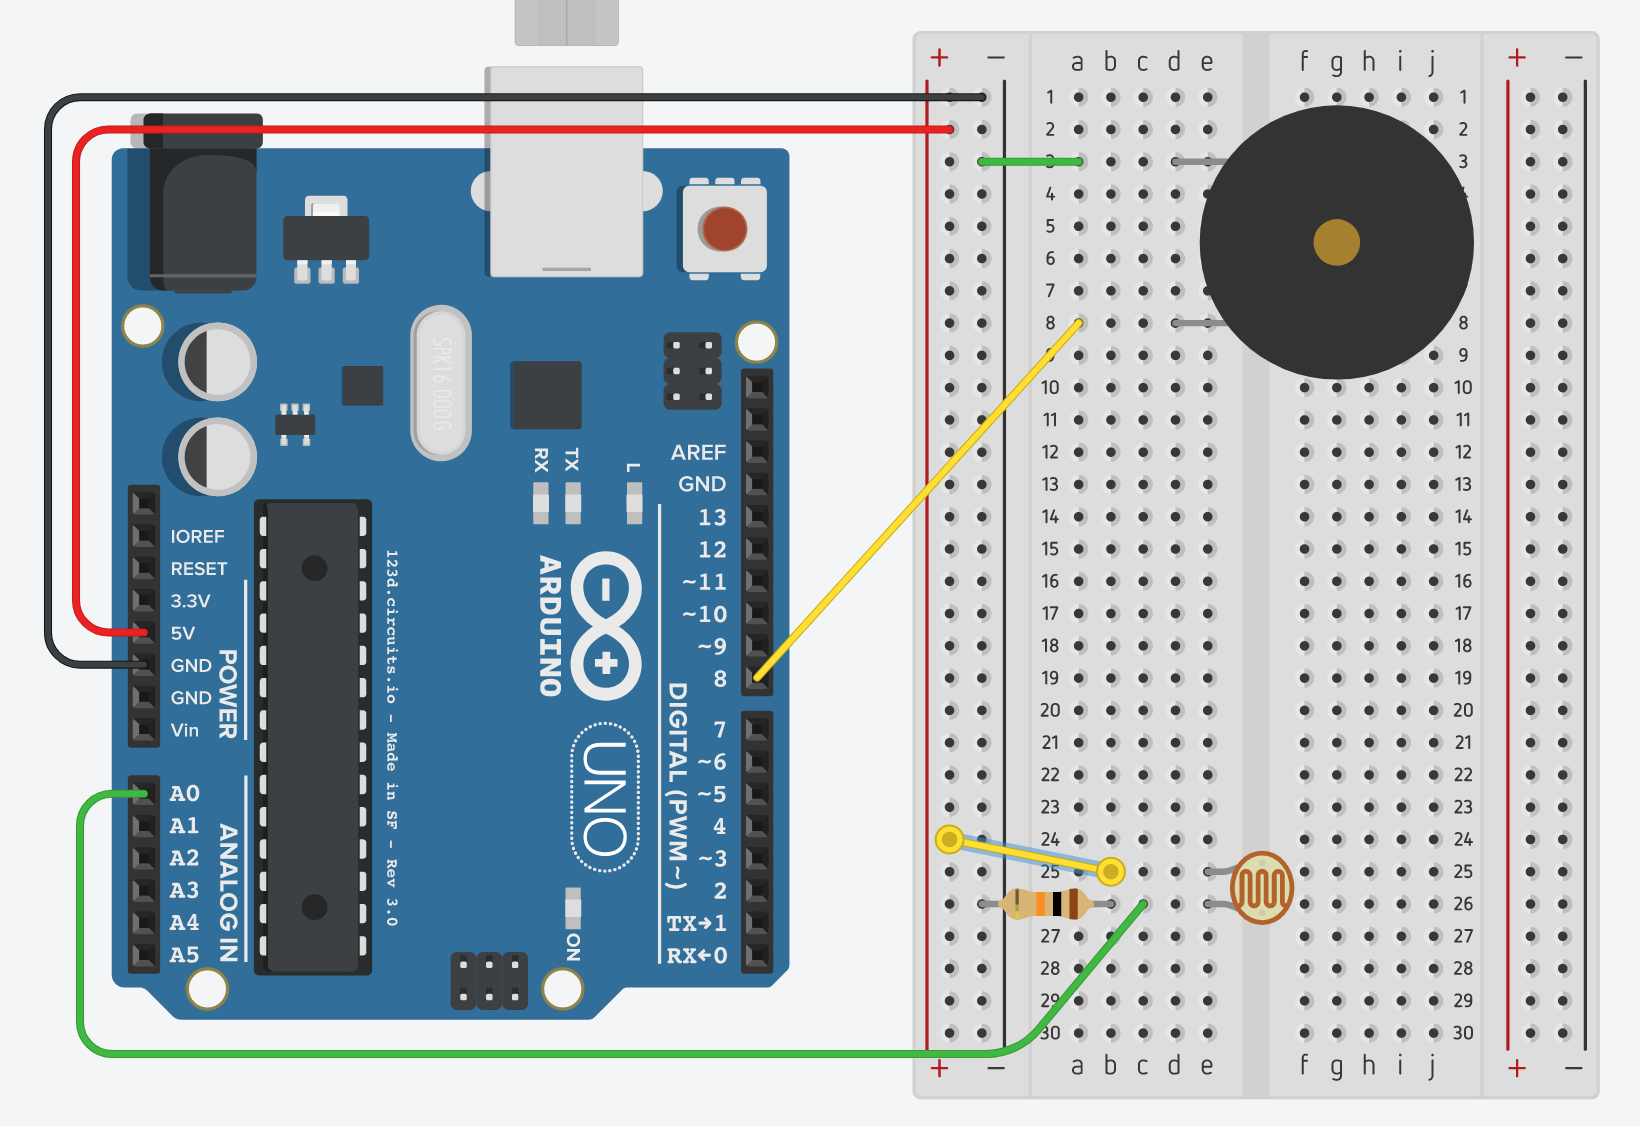
Note: you can check out a simulated version of this Arduino project
-
Using the provided USB cable plug your Arduino into your computer.
-
Launch the arduino software.
-
Go to the top menu: File -> Examples -> 10.StarterKit_BasicKit -> p06_LightTheremin
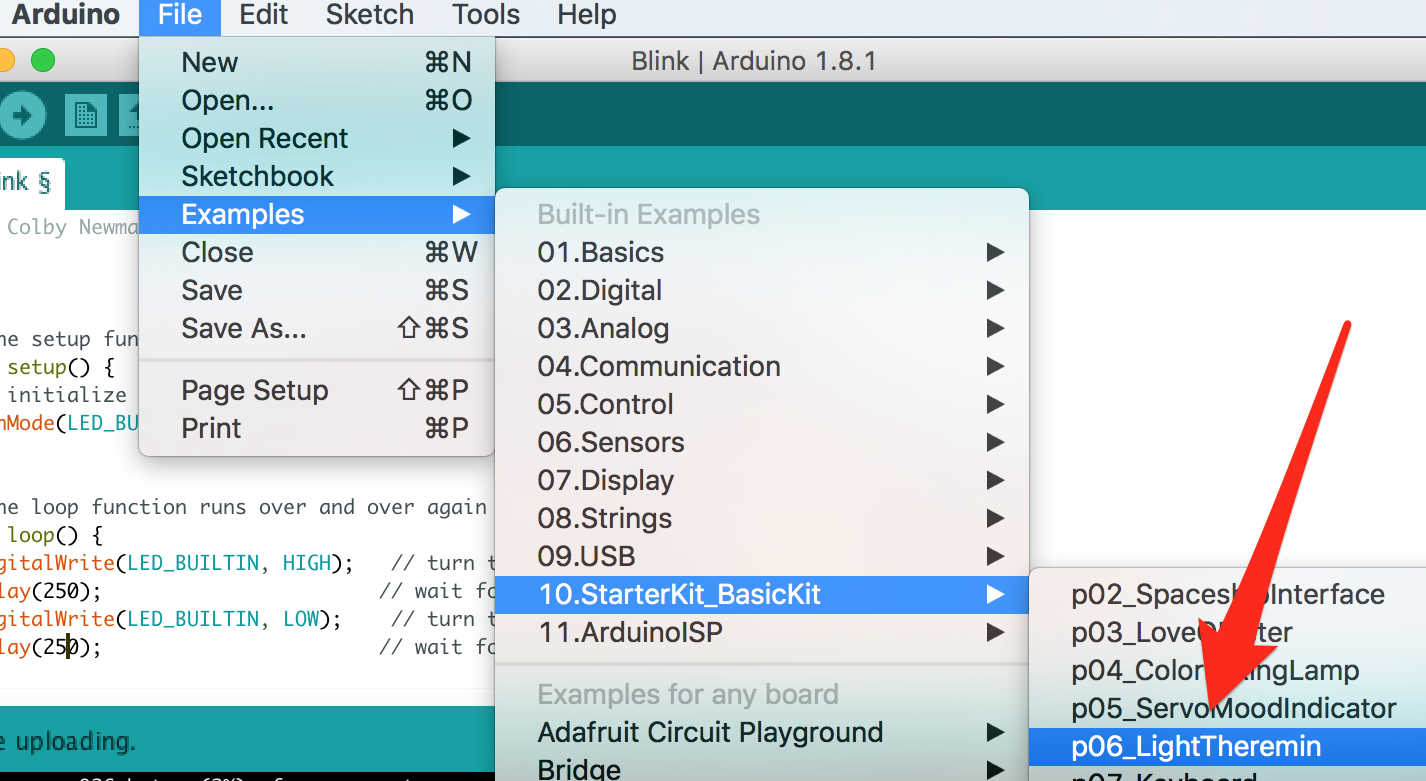
-
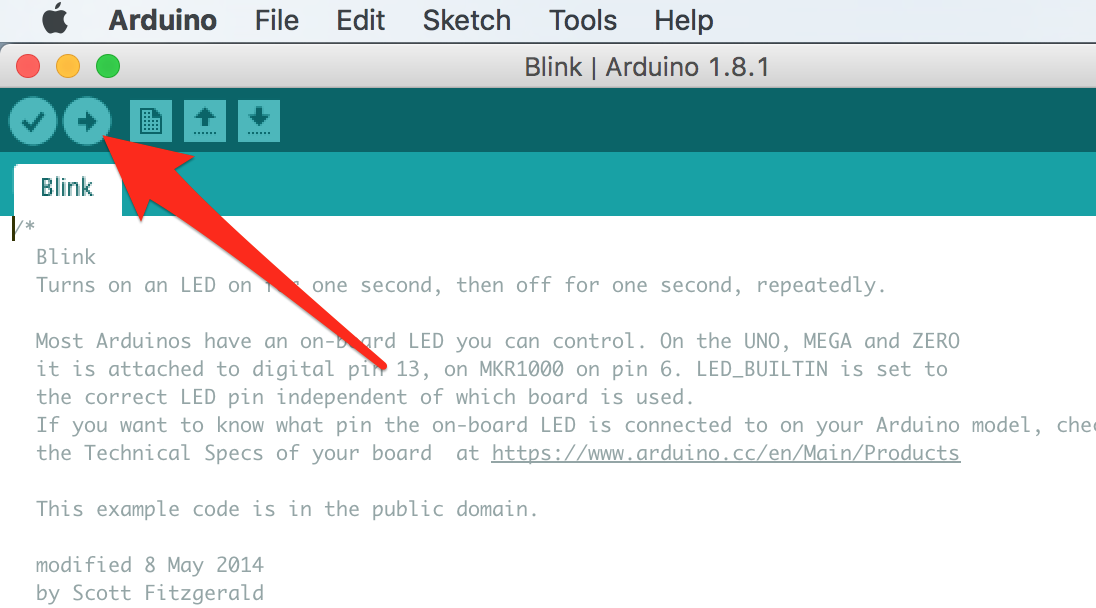
Upload the Light Theremin code to your Arduino by pressing the Upload button.
-
Once the code is uploaded and running, there is a 5 second initialization phase where the ambient light level is recorded. After that, move your finger around the photoresistor to make some crazy Theremin sounds! Enjoy!