Electronic Die
If you and your group have any questions or get stuck as you work through this in-class exercise, please ask the instructor for assistance. Have fun!
-
If you haven’t already, please go to the Arduino website and download the “Arduino IDE” for either Windows or Mac, and then install the software on your computer.
Materials needed:


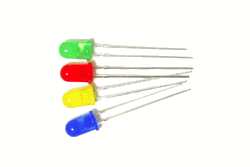
- 4 LED Lights - 1 Blue, 1 Yellow, 1 Red, 1 Green
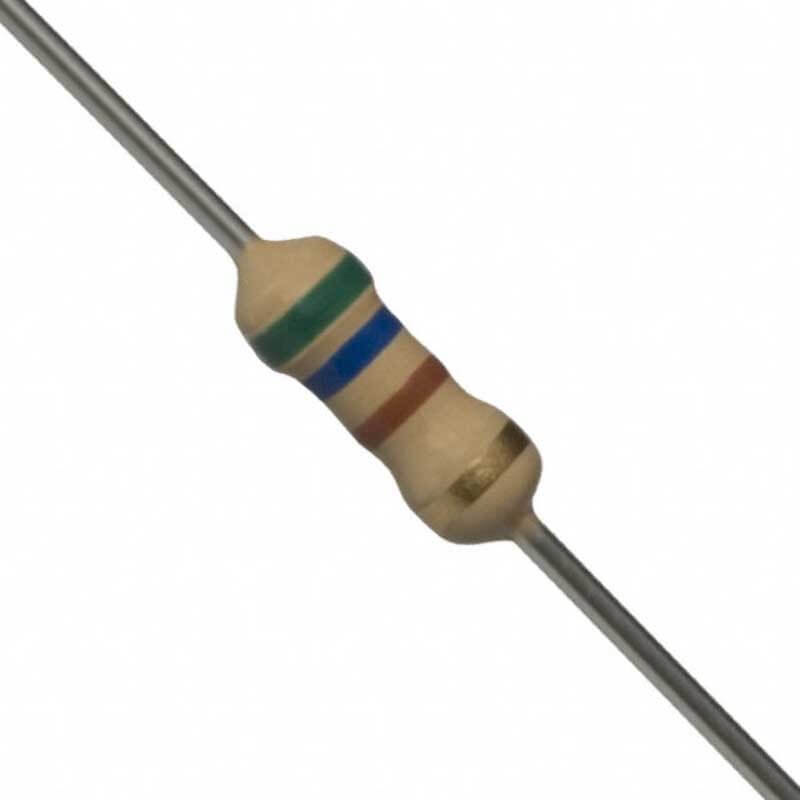
- 1 560-ohm Resistor with the following striping in order: green, blue, brown, gold
- 4 Long Orange Wires
- 1 Long Black Wire
- 1 Short Yellow Wire
- 3 Short Purple Wires
-
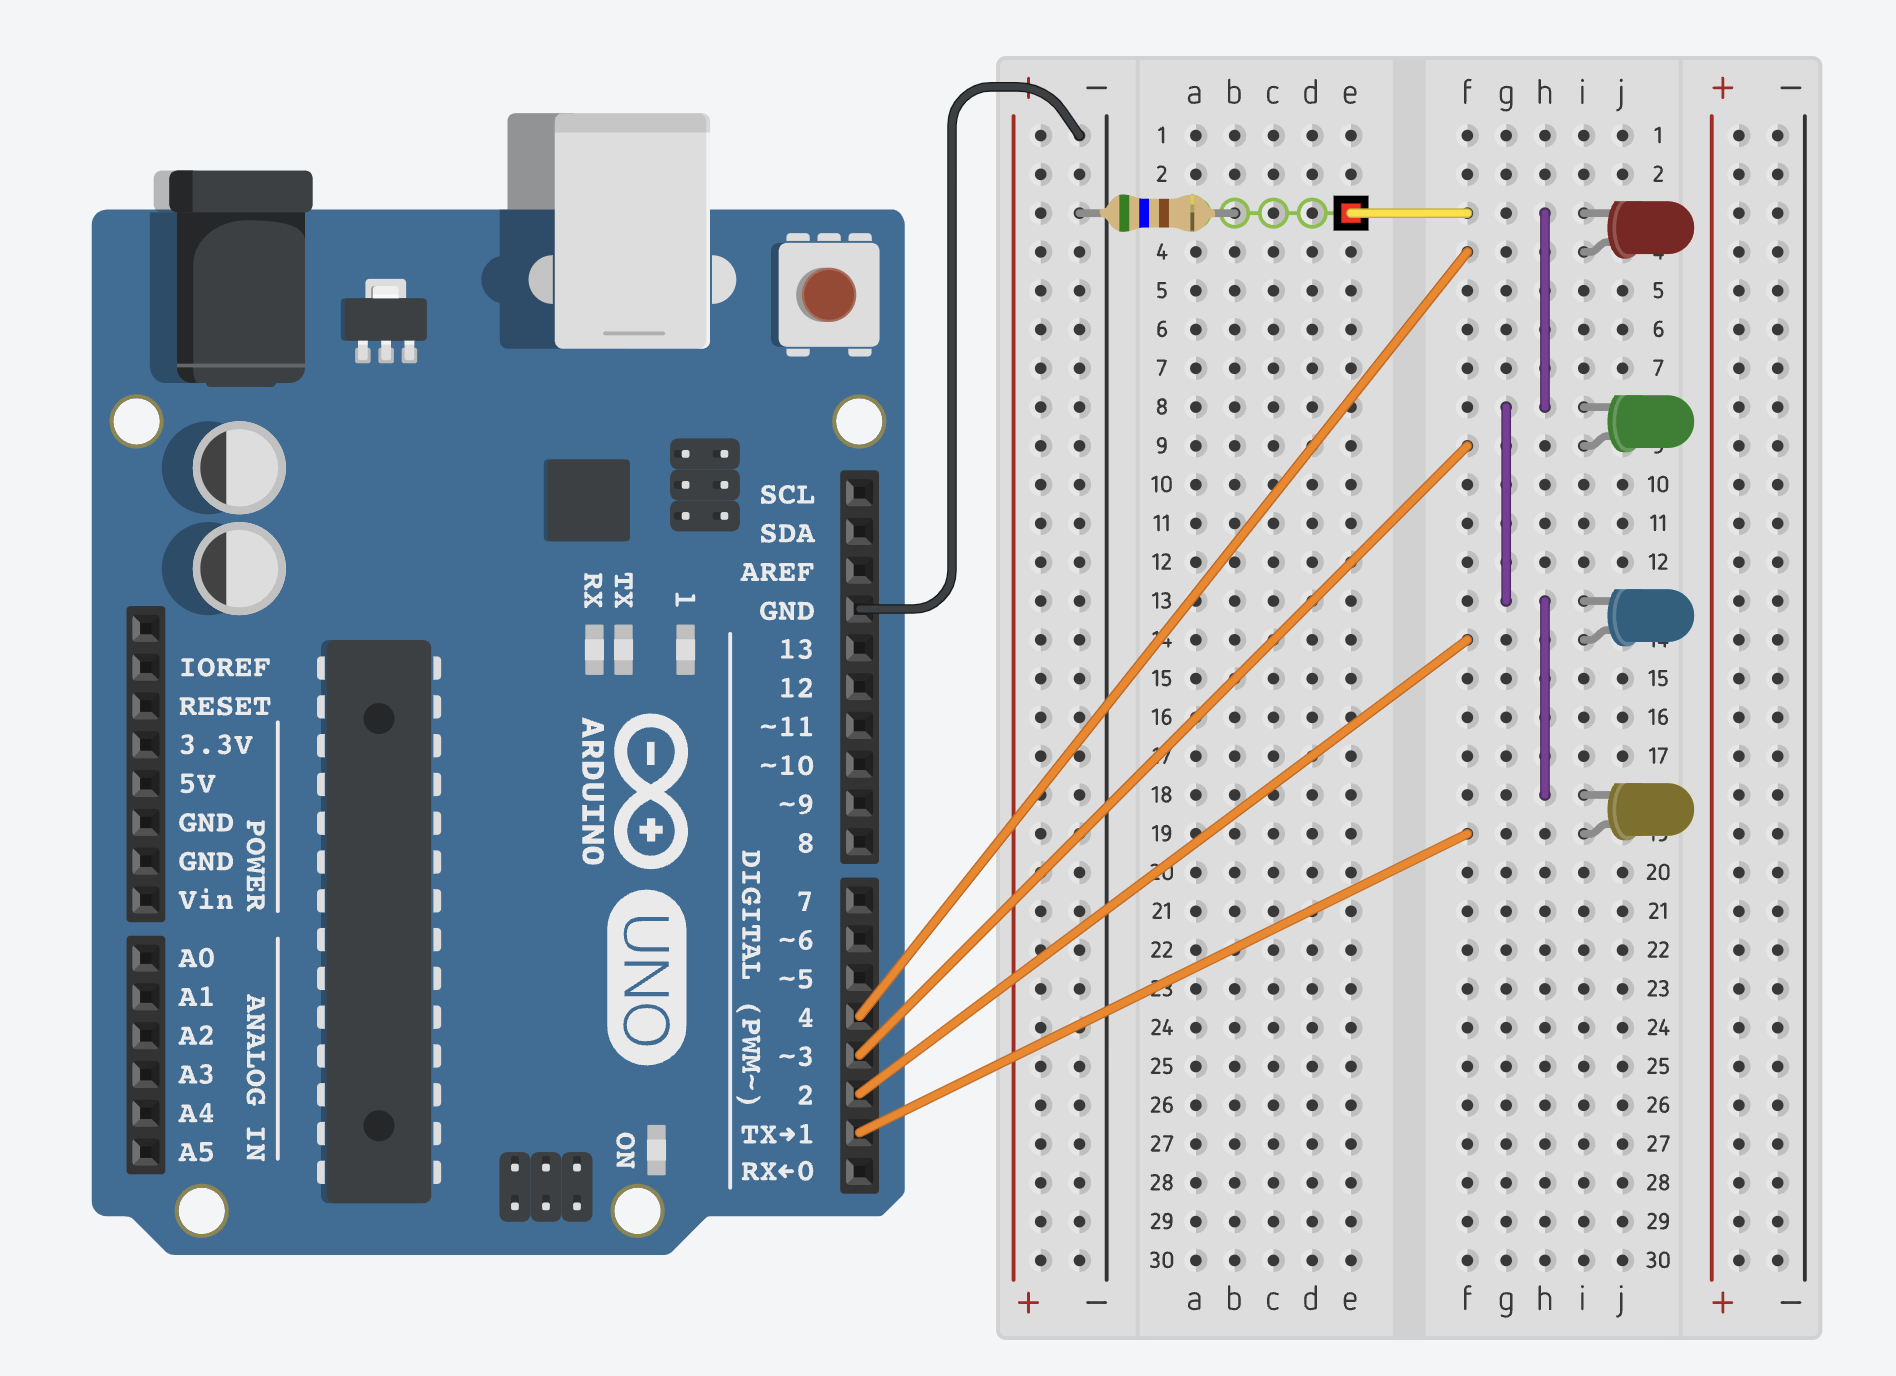
Connect the black wire to the GND pin on the Arduino and then the “-” pin on the breadboard.

-
Connect the gold end of the 560-ohm resistor to the ground or “-” side of the breadboard, and then to the B3 pin in the breadboard. Connect the pins E3 and F3 using your short yellow wire.
-
For this circuit you will be connecting 4 LED lights in series. The order of the colours are arbitrary.
-
Place your first LED with the longer leg in the I3 pin of the bread board, and the shorter leg into the I4 pin.
-
Connect an orange wire from I4 of the first LED to TX -> 1 on the arduino.
-
Connect the remaining LED lights in series using the short purple wires, connecting each LED’s shorter leg to the one beside it.
-
For each of the remaining 3 LEDs, use a long orange wire to connect the long leg of the LED to one of the Arduino Digital pins numbered 1 to 4 (along the right hand side of the Arduino).
-
Using the provided USB cable, plug your Arduino into your computer.
-
Launch the arduino software.
-
Go to the top menu and select: File -> New
-
Delete any content in script window and paste the code from the following document:
-
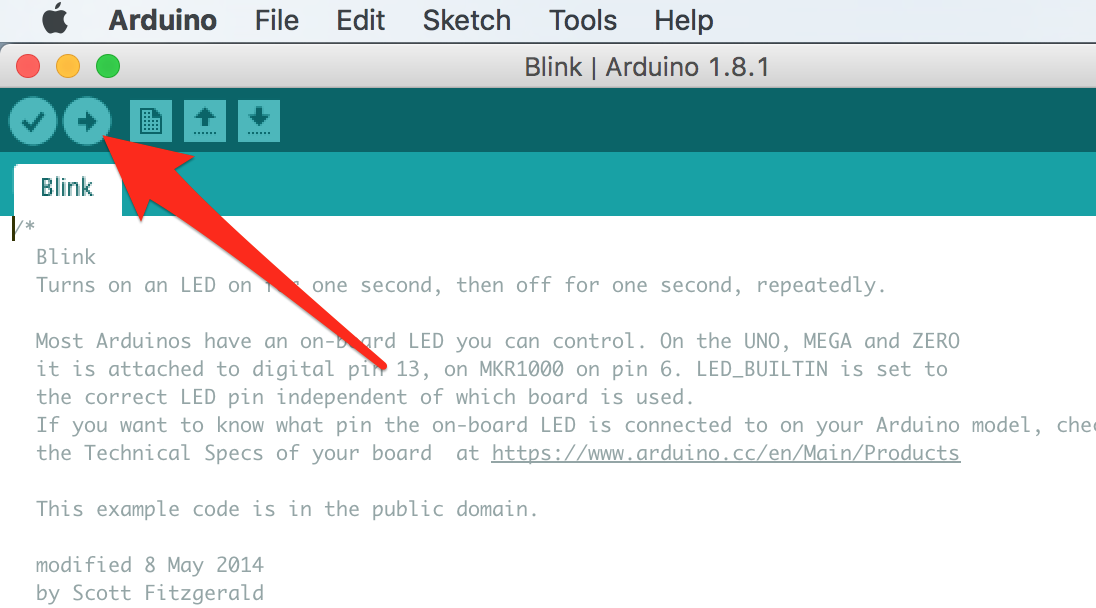
Upload this code to your Arduino by pressing the Upload button.

-
The LEDs on your board will rapidly flicker, and delays between flashes will increase until they finally stop changing. Congratulations! You’ve “rolled” a random number from 1 to 4!