“Hello World” Blinking LED - Tinkercad
If you and your group have any questions or get stuck as you work through this in-class exercise, please ask the instructor for assistance. Have fun!
-
If you haven’t already, please go to the TinkerCad website and create an account
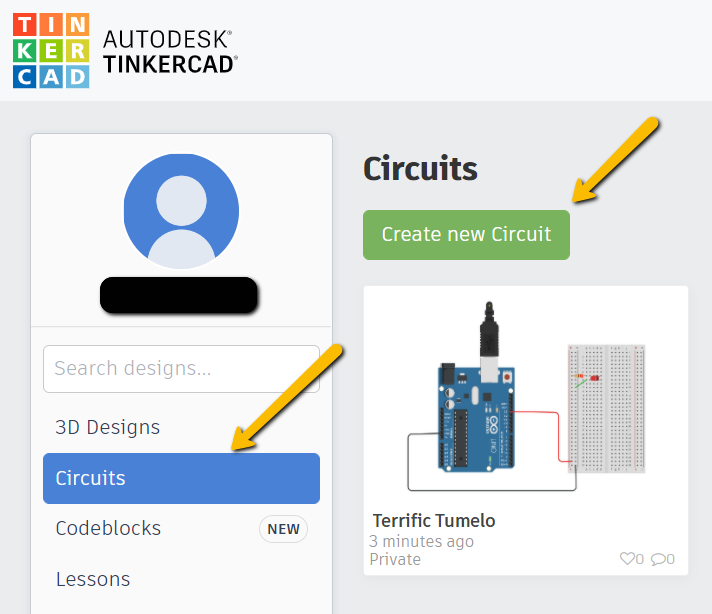
Once you have the account created, go to Dashboard -> select Circuits on the left side panel -> select Create new Circuit
Materials needed (all of the materials are located in the Basic Components section on the right side, except for wires. You can also search for items):


- Arduino Uno R3
- Breadboard Small
- 1 LED light.
- 1 220-ohm (or 220 Ω) Resistor with the following striping from left to right: red, red, brown, gold.
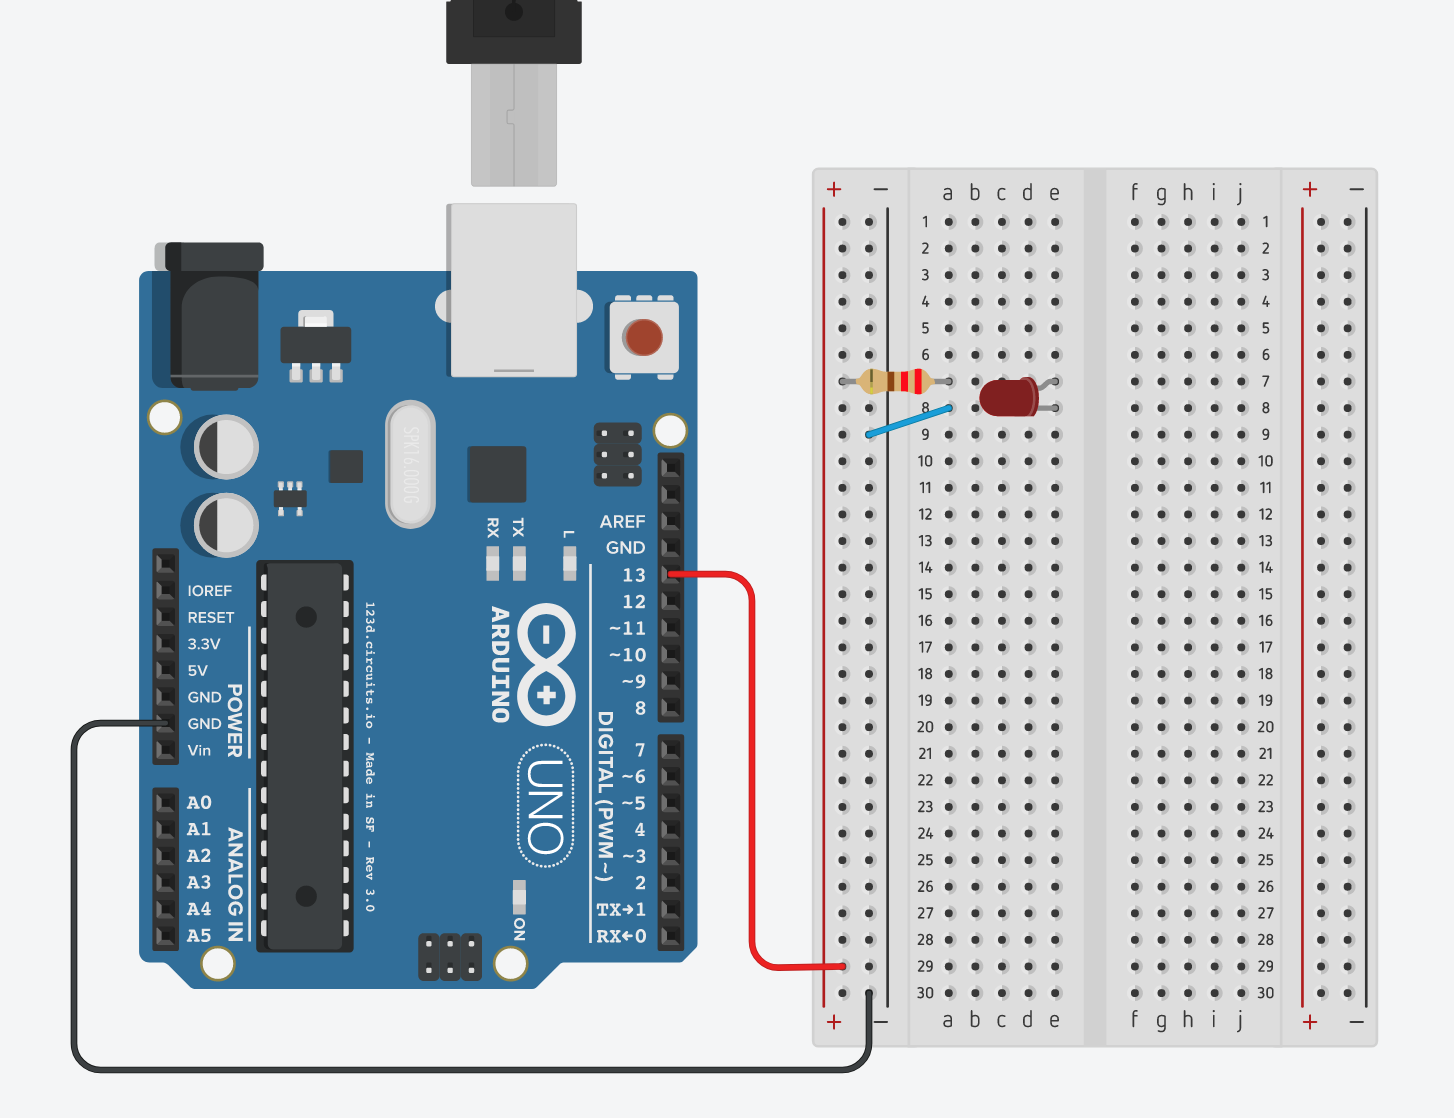
Connect as shown in this diagram:

-
Once everything is connected, click “Start Simulation” in the top right corner. You should see the light starting to blink


-
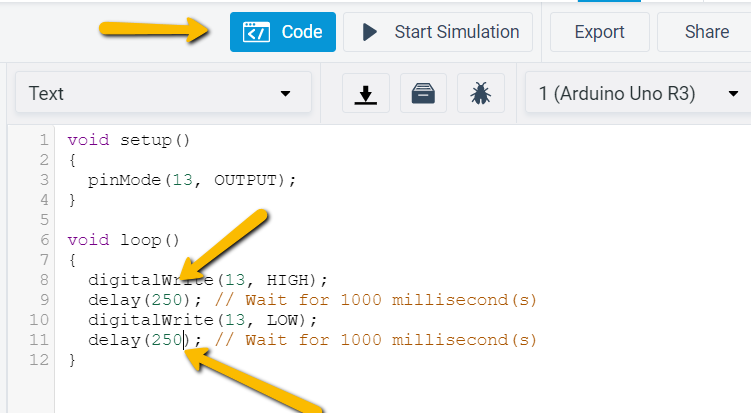
For fun, let’s make the LED light blink faster. In the top right section click Code, scroll to the bottom of the code and change the two lines that say, delay(1000) to delay(250). Press Start Simulation and see the difference. Feel free to play around with the code to see what changes. Have fun!

