Love-o-Meter
If you and your group have any questions or get stuck as you work through this in-class exercise, please ask the instructor for assistance. Have fun!
-
If you haven’t already, please go to the Arduino website and download the “Arduino IDE” for either Windows or Mac, and then install the software on your computer.
Materials needed:
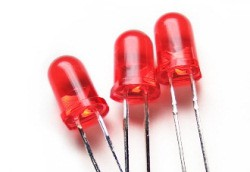
- 3 LED Lights
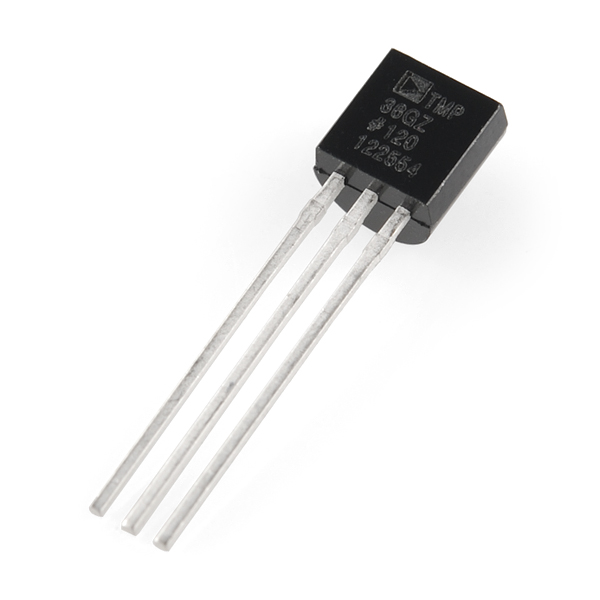
- 1 Temperature Sensor
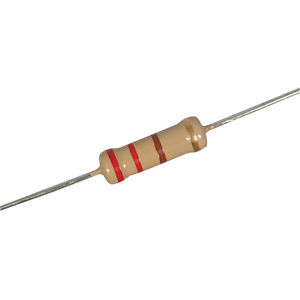
- 3 220-ohm Resistors with the following striping in order: red, red, brown, gold
- 1 Long Red Wire
- 1 Long Black Wire
- 1 Long Green Wire
- 3 Medium Wires
- 2 Short Wires
Attach as displayed in this diagram (note that the squiggly lines indicate the longer legs of the LEDs):
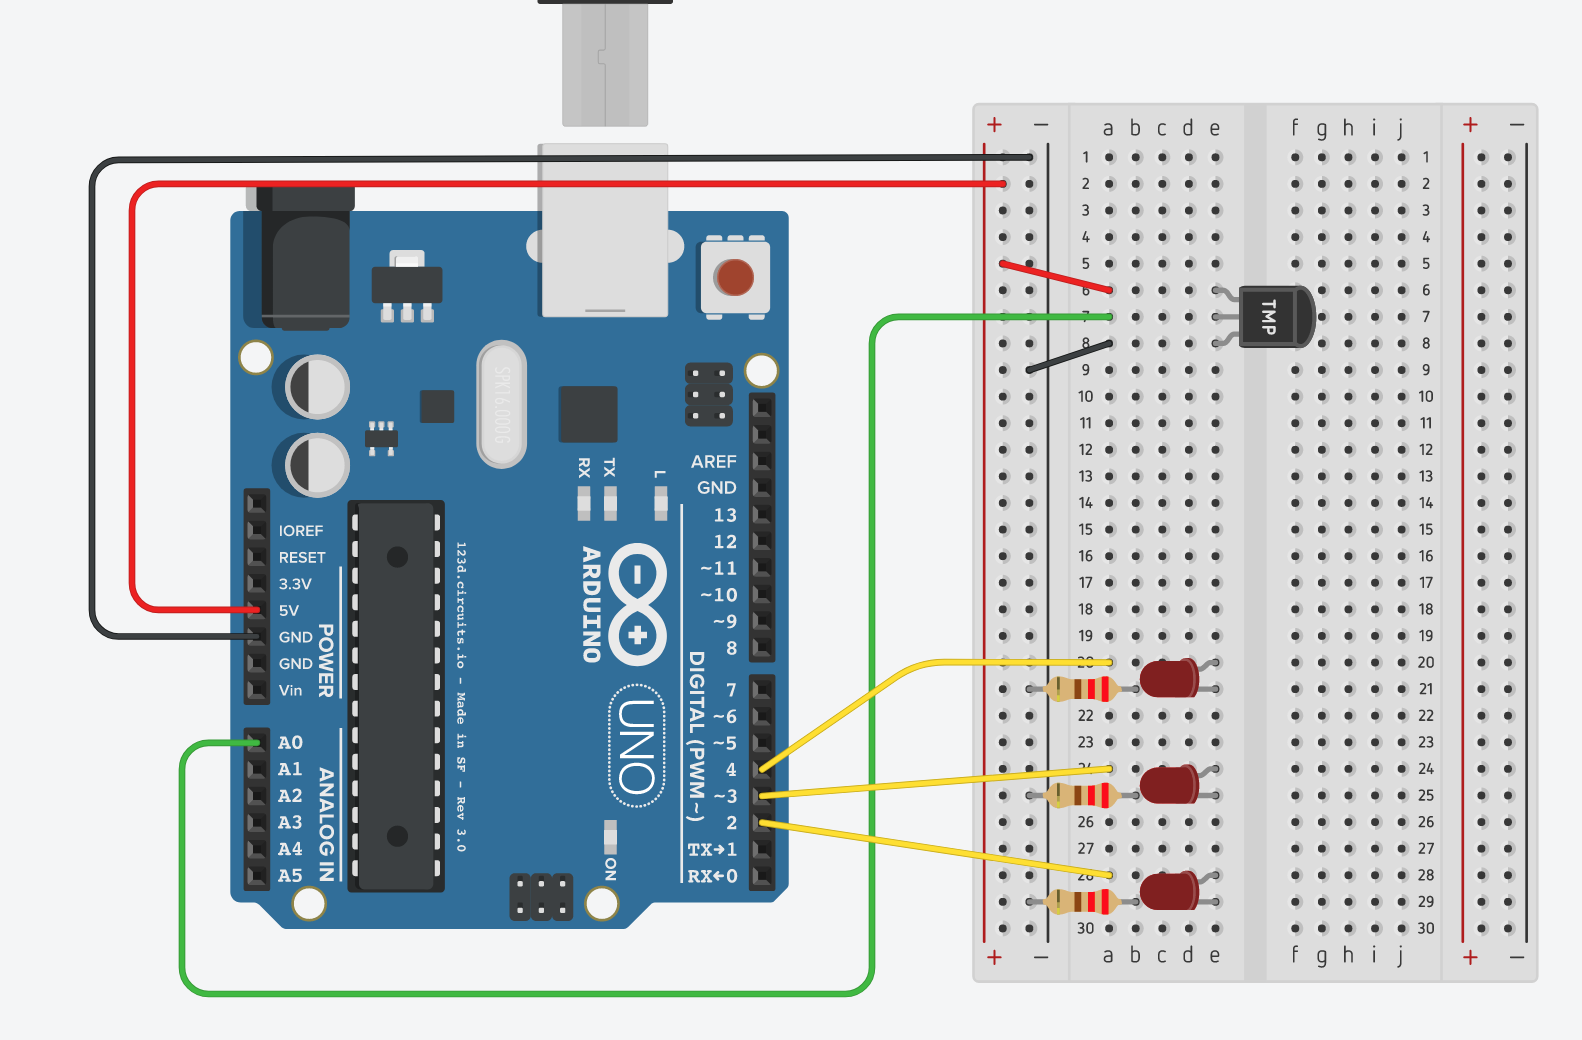
Note: you can check out a simulated version of this Arduino Project
-
Using the provided USB cable plug your Arduino into your computer.
-
Launch the Arduino software.
-
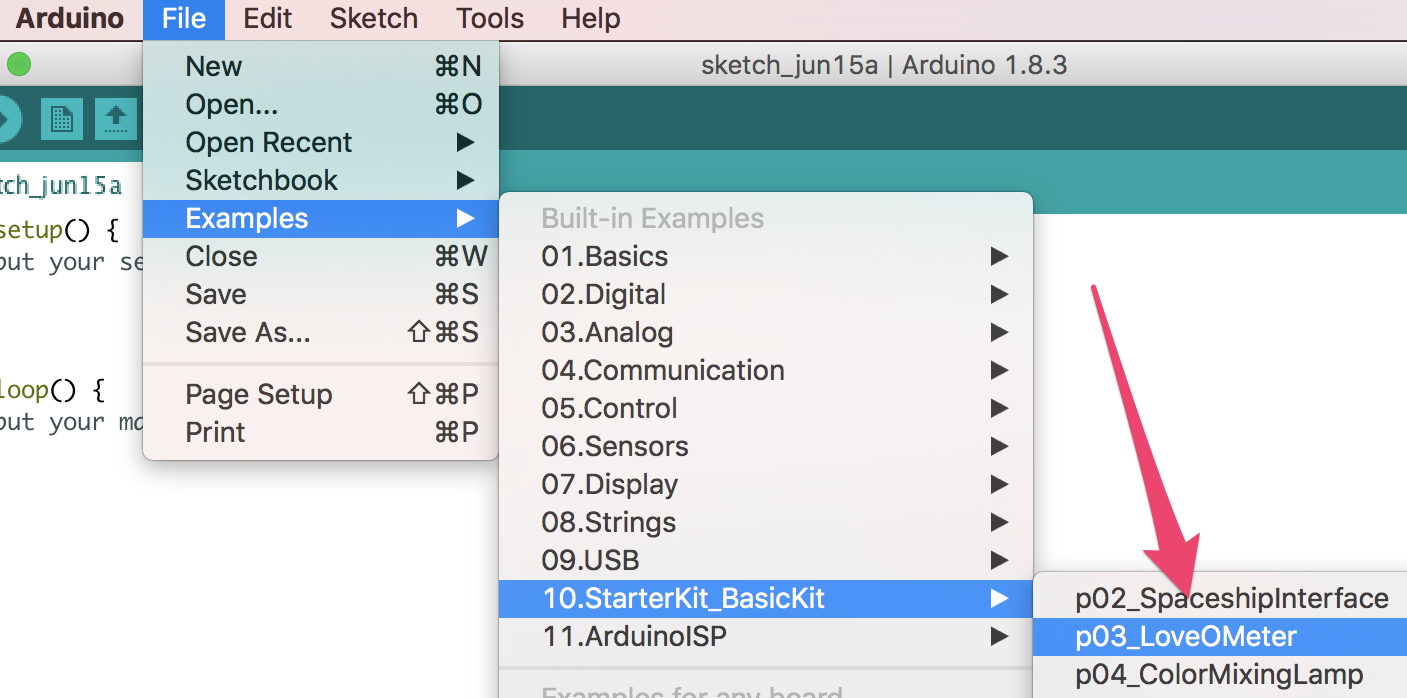
Go to the top menu and select: Files -> Examples -> 10.StarterKit_BasicKit -> LoveOMeter”
-
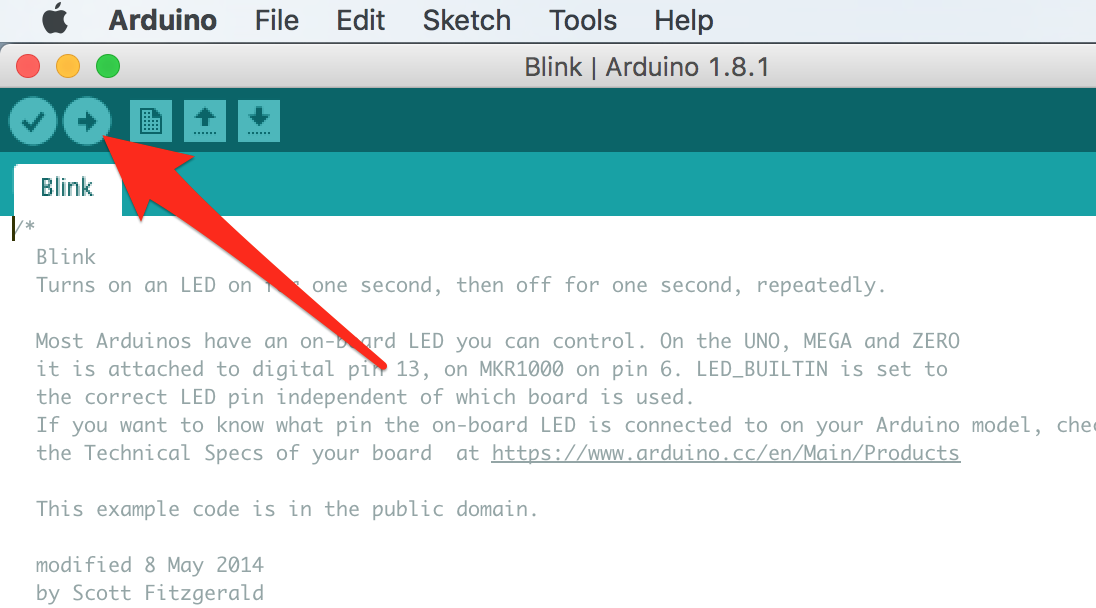
Upload the LoveOMeter code to your Arduino by pressing the Upload button.
-
Hold on to the heat sensor and the lights should start lighting up after 30 seconds. If it takes more than 30 seconds to respond, you might want to try changing the following line of code from 20.0 to 17.0 and then upload it again. Vary this number until it works the way you want it to!
const float baselineTemp = 20.0;