Arduino MP3 Player
This page describes an Arduino audio player project using the Arduino IDE (software), an Arduino UNO R3 microcontroller board, a “breadboard”, a YX5300 MP3 player module, and an active speaker.
If you and your group have any questions or get stuck as you work through this in-class exercise, please ask the instructor for assistance. Have fun!
If you haven’t already, please go to the Arduino website and download the “Arduino IDE” for either Windows or Mac, and then install the software on your computer. If you do not want to, or are unable to, install the Arduino IDE software, you can use Arduino’s cloud IDE. See our Arduino cloud editor page for instructions on how to access Arduino’s cloud IDE.
Materials needed
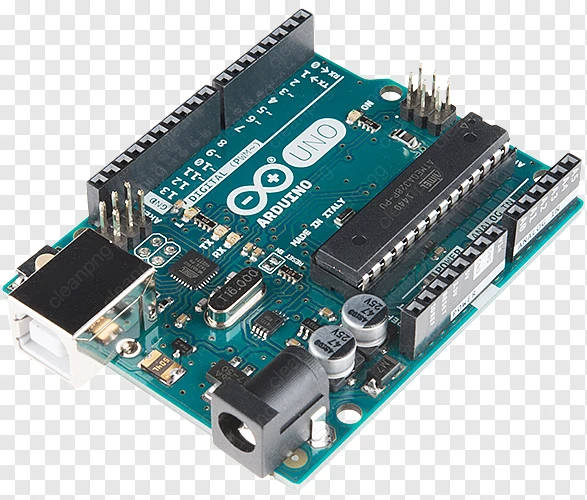
- Arduino UNO R3 breadboard (see below).
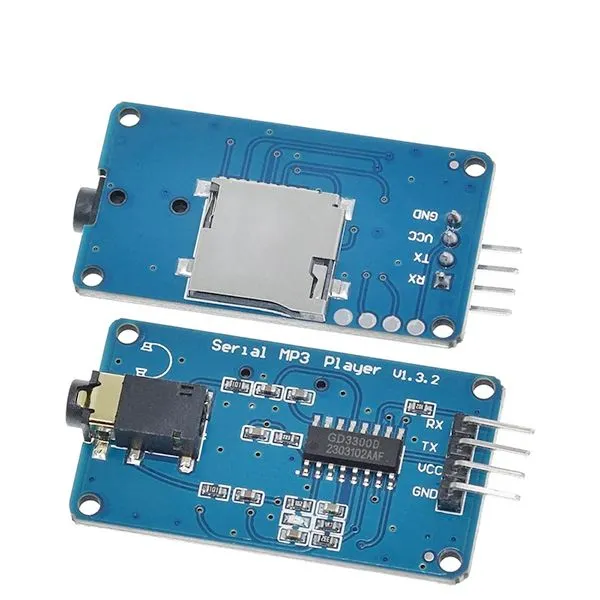
- MP3 player with SD card shield slot and 3.5mm audio jack connector, which is already part of the YX5300 MP3 player board (see below).
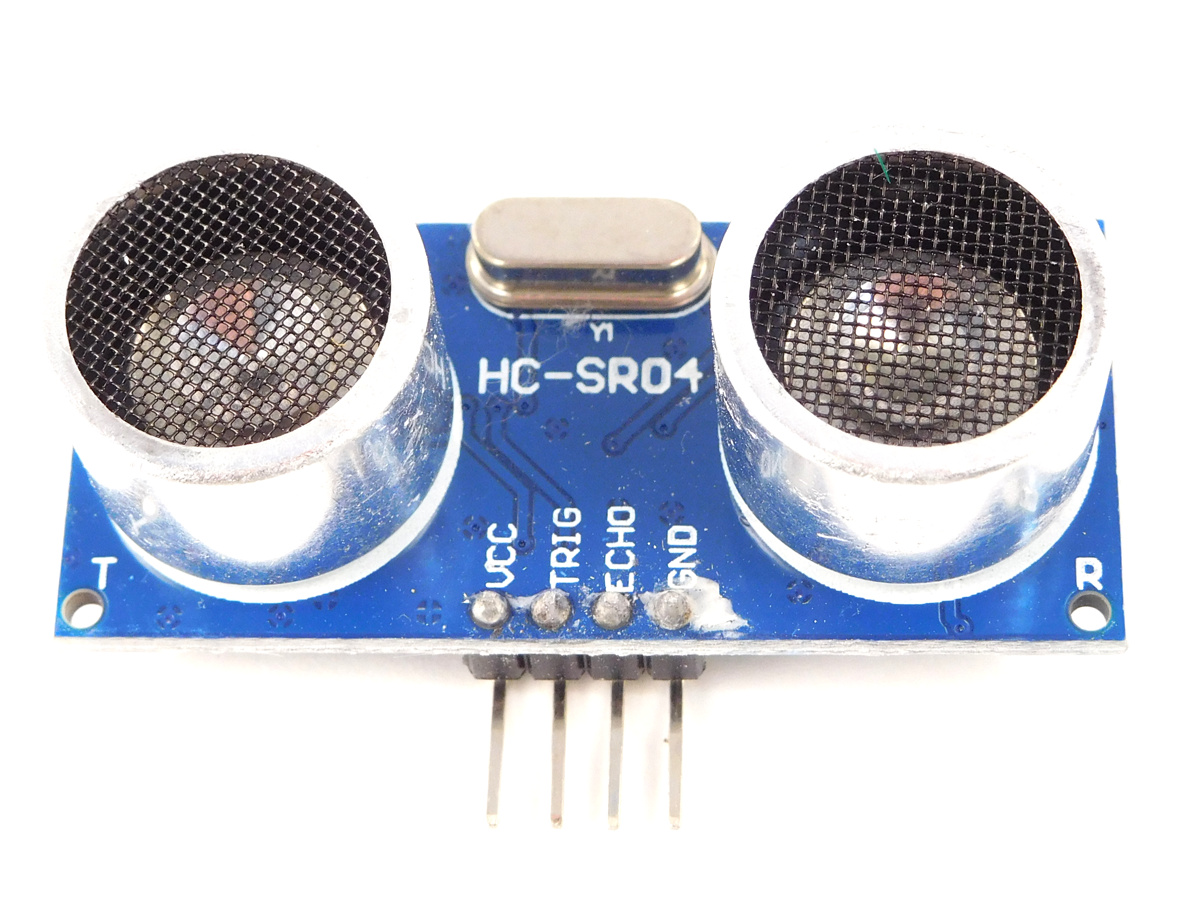
- HC-SR04 Ultrasonic distance sensor (see below)
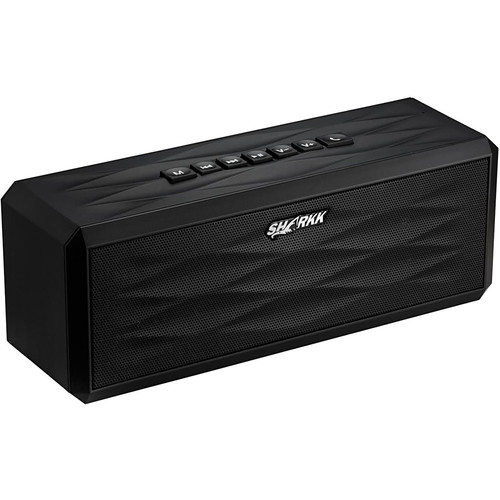
- One active (embedded with amplifier) speaker with audio cable connected to the YX5300 module (see below). The actual print output of the pin might be different (TX and RX are swapped). Follow the connections for the pin position.
-
Two LED lights: One is red and the other is green (or any colours of your choice). Pay close attention to the lead lengths: the long lead is the positive polarity (anode) and must connect to the positive side of the circuit. The short lead is the negative polarity (cathode) and must connect to the negative side. For the correct connection, please refer to the diagram in item 4 shown below and confirm with us if you are not sure about this.
-
Two resistors: Use values ranging from 220 Ω to 10 kΩ. Note that the larger the resistance, the less current flows through the LED, resulting in a dimmer light. Resistors do not have polarity, so you can connect them in either direction.
-
An SD card that has at least one audio file (.wav or .mp3 format) saved to it. Note that the file storage type must be FAT.
-
Name for your audio file(s) in the following format: two-digit file number + three characters + file extension—for example: 01tet.wav or 02ply.mp3.
Audio files have to be stored in the top-level directory of the SD drive. You can use folders or folders with three-digit names, such as 001, 002, 003, etc.
- Make sure that the SD card has correct audio file type, file name, and folder name before you insert the SD card into the SD card slot.
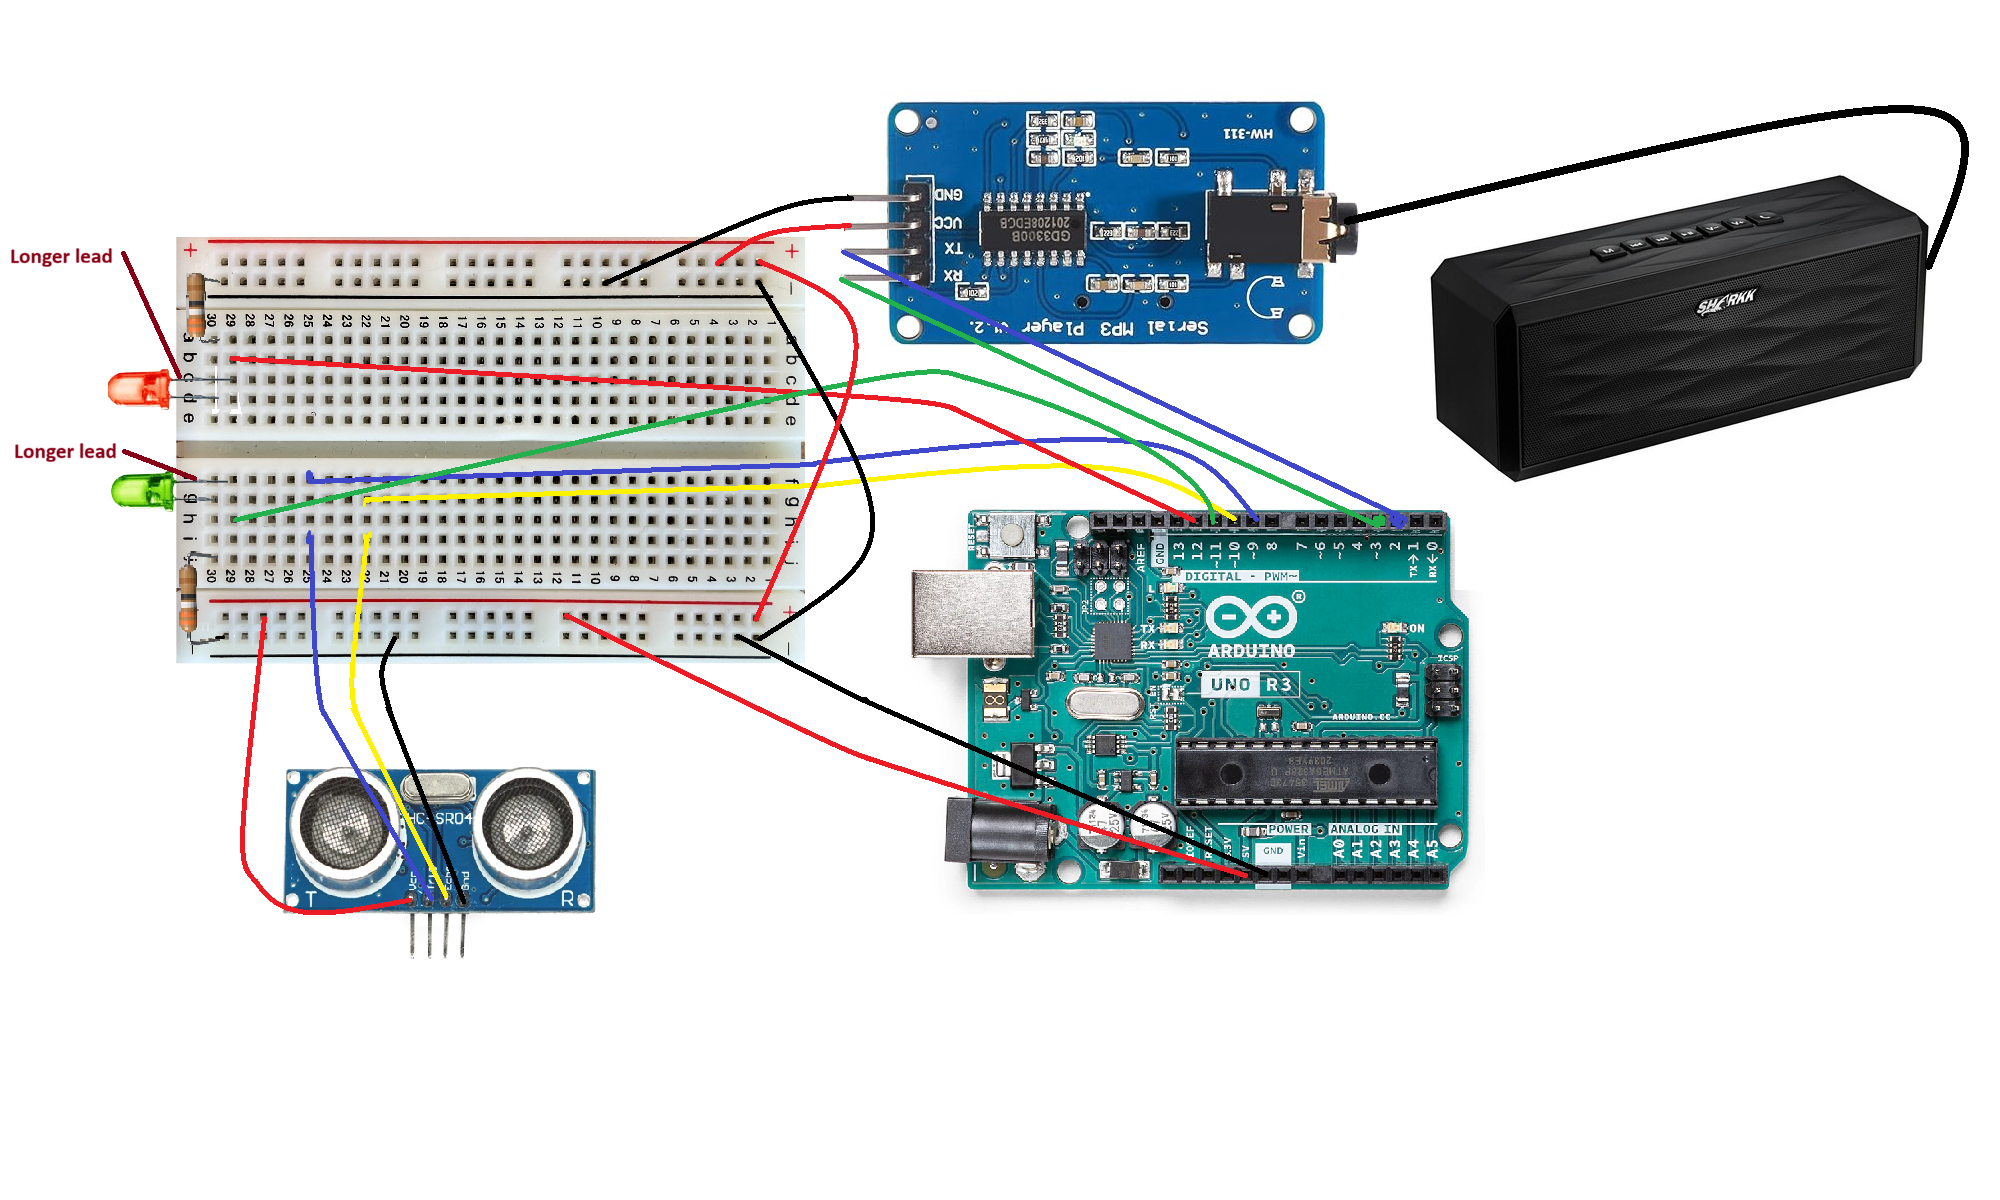
- Connect a black wire from the GND pin on the Arduino breadboard to the “-” (ground) rail on the breadboard. Connect a red wire from the 5V pin on the Arduino breadboard to the “+”(power) rail on the breadboard.
- Connect all the other wires and their placement as can be seen in the diagram below. Important: the breadboard power rail must be connected to the 5V pin of the Arduino UNO, otherwise, the MP3 player module may not work properly.
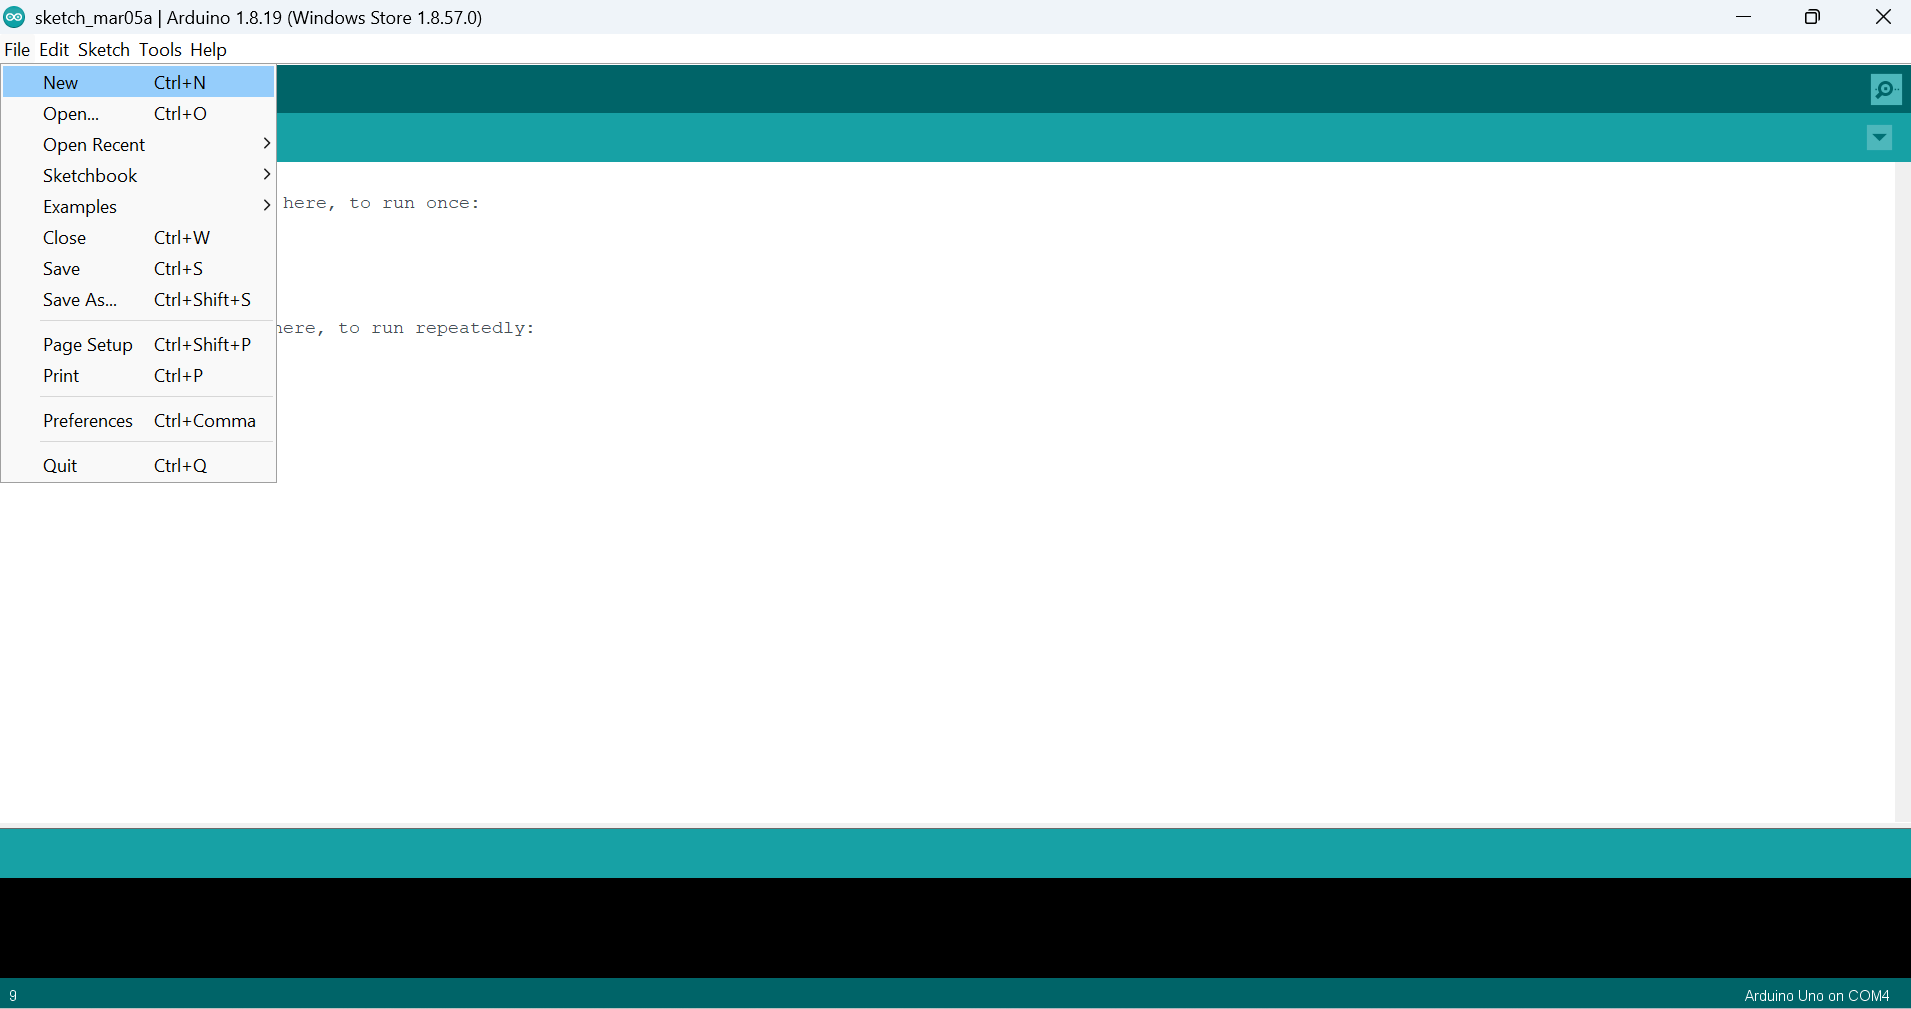
- On your computer, launch the Arduino IDE software. Use the provided USB cable to connect your Arduino breadboard to your computer. In the Arduino IDE software, open a new “sketch”, or file, by selecting File → New from the menu. Next, delete all the lines of code in your newly created file. We are going to replace that code…
- On your computer, open a web browser and go to https://github.com/uviclibraries/arduino/blob/audio-player/code/audioplayer.c . Copy/paste the code on that page into your newly created file.
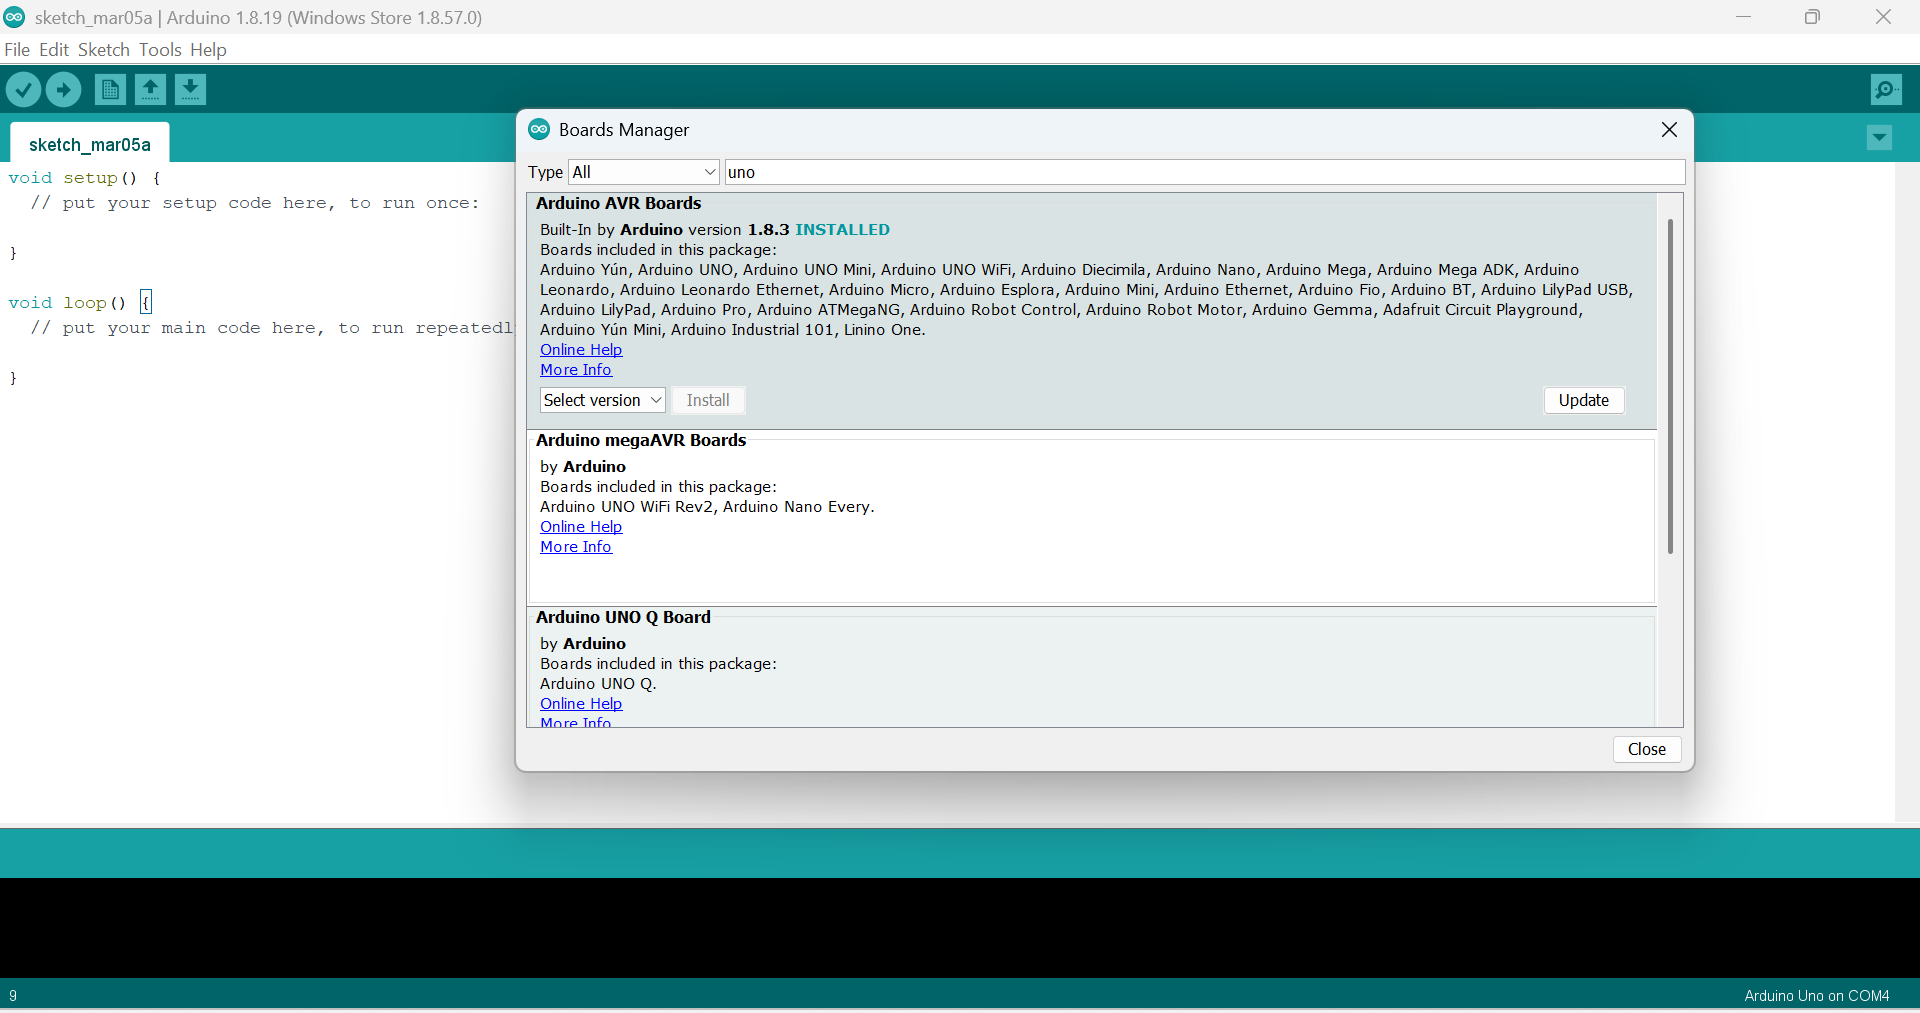
- Now, we need to install the Arduino UNO board package. In the Arduino IDE software, go to the menu and select Tools → Board → Boards Manager. In the search bar of the Boards Manager window, search for “UNO.” Click on the “Arduino AVR boards” package to install it.
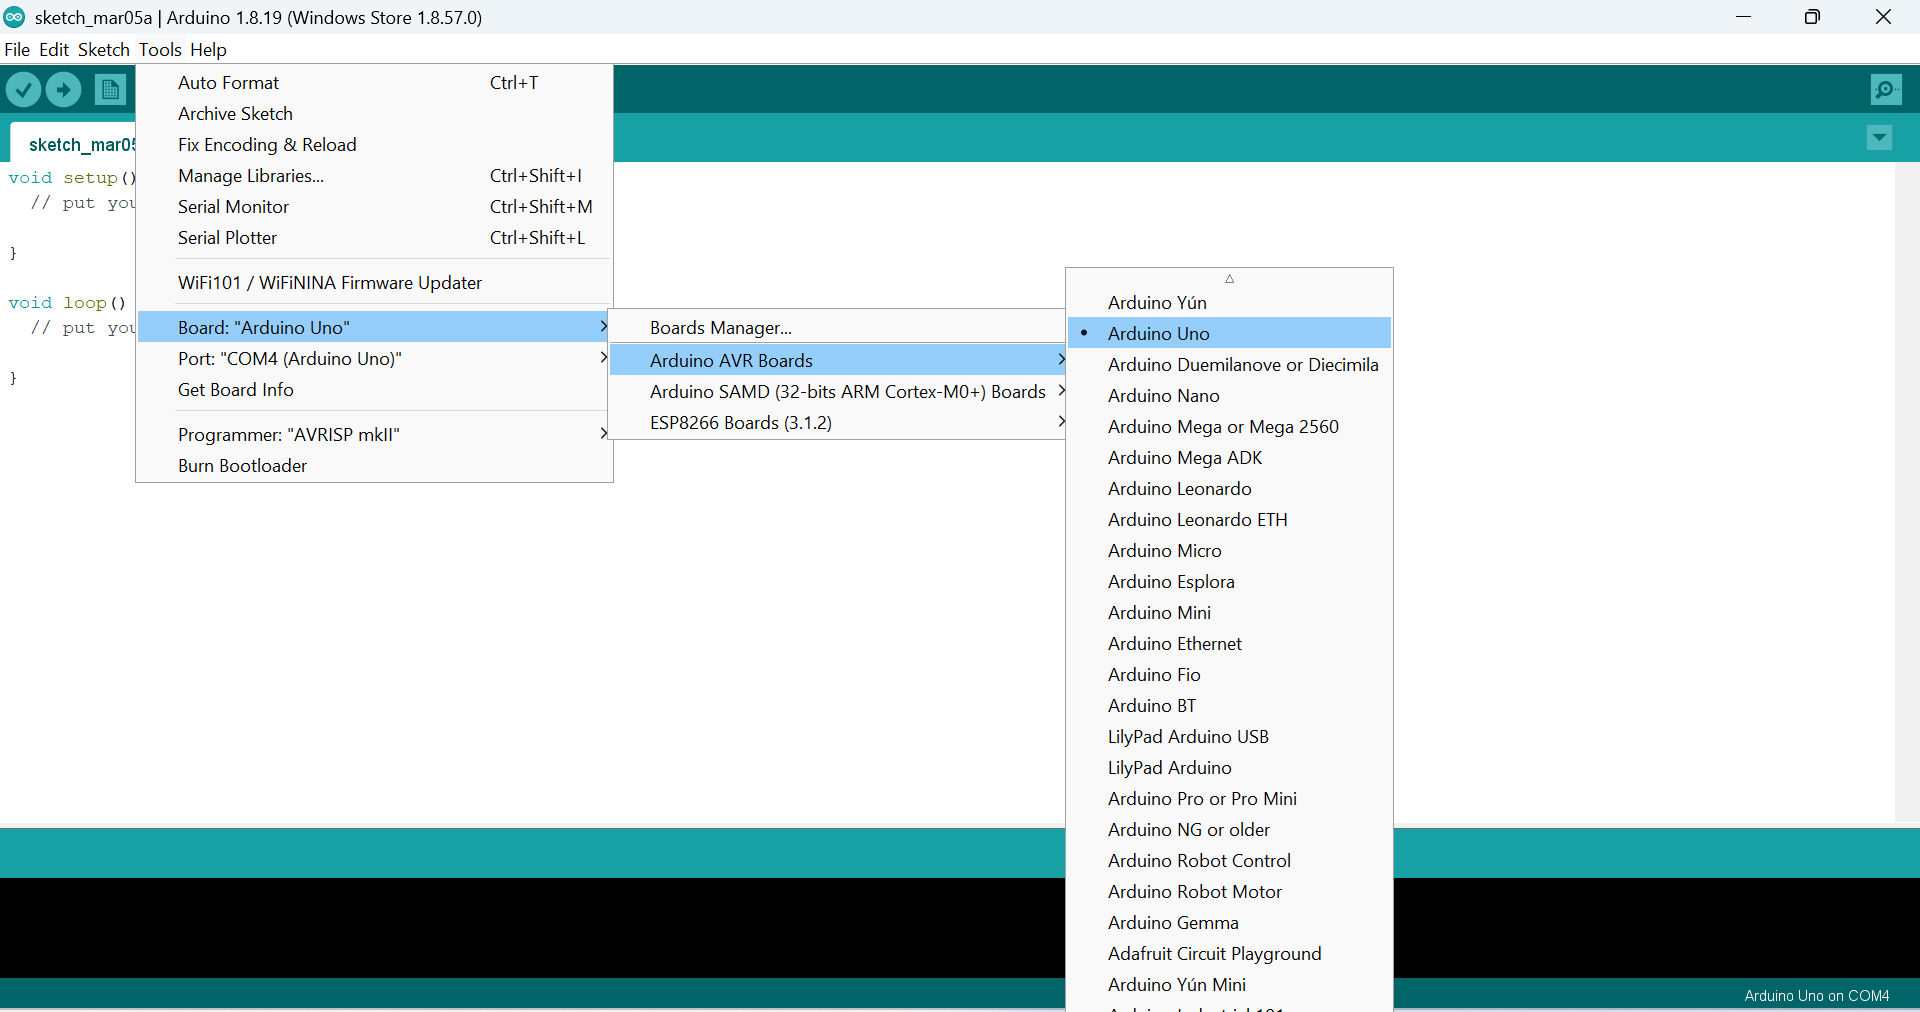
- In In the Arduino IDE software, go to the menu and select Tools → Board → Arduino AVR Boards → Arduino UNO to enable communication with the breadboard.
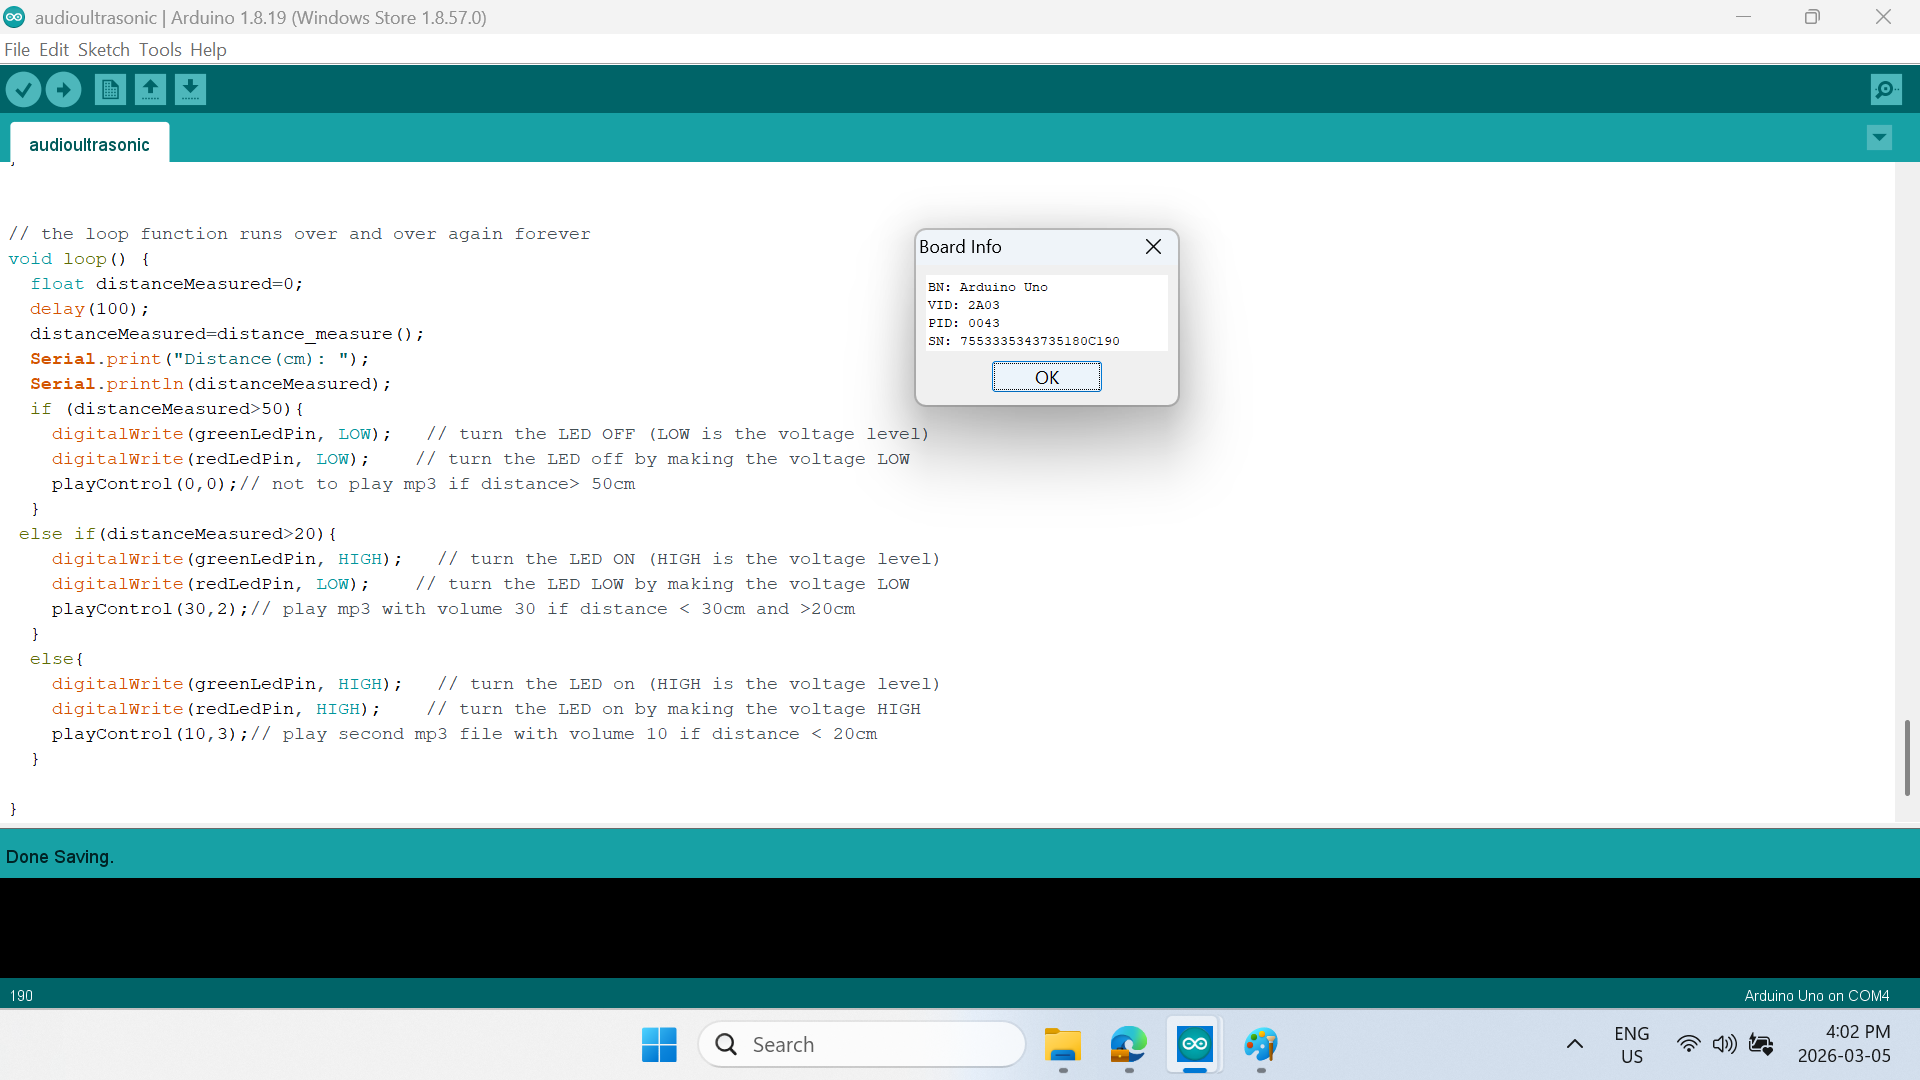
Select the breadboard information window from Tools → Get Board Info menu. If your menu shows the same information depcited below, then your Arduino UNO breadboard has connected successfully to the Arduino IDE software file editor.
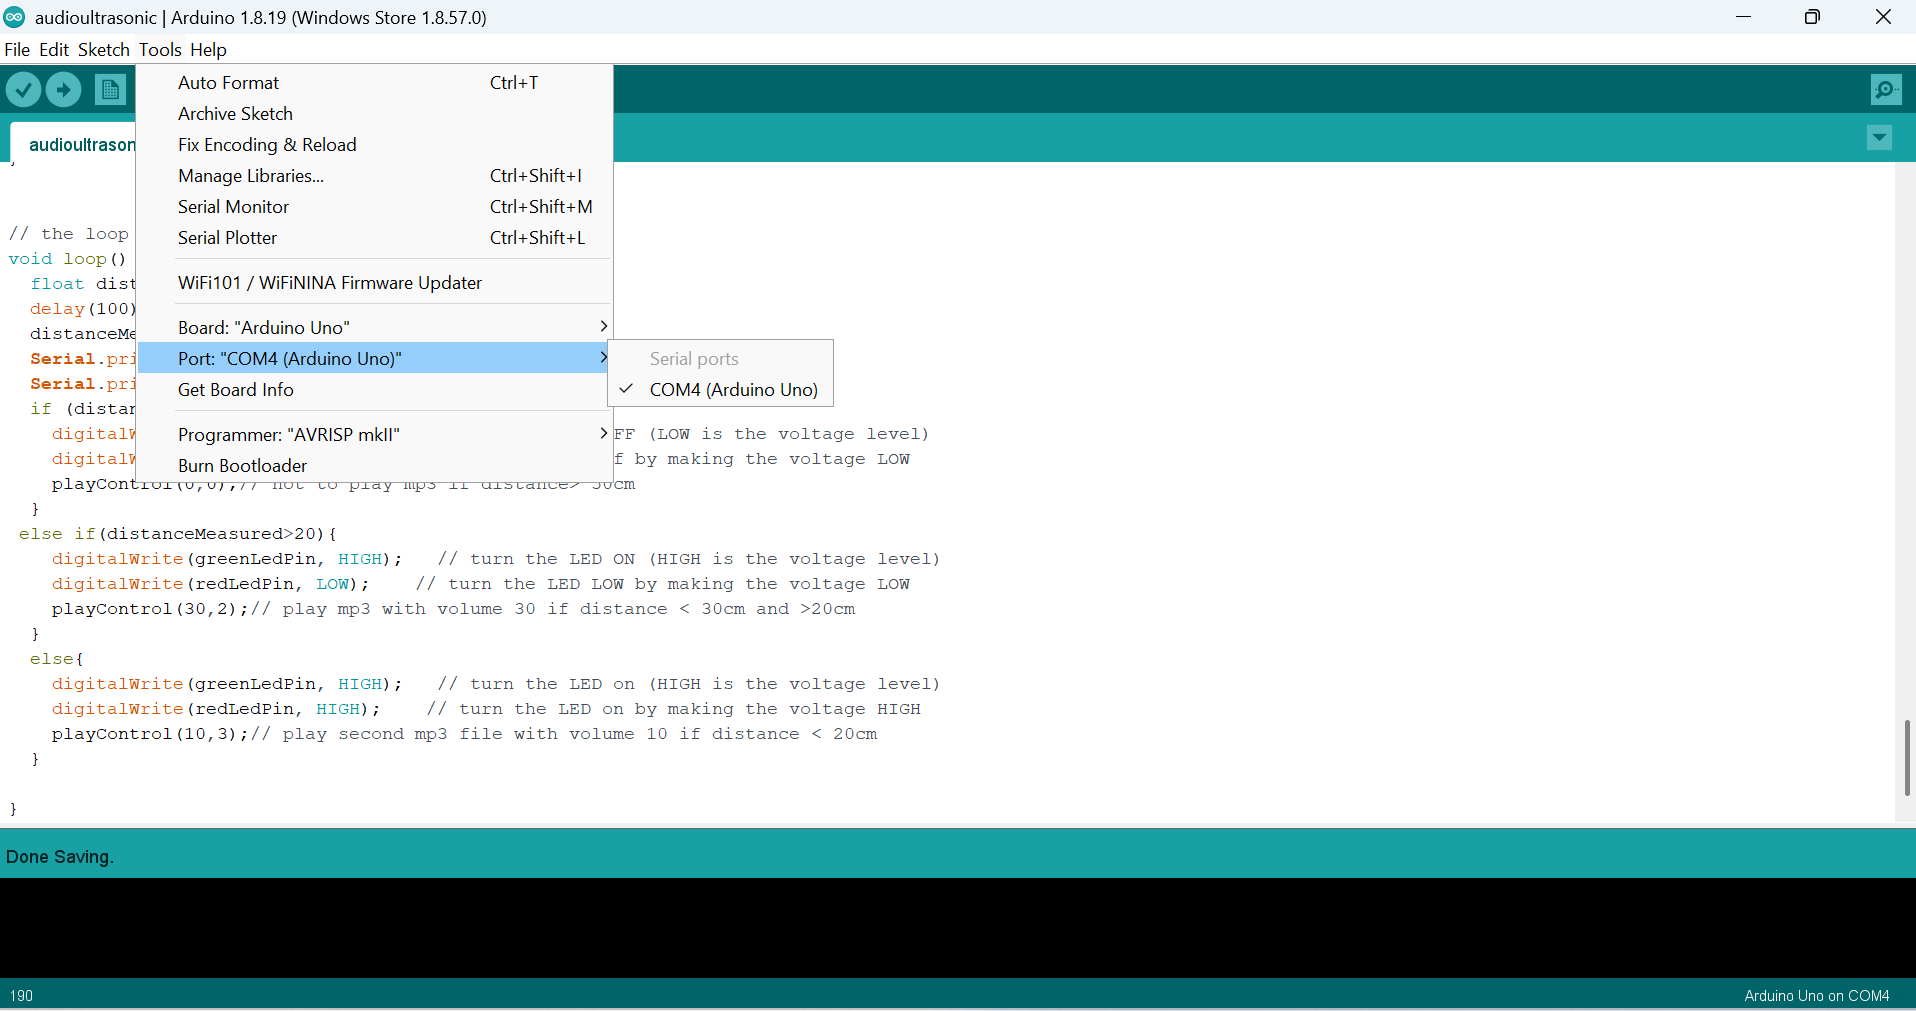
- Select the Com port for the board from the Tools menu. Note that the default value of port number might be different than shown below.
Next, open the Serial Monitor window from the Tools menu by selecting Tools → Serial Monitor.

- Click on the arrow button and upload the codes to the breadboard. Note that your code may take a few seconds to upload.

Now it is time to test if things are working!
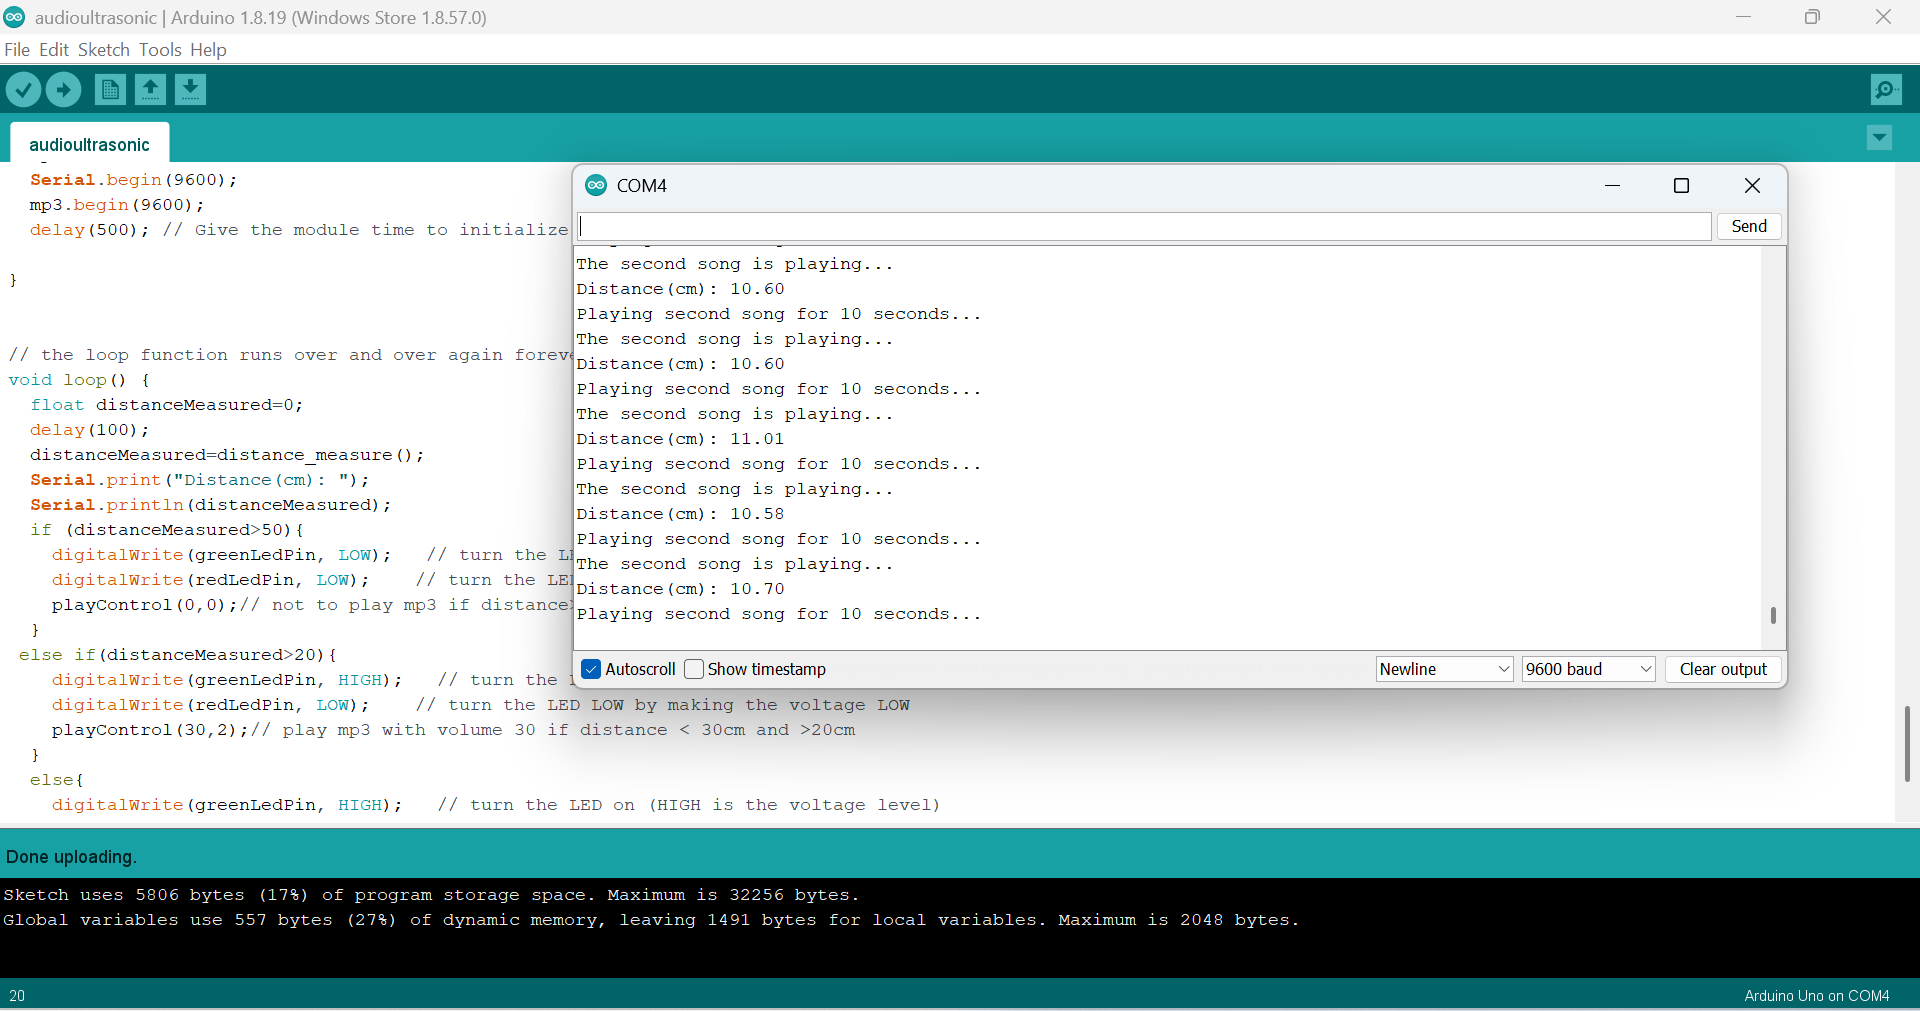
Note that in the In the Serial Monitor window, the system will continuously print distance information and system status.
When there is no object within 50 cm in front of the ultrasonic sensor, the audio player will not play, but will continue outputting the distance information in the Serial Monitor window.
Place your hand or another object closer to the ultrasonic sensor (less than 50 cm) and you should hear music from the speaker! Note that lights on the breadboard should also activate.
If you place your hand or other objects closer to the ultrasonic sensor (less than 20cm), then you should hear another music file play from the speaker. And, both breadboard lights should activate. Important: make sure that your speaker is switched on and that the volume is turned up (click on the “V+” button a few time). Note that you may need to click on the speaker’s “M” button to activate the right mode for the speaker—this is a quirk of the speakers we are using and has nothing to do with our Arduino programming! If you see a tiny, blinking red light on the YX5300 MP3 player module, then your music file is currently playing.
All done!
Next steps
If you want to do more tweaking, you can go back to the Arduino code editor and modify the parameters or variables in the code, recompile, and upload your updated code to the Arduino board to see the results. For example, you could change the sensor’s distance threshold from 50 cm to 80 cm. Or, you could add or change the music files, change the LEDs lights, or change the speaker volume, and more. etc. or change
If something is not working for you, please remember to ask your instructor for help.
Finally, we have another Arduino audio player workshop, using the Arduino MKR WiFi 1010 or MKR Zero. See https://uviclibraries.github.io/arduino/face-to-face_workshop_children/audio-player.html for more.