Split a Long Object in Fusion 360 (Part 1: Simple Split)
If you or your group have any questions or get stuck as you work through this in-class exercise, please ask the instructor for assistance. Have fun!
- Download and install Fusion 360.
- Check your laptop specs to ensure it’s able to run Fusion 360. System requirements are listed here: https://autode.sk/2qg8ryB
- Follow this link: https://autode.sk/3DW7TRB to make an Autodesk account and download Fusion 360
- Launch Fusion 360 and get familiar with how to move around.
- Hold down the mouse wheel and drag to move.
- Press the shift key while holding down the mouse wheel to rotate.
- Scroll the mouse wheel to zoom in and out.
- Click to select.
- Press Esc to clear a selection.
- Download an STL file to split:
- Download the Right_femur.stl file from here
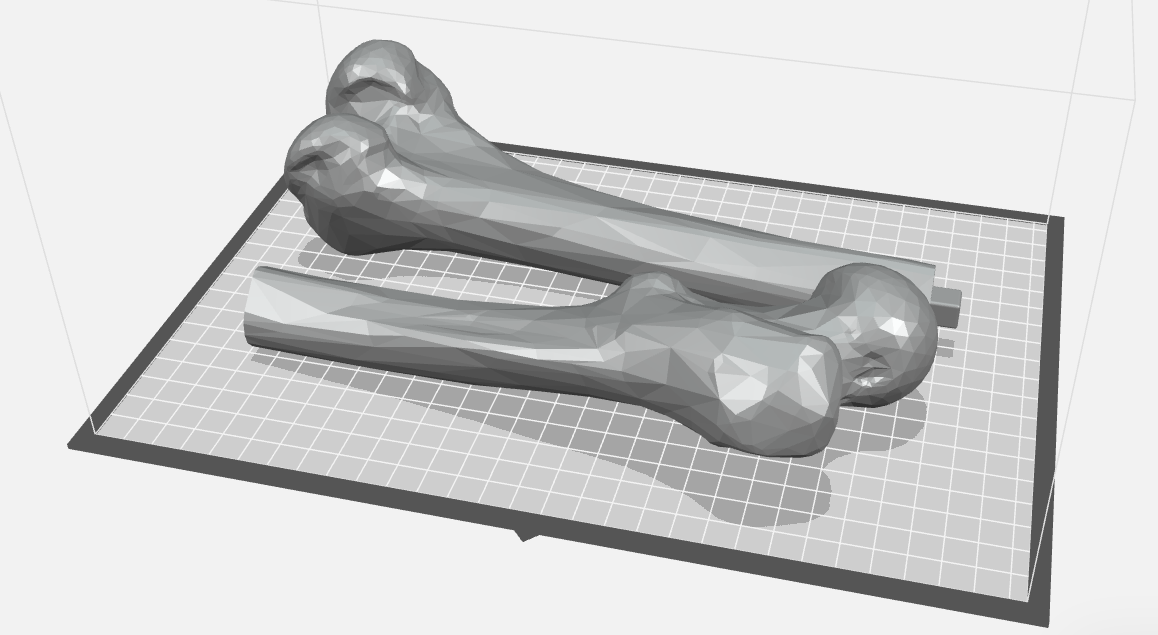
- As you could guess from the description, a femur would be much too long to fit on our printers, so we need to split it into two parts.
- Import Right_femur.stl file into Fusion 360:
- Open Fusion 360, it will automatically make a new part.
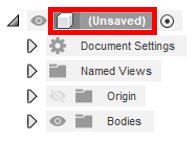
- Right-click on the document name “(Unsaved)”. At the bottom of the pop-up, select Do Not Capture Design History.
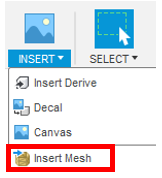
- Click on the Insert drop-down menu on the top navigation bar (see right) and select Insert Mesh. Select the Right_femur.stl file. Click Open.
- In the Insert Mesh pop-up box on the right ensure the Unit Type is in mm, click on the Center button
 then OK.
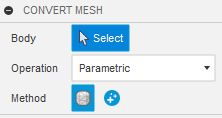
 - Now the model is a mesh body, but not a solid body that can be edited. Click on the Mesh tab at the top, then from the Modify drop-down select Convert Mesh. Click the femur body, then ensure Operation is Parametric and Method is Faceted.
- Right-click on the document name again. At the bottom of the pop-up select Capture Design History. This allows you to go back and edit the features you create.
- Cut the bone into two pieces:
- Click on the Construct drop-down on the top menu and select Offset Plane. Select the YZ plane (see right). Enter a Distance of 5 mm, and press OK.
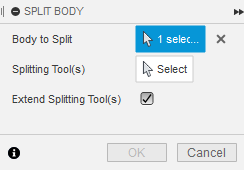
- Click on the Modify drop-down menu & select the Split Body tool
 .
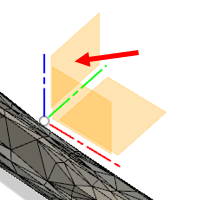
. - First, click on the bone to set it as the Body to Split (it will turn blue). Click on the Select button next to Splitting Tool(s) (see right). Select the plane you made, and a red disk will appear intersecting the bone. Press OK.
- Note: One of the original planes can also be used to split the part but often the original planes don’t intersect the part where we want them, so here we use this method for demonstration.
- Note: Notice that in the design tree there are now two bodies.
- Export as separate STL files:
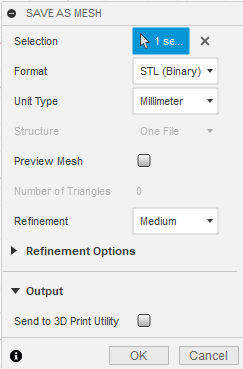
- Right-click on Body1 in the design tree. Select Save As Mesh. Select .stl as the Format and Click OK in the pop-up box. Save it in your desired location.
- Repeat with Body2.
- Click on the Save button to save your Fusion 360 file.
- Congratulations! You now have a printable femur!
Split a Long Object in Fusion 360 (Part 2: Interlocking Features)
- Add a rectangular “peg” to one side of the femur:
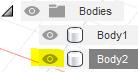
- Hide Body2 by going to the left panel and clicking the eye or lightbulb next to it on the design tree.
- In the top right corner, click on the Right face of the view cube to rotate the bone. While in this view, click on the cut face of the bone and click on the Create Sketch tool
 .
.
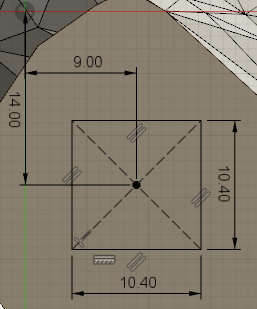
- Click on the Create drop-down menu, click on Rectangle, then click on Center Rectangle. Click somewhere in the middle of the surface and click again to make the rectangle.
- Select the Sketch Dimension tool
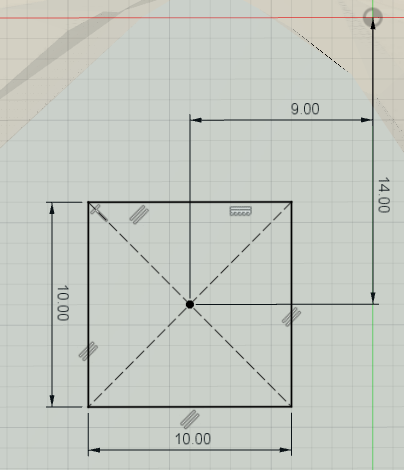
 . Click on the bottom line of the rectangle, then move the mouse down until a dimension is shown. Enter 10 mm as the value. Repeat with the left line. These dimensions can now be dragged closer to the rectangle to improve readability.
 - Click on the center of the rectangle, then on the origin
 move your mouse above the part to create a horizontal dimension, click and enter 9 mm. Repeat in the vertical direction and enter 14 mm. Click on the green Finish Sketch button on the top right of the navigation bar.
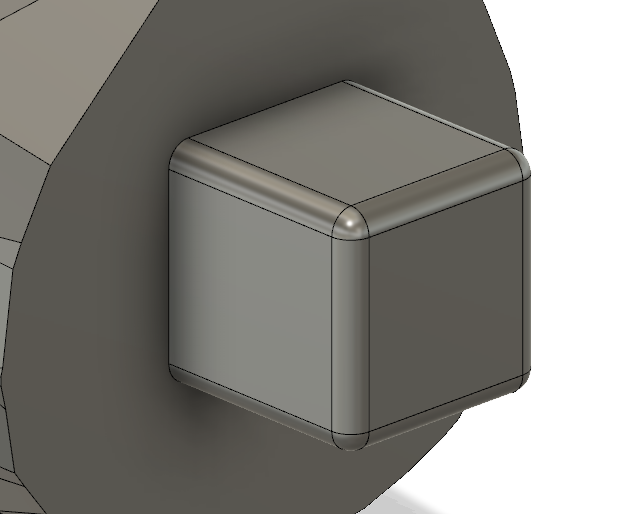
- Click over to the Solid tab and select the Extrude feature
 . Select the inside of the rectangle. Rotate the view so it can be viewed in 3D. Enter 10 mm and click OK.
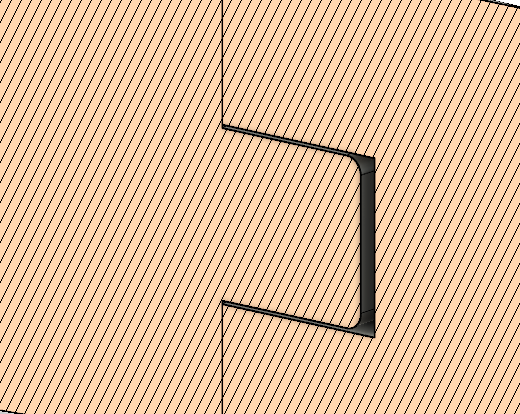
 - Click on the Fillet tool
 . Select the four edges of the square face and the four edges of the extrude. Enter 1mm as the fillet radius and click ok.
- Hide Body2 by going to the left panel and clicking the eye or lightbulb next to it on the design tree.
-
Make a hole in the other side of the femur:
- Hide Body1 by clicking the eye in the design tree and unhide Body2.
- In the top right corner, click on the Left face of the view cube. While in this view, click on the cut face of the bone and click on the Create Sketch tool.
- Make a sketch with dimensions in the picture to the right. Notice that it’s mirrored from the last sketch and that the rectangle is slightly bigger. When done, Click on the green Finish Sketch button on the top right of the navigation bar.
- Click over to the Solid tab and select the Extrude feature. Select the inside of the rectangle. Rotate the view so it can be seen in 3D. Enter -11 mm and click OK.
- Unhide Body1 by clicking the eye again.

- Export as separate STL files:
- Right-click on Body1 in the design tree. Select Save As Mesh. Select STL as the format. Click OK in the pop-up box. Save it in your desired location.
- Repeat with Body 2.
- Click on the Save button to save your Fusion 360 file.
Congratulations! You now have a printable femur!