Adding and Embedding Videos
In this exercise, you will learn how to add and embed downloaded videos and Youtube videos to your blog post.
Adding Downloaded Videos
- If you don’t have a video that you want to edit, let’s start by downloading this video, and saving it to your desktop. It may take 1 or 2 minutes to download. Note: If the video starts playing you will have to right mouse click on the video and select “Save Video As…” to save it to your computer’s desktop using the name goat video.
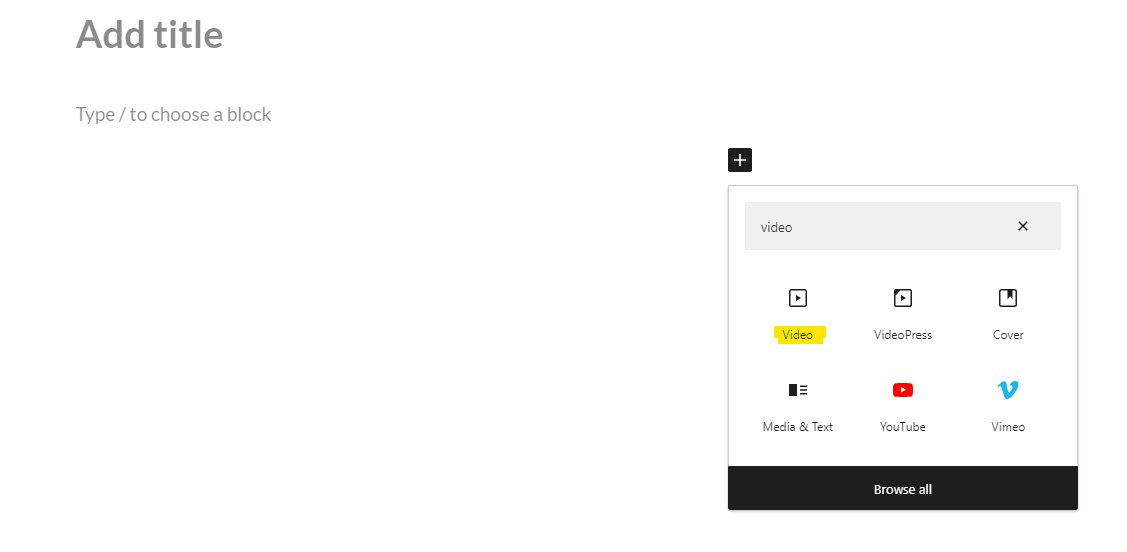
- First click the black + square and in the search bar write video. Click on the video icon.
- Next click upload. find the file of the goat video by searching the file name or finding it on your desktop and selecting the file. Then click open.
- That should add the video within your blog post
- If you wish to remove the video, you must click on the video and press the backspace.
- There are numerous settings on the right side bar, you are welcome to adjust and try them out according to your needs. There are the following options: autoplay, loop, muted, playback controls and play inline. Feel free to toggle any of those on.
Adding a URL or Youtube video
Option 1:
- Like the first step of adding a dowloaded video, click the black + square and in the search bar write video and click on the video icon.
- Instead of clicking upload, click insert from URL
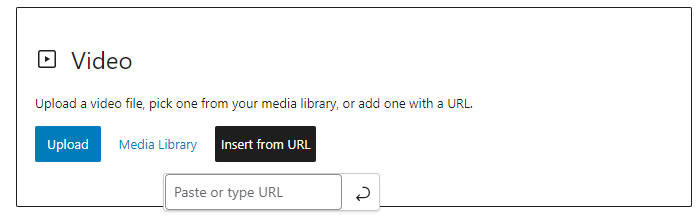
- Insert your desired URL here
Option 2:
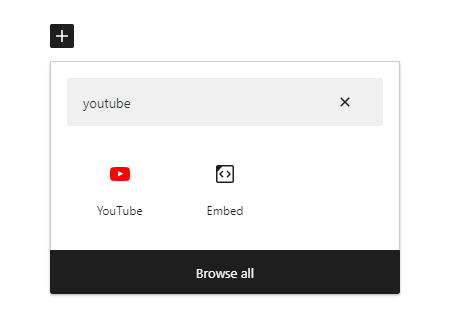
- click the black + square and in the search bar you search Youtube instead of video and the icon will come up. Either option works.
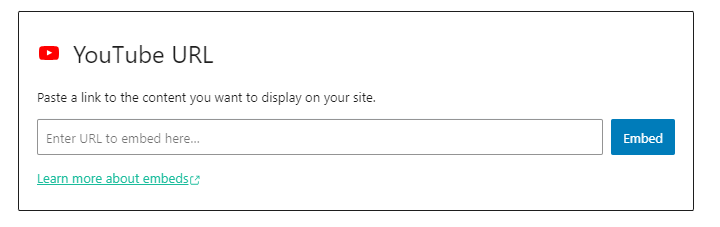
- Next add the Youtube URL and click embed
BONUS ACTIVITY: Interactive Videos on a WordPress Blog with H5P