Basics
In this exercise, you will create and edit a movie using OpenShot Video Editor. If you have any questions or get stuck as you work through this, please ask your instructor for assistance. Have fun!
Pre-class Activity Preparation (if you have not already, please download OpenShot Video Editor).
- Download OpenShot Video Editor (click on the corresponding download format (Linux, OS X, Windows)
-
If you don’t have a video that you want to edit, let’s start by downloading this video, and saving it to your desktop. It may take 1 or 2 minutes to download. Note: If the video starts playing you will have to right mouse click on the video & select “Save Video As…” to save to the Desktop on your computer.
-
Open OpenShot Video Editor by clicking on the OpenShot Video Editor (see the icon that looks like a globe at the top of this page).
- Control/Right click on New Project icon
- Then select “Project Files” from the pull down

- Next click on the “+” button at the top of the OpenShot Video Editor screen.
- Select “Desktop” on the left navigation pane and then select “goats.mp4”
- Finally, click on the file and select “open” on the bottom right of the dialog box.

- Drag the video clip you just imported into the timeline at the bottom of the OpenShot Video Editor screen.

-
First, play the 90-second video by pressing the play button below the video. (Note: pressing the spacebar will start and stop the video which is very handy while editing)
-
Trim 20 or 30 seconds off the end of the video by selecting the video in the timeline and then moving the mouse pointer over the end of the video clip and then drag the handle to the left. The same can be done at the beginning of the video if you’d like.

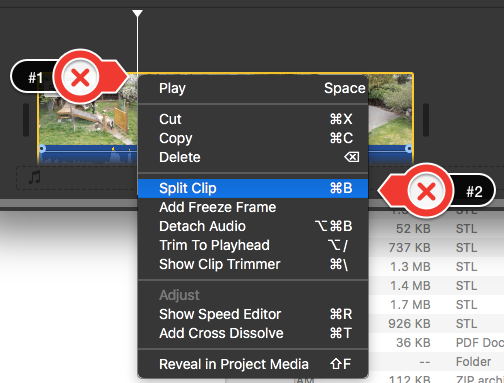
 Next, let’s split the video at approximately the 15-second mark from the beginning. To do this, select the video in the timeline, then control/right mouse click at about the 15-second mark, and finally, select “Slice” and “Keep both Sides”.

- The trimmed and split video should now look like the photo below.

- Now make a transition between the split videos:
- Right mouse click on the first video clip in the timeline, and from the pop-up menu select Fade and then End of Clip and then Fade Out (Slow).
- Right mouse click on the second video clip in the timeline, and from the pop-up menu select Fade and then Start of Clip and then Fade In (Slow).
- Let’s add a title to the video:
- Select the “Titles” menu at the top of your computer screen (or on a Mac by clicking “Command + T” or on Windows “ctrl + T”).
- Edit and the title text, and then press the Save button.
- Drag and drop the title you just created from the “project files” box in the top left of your screen to the left side of your timeline at the bottom of the screen.
- To edit the title text, right mouse click on the Title in the “Project Files” area in the top left of your screen, and then select Edit Title from the popup menu. Edit text as desired.

-
Now add credits for your video by dragging and dropping a credit style “title” from under the “Titles” tab to the end of the video. Edit this same way you edited the title in step #10.
-
Next, let’s mute or reduce the volume of the audio:
- Select a video clip in the timeline.
- Control/Right Click to select “Volume”
- Under the pop-up menu click “Entire Clip”. A percentage of audio volume will be listed in the pop-up menu. Select the volume percentage that you desire.

- Once you’re happy with your edited video you’ll need to export it in order to upload it to YouTube, or share it via Google Photos or some other sharing service:
- Press the Save Project button in the very top left (third icon from the left) of the OpenShot Video Editor window. Give your movie a descriptive name. Select the folder where you want to put your video and press the Save button.
- Once the video is saved you can select the export button
- It will take a few minutes for OpenShot Video Editor to export your video.
- Congratulations, you’ve created and edited a video in OpenShot Video Editor! If you want to post your video to YouTube, just upload the file to your YouTube account.