Processing Images for Juxtapose JS
Juxtapose JS is a free, open source, web-based tool that lets you compare two media objects either images or gifs. For the best results, the two images should have points of visual similarity. A comparison of the same building at different points of time work well, for example, or a comparison of a painting before and after restoration.
This worksheet outlines how to edit two image files in Google Sheets so they can be used most effectively in Juxtapose. The example can be viewed here
Sample pre-processed images for making a Juxtapose are available on Flickr: an image of the McPherson Library in 1963 and a similar image from 2013, and an image of the BC Parliament buildings by day and by night
- Find and save two images to use in the Juxtapose slider. Record the URLs and source information to use later.
- Go to Google Slides. Click Go to Google Slides, then start a new blank presentation.
- In the Layout menu, choose Blank to create a blank slide.
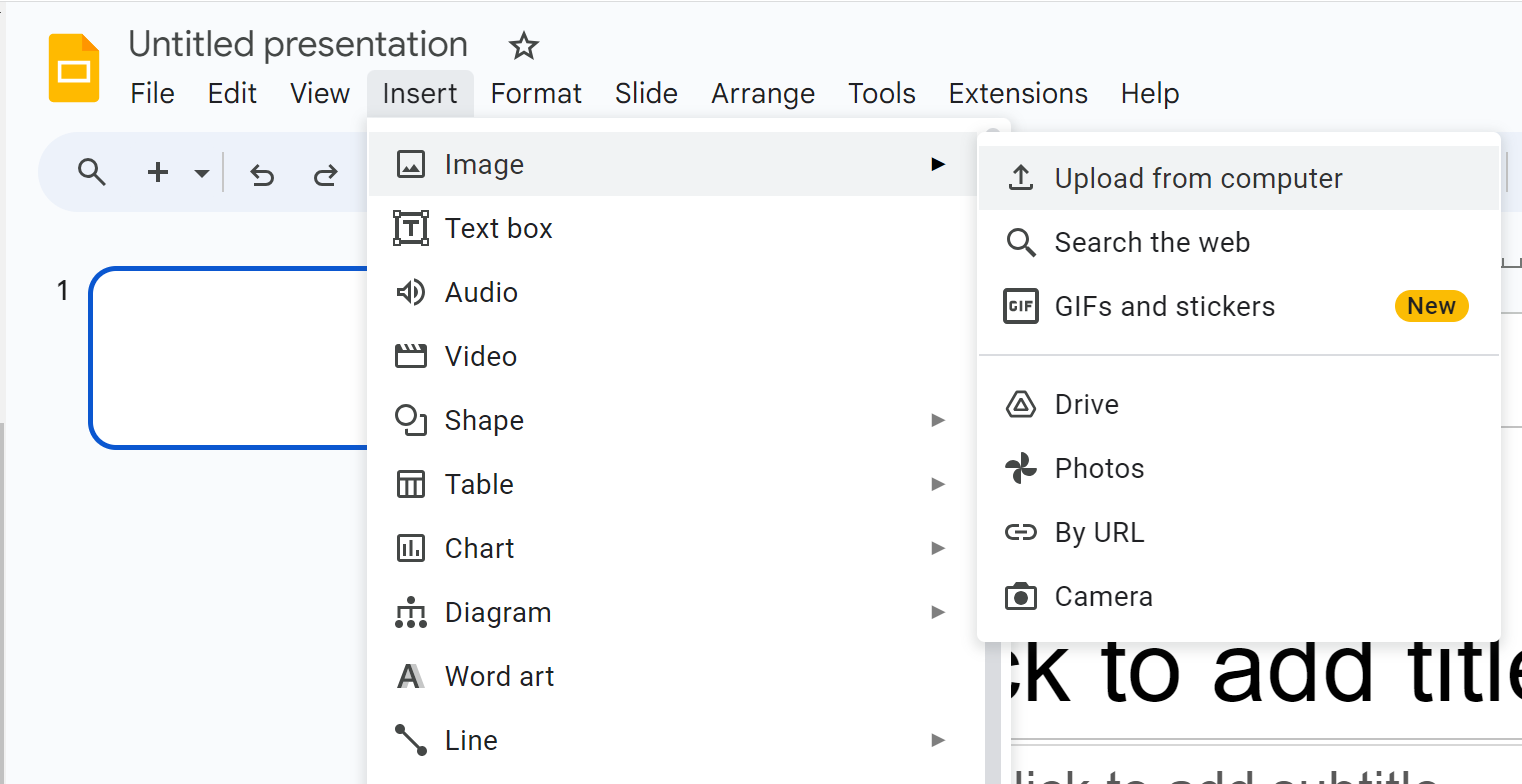
- To add the first image, go to the insert menu and choose Image. then Upload from Computer. Browse to the first image and insert it.
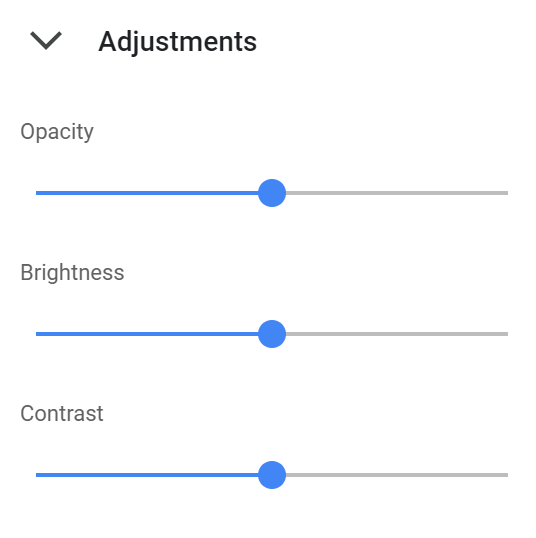
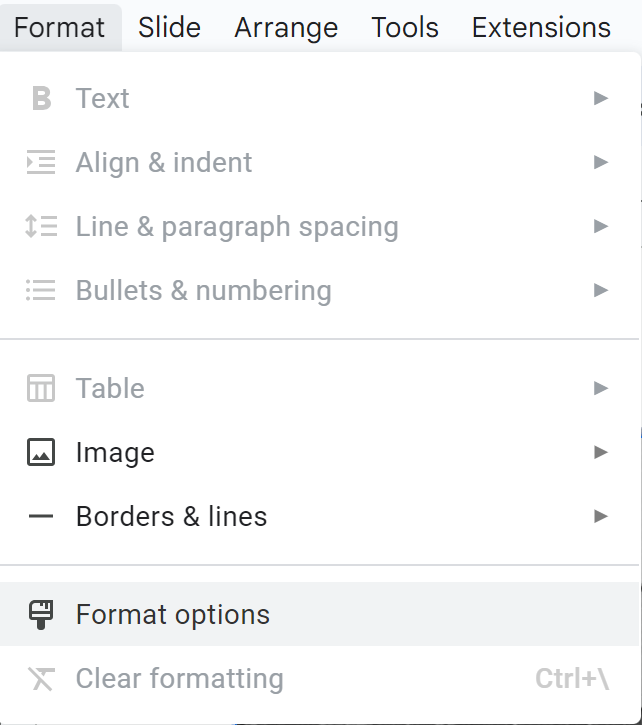
- Add the second image to the same slide. To make it easier to see how the images overlap, go to the Format menu and choose Format Options. Expand the Adjustments menu and set the opacity of the second image to about 50%. You should be able to see the first image through the second image.
- Line up the images as much as possible, using one point as an achor. In this example, the images are of the same building but taken from different angles. The first image was enlarged so the building matched the size of the second building, and the images are lined up at the roofline.
- Crop images so that they are both the same size by double-clicking each image in turn and dragging the “crop” handles so that they are both the same size.
- Add a new blank slide, then copy and paste the second image onto it. Return its opacity to 100%.
- Download both images as jpg or png files. Go to File then Download as, then choose the desired format. You’ll need to do this twice, once for each photo.
- Using an image editor, such as Paint 3D on a PC or Preview on a Mac, crop both images to remove the white background.
-
- Finally, upload the two images to Flickr or Dropbox, making sure to check and adjust the privacy settings so that they are publicly available. You will need a URL for each image to create the Juxtapose slider.
- To create a Juxtapose slider, follow the instructions on the activity sheet called Introduction to Comparison Visualizations with Juxtapose JS.
Congratulations on processing your first images to use in Juxtapose JS!