Publish Your Twine Story or HTML Files on the Web Using GitHub Pages
If you and your group have any questions or get stuck as you work through this in-class exercise, please ask the instructor for assistance. Have fun!
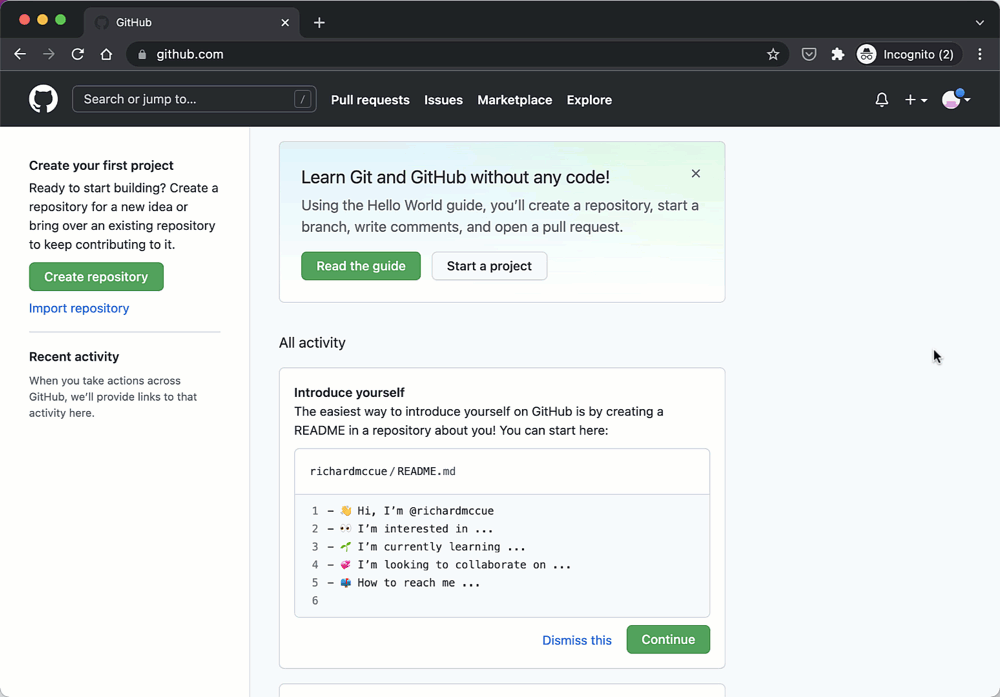
- Signup for a GitHub Account (if you’d like you can watch this narrated video on YouTube of the GitHub account creation process):
- Go to the GitHub.com website and click on the Sign up button on the top right of the web page.

- Enter your email address in the field provided. Press Continue.
- Create a password for your GitHub account. Press Continue.
- Enter a username to be associated with your email address. Press Continue.
- Note: Your username will be publicly visible, and your email address will not be publicly visible, so if you’d like a measure of anonymity, use a pseudonym for your user name.
- If you’d like GitHub product updates type “y” and press Continue, otherwise type “n” and press Continue.
- Complete two puzzles to let GitHub know that you are a real person and not a bot, and then press Create account.
- An 8-digit code will be sent to your email address. Please copy that code and paste in into the Enter code field.
- Click on the Just me button, the Student button and then press Continue.
- Click on the Collaborative coding check box, then scroll to the bottom of the page and press Continue.
- Scroll to the bottom of the page and press Continue for free.
- Congratulations, your account is setup!
- Go to the GitHub.com website and click on the Sign up button on the top right of the web page.
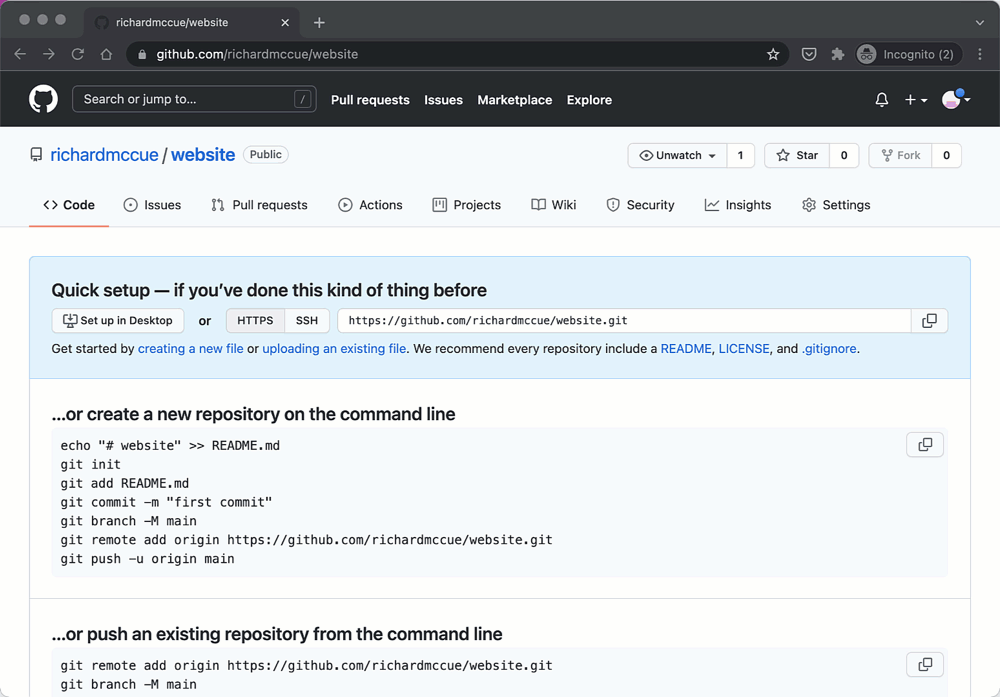
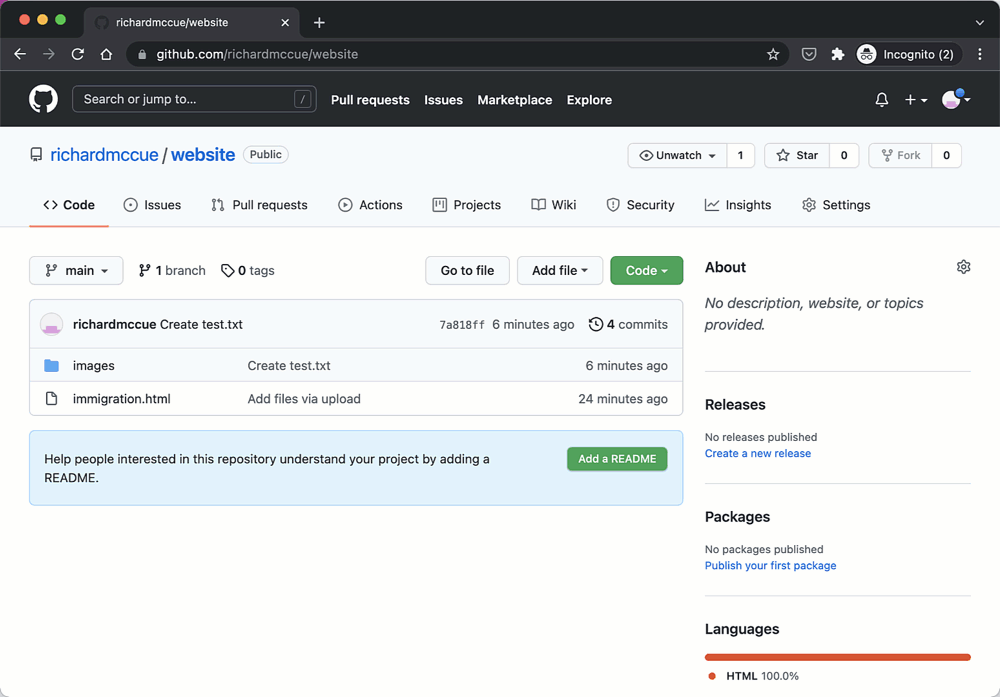
- Create a repository for your web pages (if you’d like you can watch this narrated video of how to create a repository in your GitHub account:
- Click on the green Create repository button on the left side of the screen.
- Type the name you want to give your repository in the Repository name field. You can choose your own name, but if you can’t think of something, go ahead and type in “website”.
- If you’d like your GitHub website to be publicly viewable leave the default setting, or change to Private if you’d prefer (you can change this in the future of course).
- Click on the Create repository button.
- Congratulations, you’ve created a repository to put your web pages in!
- Click on the green Create repository button on the left side of the screen.
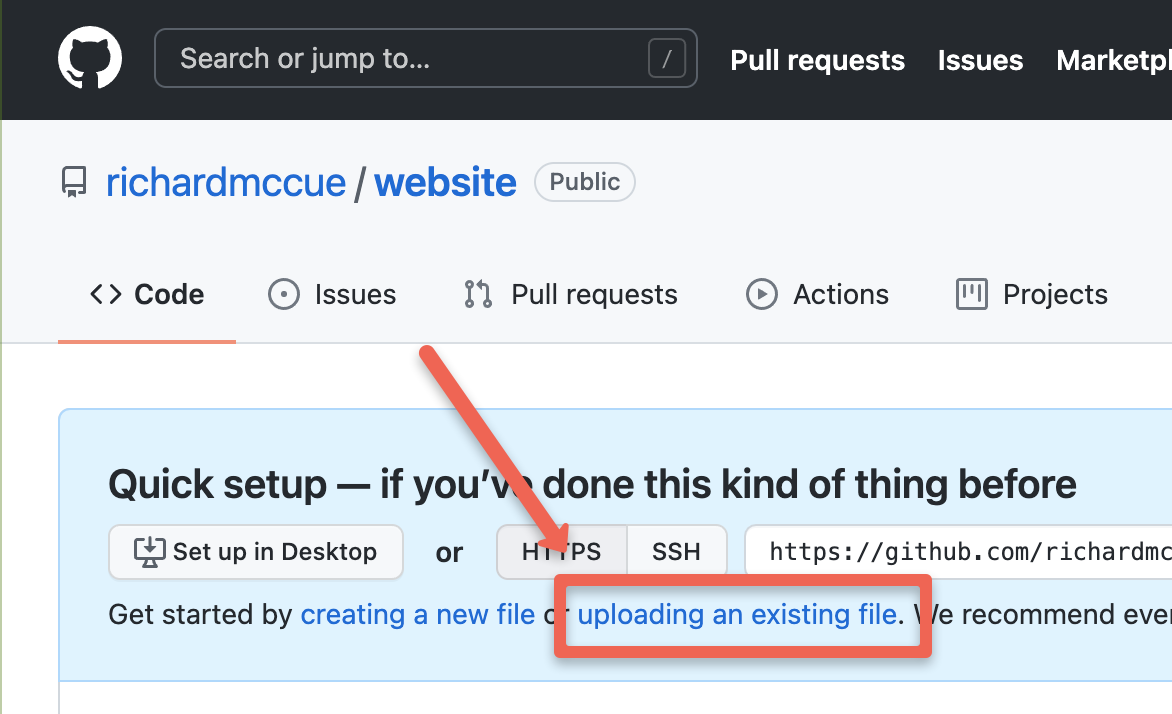
- Upload your first Twine story or other files (if you’d like you can watch this narrated video of how to upload your Twine story to GitHub:
- Rename your Twine file name to index.html or if you don’t see the “.html” file extension, just rename it, index.
- Click on the upload an existing file link.
- Click on the choose your files link.
- Find your index.html or index file your local hard drive, and then select the file, and the press the Open button.
- After the file finishes uploading, scroll to the bottom of the page, and click on the green Commit changes button.
- Congratulations, you’ve uploaded your first file to your new GitHub repository!
- Rename your Twine file name to index.html or if you don’t see the “.html” file extension, just rename it, index.
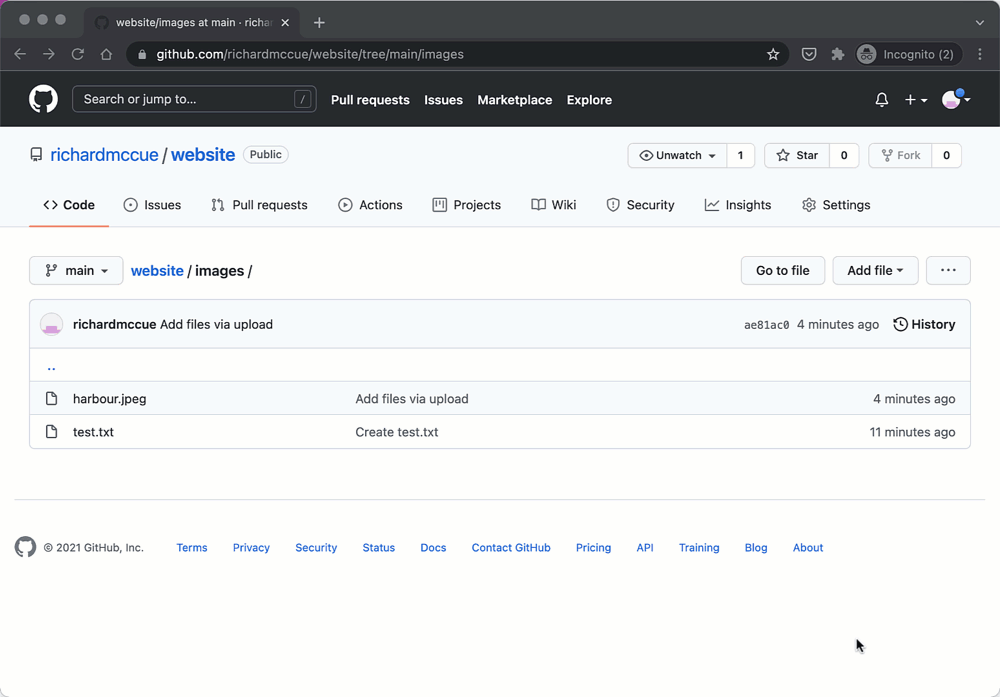
- Create an Images Directory to store photos in for your web page or twine story. This is necessary for personal photos that aren’t already publicly available on the web (if you’d like you can watch this narrated video of how to create an image directory:
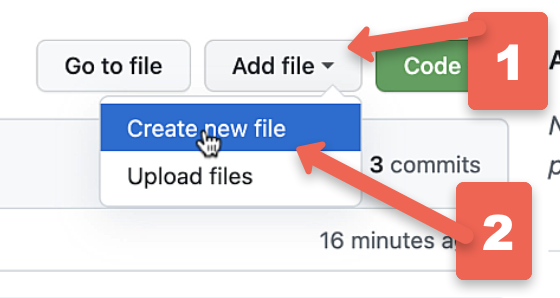
- Click on the Add file drop down menu.

- Then select Create new file.
- In the field that has Name your file… in grey text inside it, type: images/test.txt and then press the Enter key.


- Scroll to the bottom of the page and press the green Commit new file button.
- Congratulations, you’ve created an images folder for your new GitHub repository!
- Click on the Add file drop down menu.
- Upload an image to your images folder in your GitHub repository (if you’d like you can watch this narrated video of how to upload an image to your new image directory:
- Note: It is much easier for you as you create a GitHub website if you modify the file names for your images to make them short, descriptive, without spaces, and all lower case (eg: “inner-harbour.jpg” instead of “Victoria Inner Harbour in the afternoon.jpg”).
- You should be in your images folder, but if you aren’t click on the images directory folder.

- Click on the Add file drop down menu.
- Then select Upload files.
- On the next webpage click on the blue choose your files link in the middle of the page and select an image file, or drag and drop your images into the middle of the page (remember that your life will be easier if you rename your files before you upload them so that they are short, and don’t have any spaces in the file name - eg: black-dog.jpg)
- Scroll to the bottom of the page and press the green Commit new file button.
- Repeat this process for each image file, or select multiple image files to upload them at the same time.
- Note: It is much easier for you as you create a GitHub website if you modify the file names for your images to make them short, descriptive, without spaces, and all lower case (eg: “inner-harbour.jpg” instead of “Victoria Inner Harbour in the afternoon.jpg”).
- Enable GitHub Pages to make your website public (if you’d like you can watch this narrated video of how to enable GitHub Pages:
- Click on the Settings button on the top right of the webpage.
- On navigation menu on the left side of the screen, scroll down to the Pages button near the bottom of the menu and click on it.
- Near the top of the webpage under the “Source” header, select the None drop down menu, then select main, and then click on the Save button.
- Your new web address will be displayed on your page in the blue box (eg: https://richardmccue.github.io/website). It will take a few minutes before GitHub has - created your website, so if you click on it an you get an error message wait at least 1 minute before trying again.
- Click on the Settings button on the top right of the webpage.
- Great job on creating your first GitHub Pages website!