Bonus Activity: Changing Colours
In this activity we will be changing the colours of objects in a photo (note: this does not work on white or black objects). If you have any questions, please ask!
- Download this image for the exercise
- Open the photo in GIMP by going to File -> Open in the upper menu. Find where you saved the photo and open it. If your browser automatically saved it for you, it is probably in your Downloads folder. It may pop up with another window asking to Convert to RGB Working Space. (Note: there are certain circumstances where you may need to convert an image to a different color profile, such as when importing from a scanner or camera. But in this case, it is not necessary.) Click on Keep. If you wanted to do this project using one of your own images, it would be best to create a duplicate first, as described in previous activities.
- Click on the Zoom Tool (magnifying glass) in the left toolbar to zoom in a bit on one of the apple halves so you can see it better.


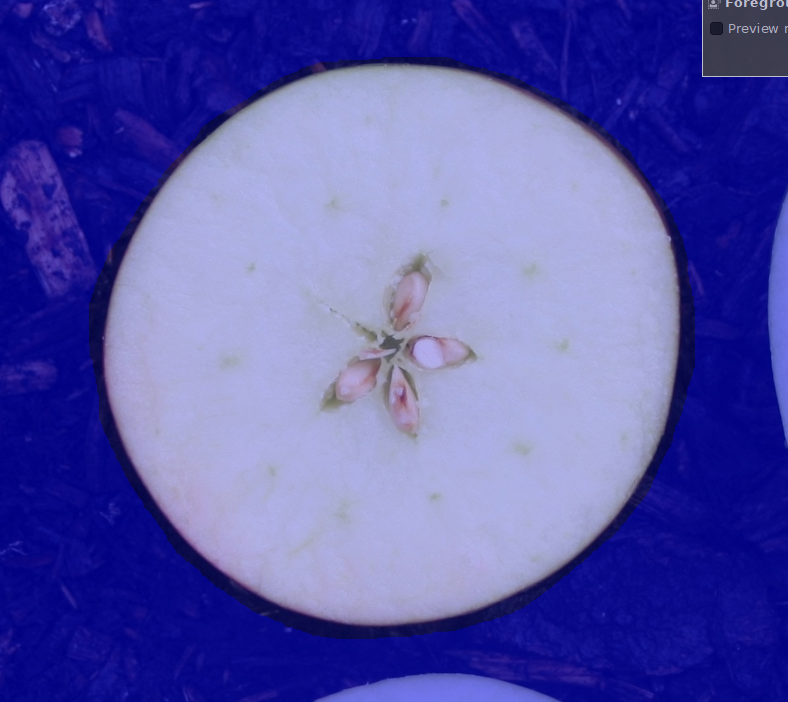
- Click on the Foreground Select Tool (picture of a person with a square behind it) in the left toolbar.

Note: In newer versions of GIMP, the foreground select tool might not be automatically visible in the left toolbar. In this case you can access it by hovering over the Free Select Tool (picture of a lasso), clicking and holding the left mouse button such that a small menu appears, and then dragging your mouse while still holding down the left mouse button to the foreground select option, releasing over it to select. Use the foreground select tool to click and drag a rough selection around one of the apple halves (see example). When you get around to the end of the selection, the end circle of the selection points will turn orange to indicate it is the end join.
- Hit the Enter key. This will turn everything outside the selection blue and change your selection tool into a circle. Use this to paint a selection over the inside of the apple slice (you can adjust the Stroke Width to make it larger in the tool options on the left if needed). Don’t worry about getting all the way over to the edge, just stay inside the outlines of the apple. When finished, click the Select button in the small Foreground Select box in the upper right corner.

-
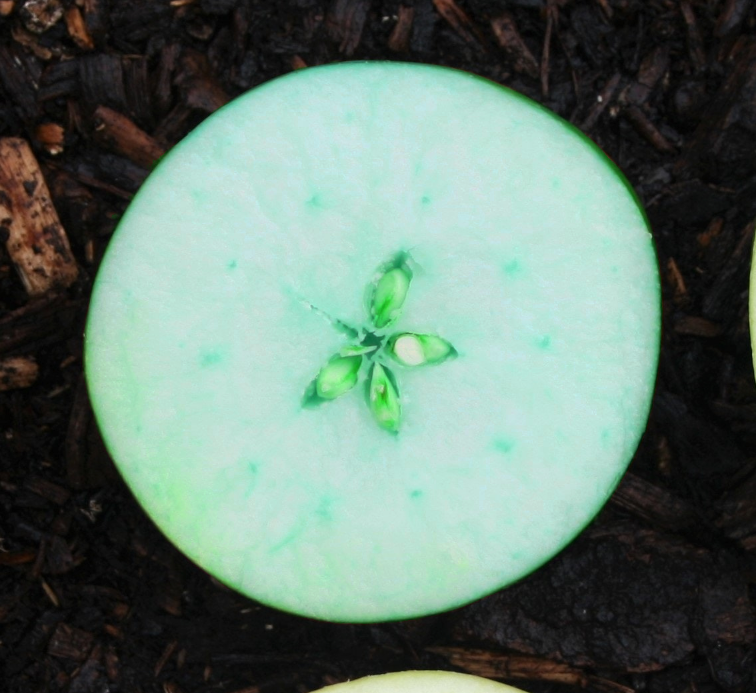
You should now have a selection line around the edges of the apple. Click on colors in the upper menu and then click on Hue-Saturation. This will bring up a dialog box. Increasing Hue will bring the colour into the greens and blues, decreasing it will bring the colour into the orange, red, and purple range. You can increase the Saturation for more intense colour as well. Click OK. <div id="gif3">
 </div>
 - Click Select in the top menu and then click None, to release the selection around the apple. You can repeat these steps on the other apple slices with different (or the same) colours, as practice.
- Note: If the selection you chose was not accurate enough in steps 5 and 6, you can use the different mode buttons in Foreground Select to practice adding and subtracting from current selection to fine tune.
- Save: Click on File -> Save As in the upper left corner. We are going to save this in the GIMP .xcf format, which is the working format within GIMP that will preserve the layers. Choose where you would like to save the file, and give it a name you will remember. Click Save. You can export a JPG or PNG of the image using instructions from Activities #1 or #2
Bonus: Another image to practice with: https://unsplash.com/photos/YDZbFOOnLsE