Activity 1: Cropping and Saving Photos for Online Use
Let’s start with using GIMP to crop and export a smaller version of a photo. If you have any questions, please ask!

-
Go to this image. Click on the green Free Download button to save it
- Open the photo in GIMP by going to File -> Open in the upper menu.

- Find where you saved the photo and open it. If your browser automatically saved it for you, it is probably in your Downloads folder. It may pop up with another window asking to Convert to RGB Working Space. (Note: there are certain circumstances you may need to convert an image to a different color profile, such as when importing from a scanner or camera. But in this case, it is not necessary.) Click on Keep

- Find where you saved the photo and open it. If your browser automatically saved it for you, it is probably in your Downloads folder. It may pop up with another window asking to Convert to RGB Working Space. (Note: there are certain circumstances you may need to convert an image to a different color profile, such as when importing from a scanner or camera. But in this case, it is not necessary.) Click on Keep
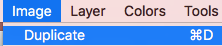
- We are first going to make a copy of this image before we edit it so that we keep a full size copy of our original. To do this, click on Image in the top menu and then click on Duplicate.
- This will create a new copy of the image. You will now see above your image that you have two tabs open in GIMP with the thumbnails of the two files. If you click on the thumbnails, a little “X” appears next to the active one and at the top of the software the filename appears. The new copy will be called [Untitled] until you save it with a new name.
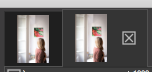
- Make sure you are working in the one you plan to resize. It’s best to close the original to avoid confusion by clicking on the little “X” next to the thumbnail

- This will create a new copy of the image. You will now see above your image that you have two tabs open in GIMP with the thumbnails of the two files. If you click on the thumbnails, a little “X” appears next to the active one and at the top of the software the filename appears. The new copy will be called [Untitled] until you save it with a new name.
- Crop Tool:
- Click on the Crop Tool in the left toolbar. The Crop Tool options will appear below the toolbar on the left. Click to select Fixed Aspect Ratio. In the field below it, enter 4:6 to change the aspect ratio to the same as that of a 4x6 photo.

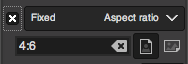
- Next to the input field there are the Portrait and Landscape option buttons to change the orientation of the crop
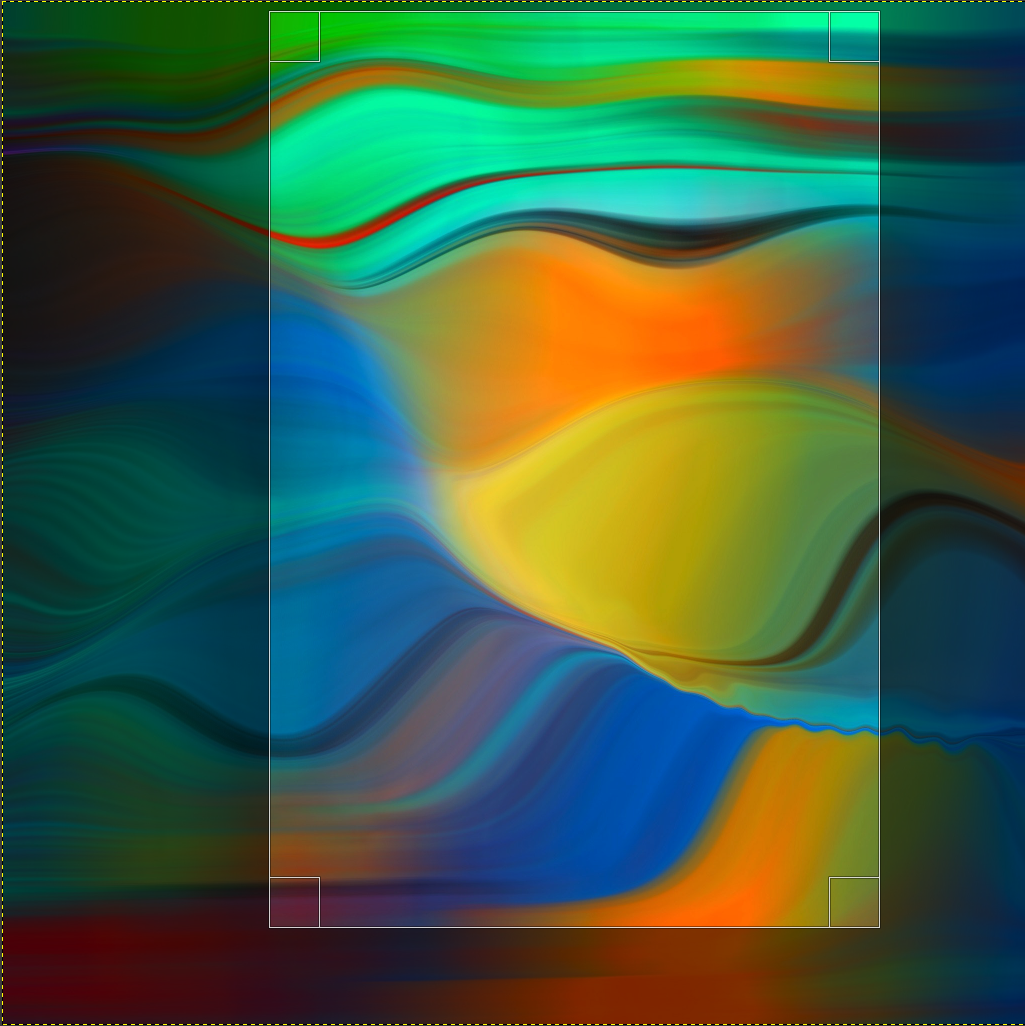
- Note: If you uncheck Fixed, you can drag over the photo to freely crop where you want. You can use the mouse to drag the crop window up and down to reposition it and drag the corners to resize the crop. The darker areas outside the window will be cropped out. If you click outside the crop window, it will start a new crop window
- When satisfied with the placement of the crop window, hit the Enter key on your keyboard to apply the crop

- Click on the Crop Tool in the left toolbar. The Crop Tool options will appear below the toolbar on the left. Click to select Fixed Aspect Ratio. In the field below it, enter 4:6 to change the aspect ratio to the same as that of a 4x6 photo.
- Scale Image: If you need an image to be a particular pixel size for a project that is much smaller than the image you are starting with, you will need to scale it down first before cropping. The image in this example is 2048 pixels high. If we needed to resize it for a 700px by 460px project, these are the steps to take:
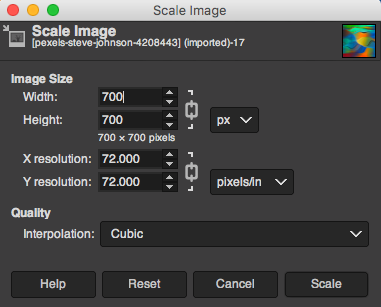
- (Before we begin, go to File -> Revert or Edit -> Undo to reset this image back to a square.) Click on Image -> Scale Image in the top menu. This will bring up a dialog box with Scale Image options
- Set Width to 700 pixels. This will automatically change the Width to preserve the aspect ratio. Click the Scale button to complete it

- The image is now showing as tiny on the screen. To view it larger, go to View -> Zoom -> 1:1 (100%). This will show you the 100% view of the image

- Next, this image is 700 by 700, which isn’t yet the size that was needed. We will need to use Crop to cut it down to 700 by 460. Click on the Crop Tool in the left hand toolbar.
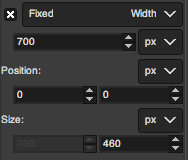
- Change the Fixed dropdown to Width, then set it to 700 in the field below it (see screenshot to the right). Make sure Fixed is checked with an X.
- Drag the crop window over the image. You’ll notice that it stays the same width but drags over the image in the other direction to your chosen size and the number in the Crop information under Size changes as you drag. Keep dragging until you hit the target number. In this example, it is 460. Release the mouse button
- As in the earlier instructions, you can click inside the crop window to move it around and adjust the position and then hit the Enter key when ready to finish the crop

- Save: Since we already have the original large version of this file and haven’t created any editing layers, we don’t need to save any extra versions of this. We can export it as a new, smaller image for our purposes
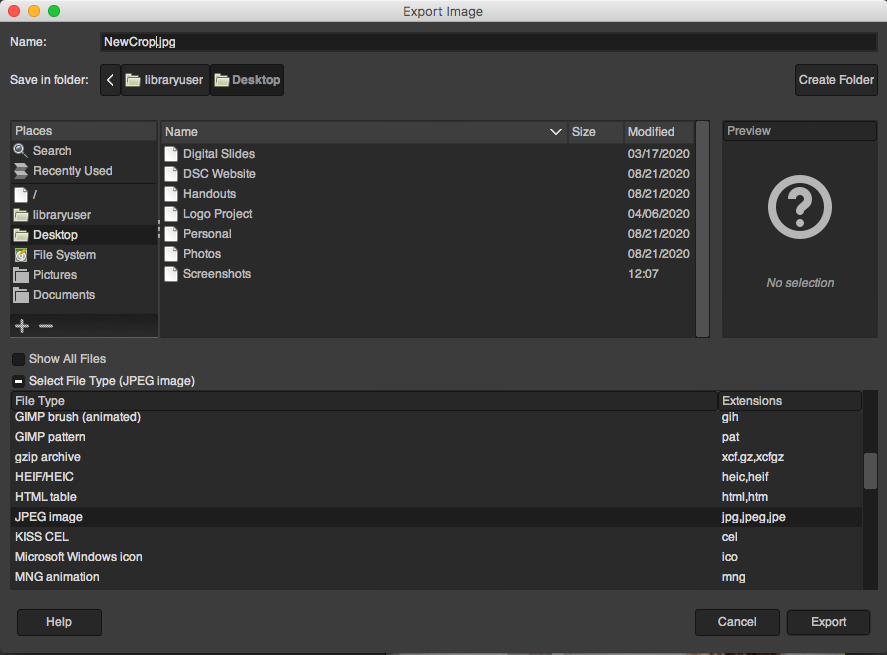
- Click on File -> Export As. This will bring up an exporting dialog box. The default is to save this as a PNG file. You can either keep this and simply change the name of the file from “Untitled” to something else in the top of the box, or you can change the file type by clicking on Select File Type in the bottom of the box. JPEG image is a common option for photos shared online. Make sure to give the file a name other than “Untitled”
- Click the Export button - Another box will pop up with Quality and other options. Click Export