Section Preview
Before you begin, take a look at the final result you’ll be working towards in this section:

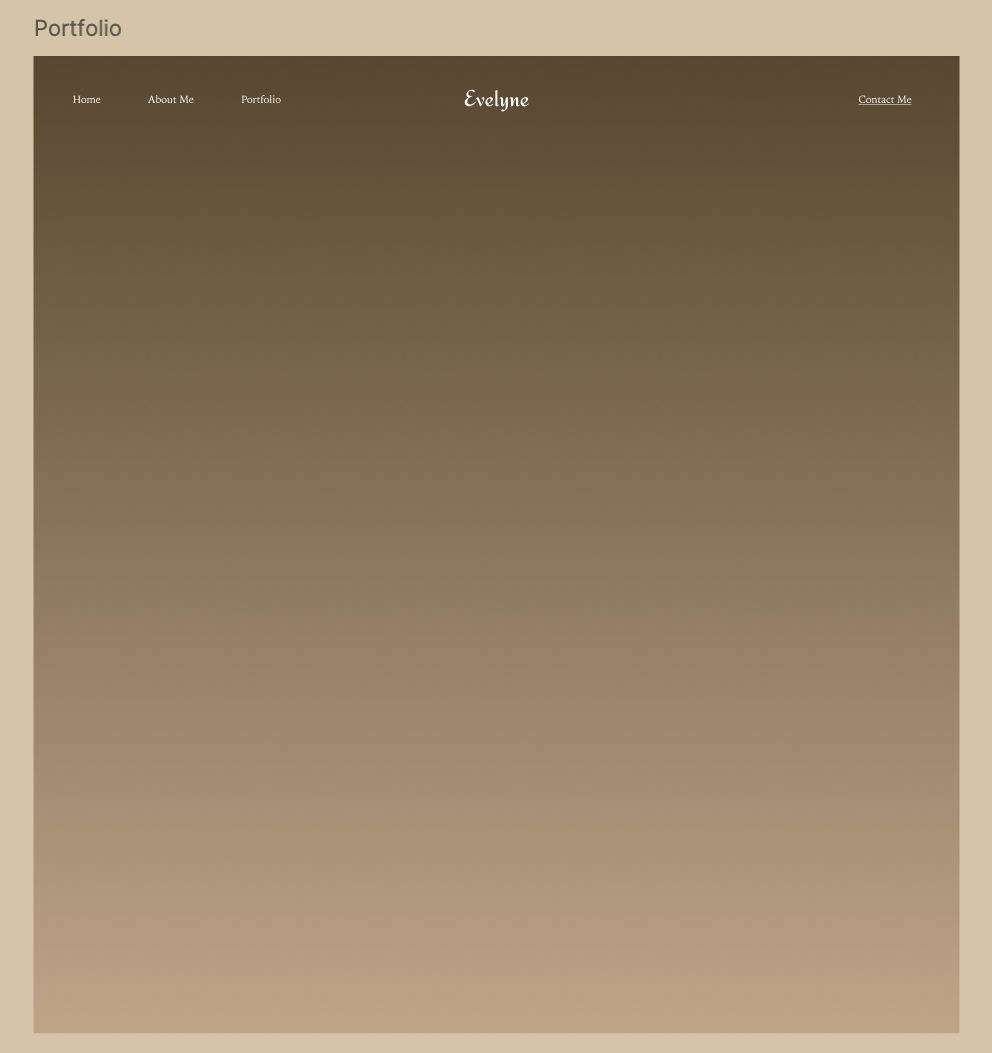
Setting Up the Portfolio Page
The Portfolio Page showcases featured projects in a clean and structured layout. To begin, we will duplicate the Home Page frame and modify it to fit the portfolio content.
Create the Portfolio Page Frame
- In the layers panel, select the Home frame and duplicate it using Command + D on Mac or Control + D on Windows.
- Clear all its content asides from the Header
- Double-click on the frame name (new one should be named the same as the one you duplicated it from) and rename it to “Portfolio”
- On the Right Sidebar, increase the height of the frame to 1520 to allow more content to fit onto the Portfolio frame.
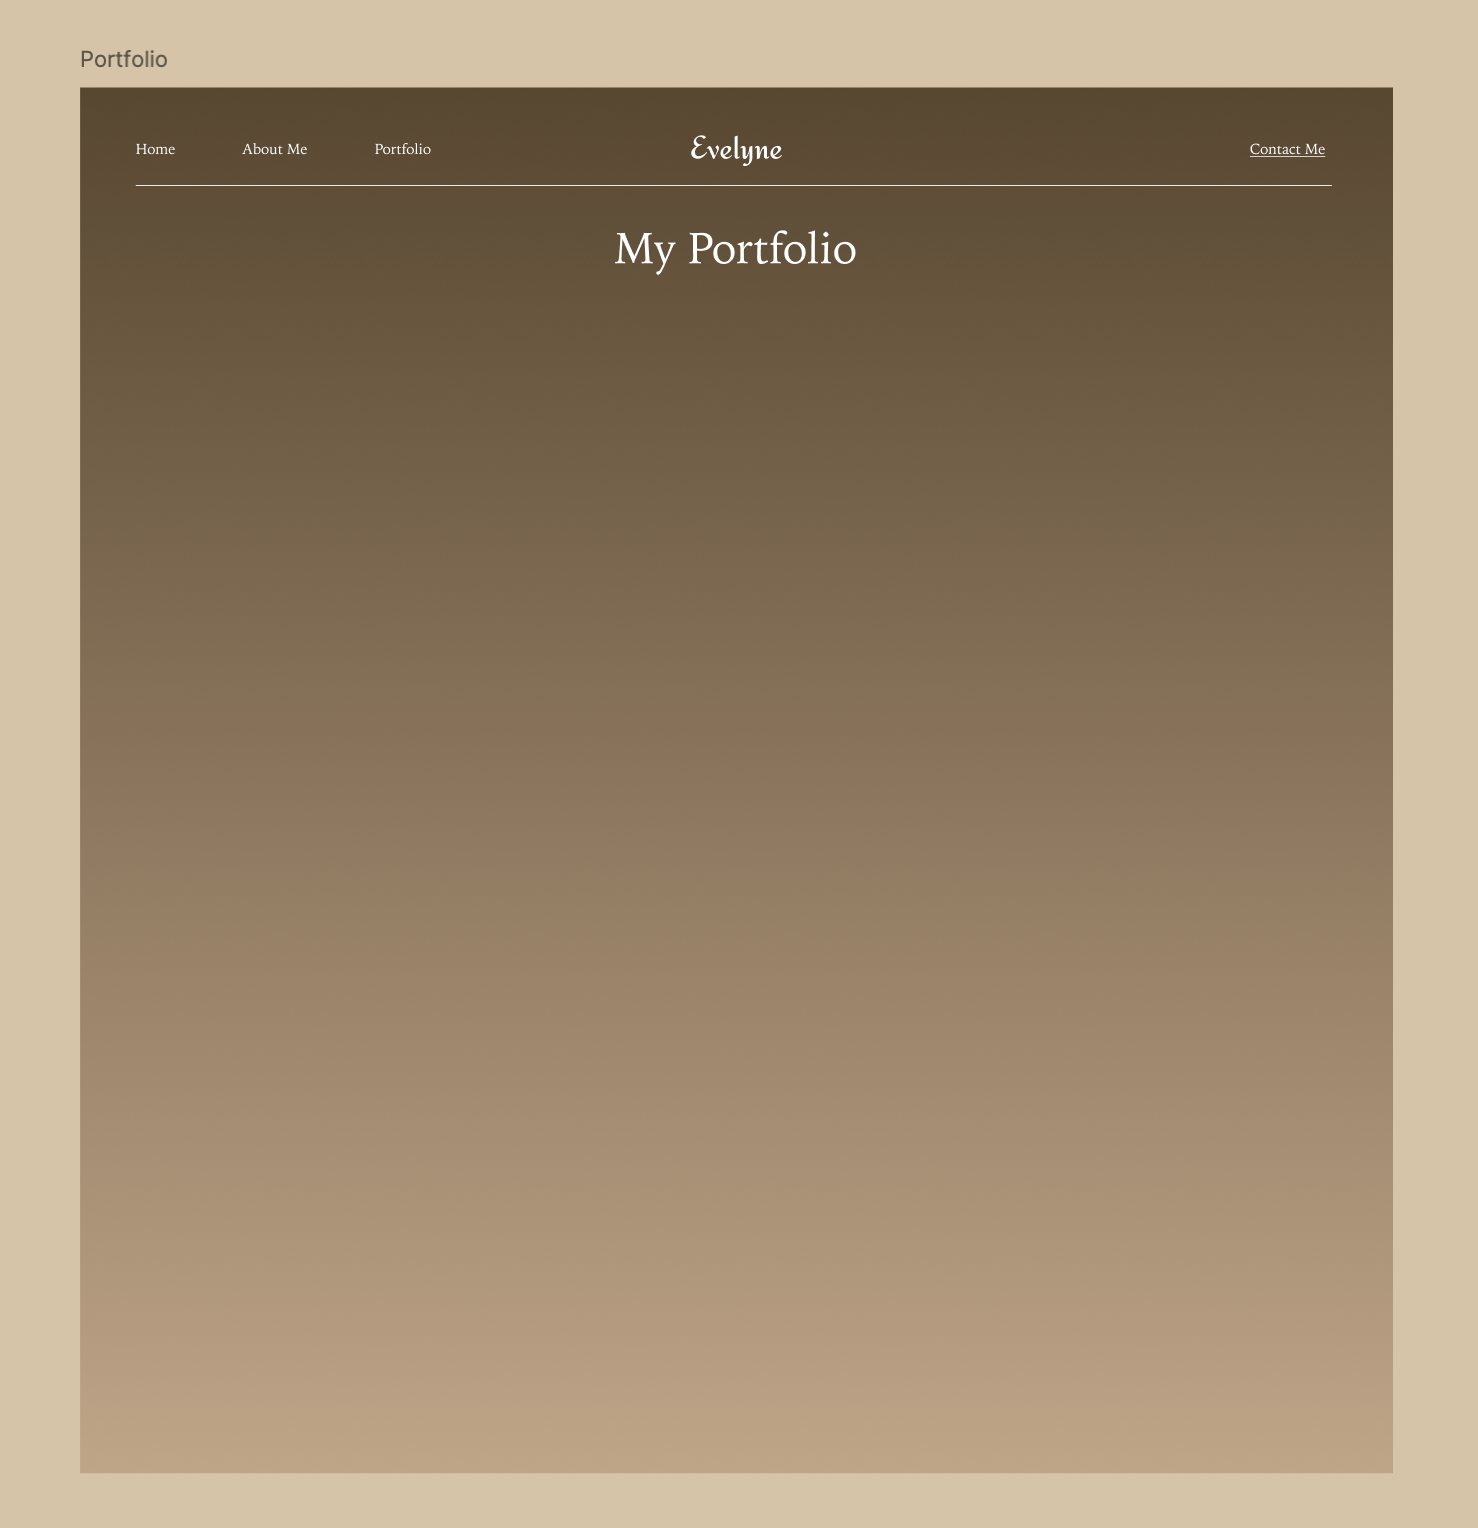
Adding a Divider Line
To separate the navigation from the portfolio content, we will add a thin white line below the header.
- Select the Portfolio Frame.
- On your keyboard, press L to activate the Line Tool, or click the Line icon from the bottom toolbar.
- Click and drag to draw a horizontal line under the header.
- In the Right Sidebar, adjust the line properties:
- Color: White (#FFFFFF)
- Stroke Weight: 1px
- Length: Stretch it from the left edge of “Home” to the right edge of “Contact Me”.

Grouping the Header and Divider
To keep the header and the new divider aligned properly, we will apply Auto Layout.
- Select both the Header Group and the White Line in the Layers Panel.
- Right-click and choose Add Auto Layout from the menu.
-
In the Right Sidebar, under Auto Layout Settings, set the Vertical Spacing to 21.

Adding the “My Portfolio” Title
Now, we will add a title to introduce the portfolio section.
- Ensure the Portfolio Frame is selected in the Layers Panel.
- On your keyboard, press T to activate the Text Tool, or click the Text icon in the bottom toolbar.
- Click inside the Portfolio Frame and type: “My Portfolio”
- In the Right Sidebar, set the typography properties:
- Font Family: Noto Serif JP
- Font Size: 48
- Font Weight: Regular
- Text Color: White (#FFFFFF)
- Text Alignment: Center
- Position the title below the divider, ensuring it is centered using the alignment guides.
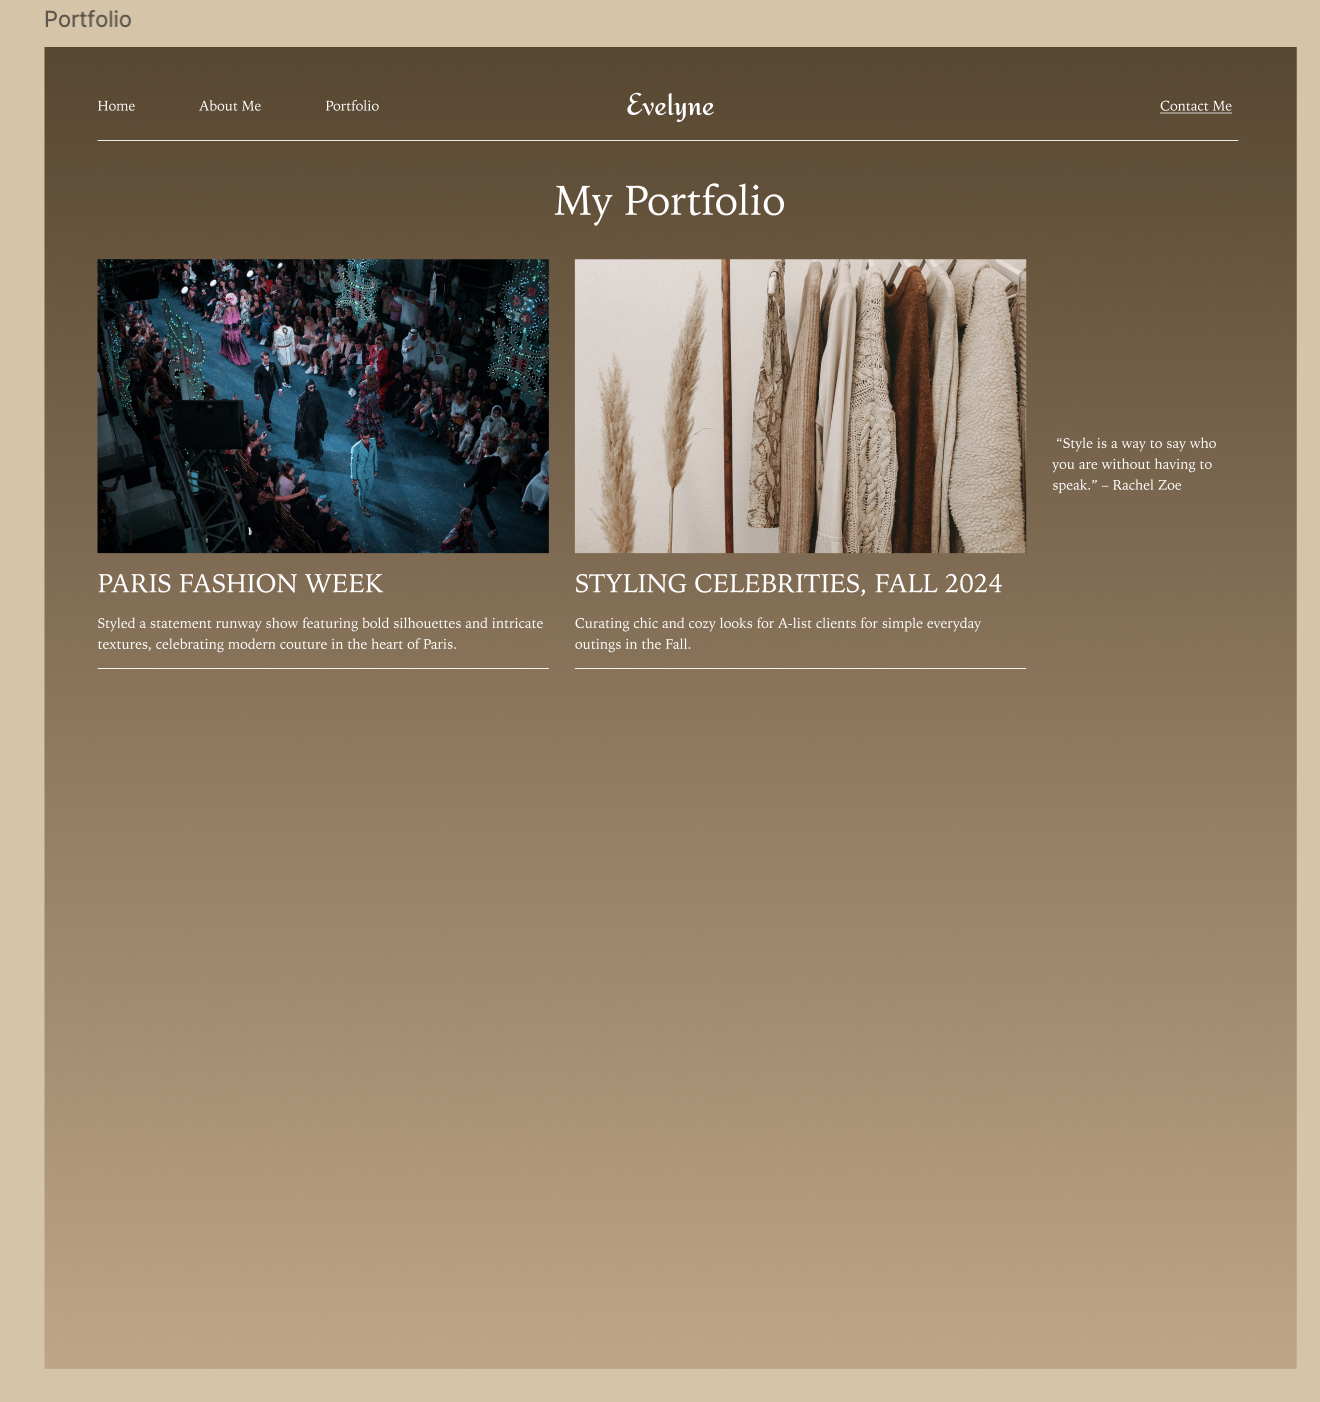
Creating a Single Project Card
In our design, a Project Card consists of an image, a title, and a short description.
Creating the Card Structure
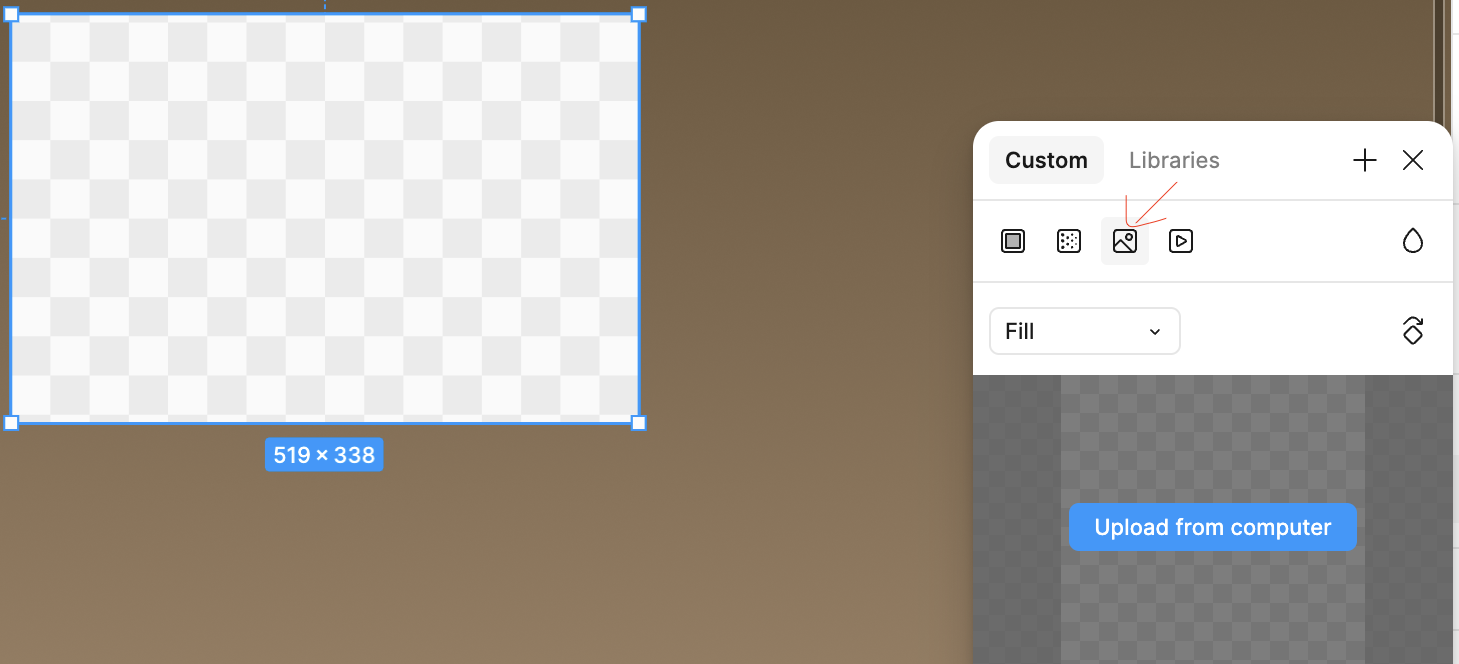
- On your keyboard, press R to activate the Rectangle Tool, or click the Rectangle icon in the bottom toolbar.
- Click and drag to create a rectangle that will serve as the image container.
- In the Right Sidebar, set the image dimensions to:
- Width: 519
- Height: 338
- In the Fill section of the right sidebar, click the color box, then select the Image icon and upload the image that is titled “people-fashion-show”.
- On your keyboard, press T to add a text layer below the image and type a project title, such as: “Paris Fashion Week”
- Adjust the text properties:
- Font Family: Noto Serif JP
- Font Size: 20
- Font Weight: Regular
- Text Color: White (#FFFFFF)
- Text Case: Uppercase
- Add another text layer below for the project description, keeping it to two lines max:
Styled a statement runway show featuring bold silhouettes and intricate textures, celebrating modern couture in the heart of Paris. - In the Layers Panel, select the image, title, and description, and use the shortcut Shift + A to create an Auto Layout.
-
Adjust the vertical spacing between elements to 16
- In the layers panel, select the auto layout we just created and add a bottom border by heading over to the right sidebar to configure the following settings:
Duplicating and Replacing Content
Now, let’s create another project card by duplicating the current one and replacing the content.
- In the layers panel, select the auto layout that we recently created.
- Right-click and select Duplicate.
- Replace the image, title, and description with the following:
- Title: Styling Celebrities, Fall 2024
- Image: the image titled “hanging-brown-clothes”
- Description:
Curating chic and cozy looks for A-list clients for simple everyday outings in the Fall.
Ensure that all project descriptions fit into two lines max for consistency.
Adding a Quote
Now, let’s add a fashion-related quote after the second project card.
- On your keyboard, press T to create a new text layer.
- Type the following quote:
“Style is a way to say who you are without having to speak.” – Rachel Zoe - In the Right Sidebar, set the typography properties:
- Font Family: Noto Serif JP
- Font Size: 16
- Font Weight: Regular
- Text Color: White (#FFFFFF)
- Text Alignment: Left
- Adjust the width of the text layer to 214 so that it fits into about three lines
- Position the quote to the right of the project cards.
Creating a Horizontal Auto Layout
Now, we will group the two project cards and the quote into a horizontal Auto Layout.
- Select the two project cards and the quote.
- Right-click and choose Add Auto Layout.
- In the Right Sidebar, set the direction to horizontal and adjust the spacing to 30
Duplicating the Horizontal Auto Layout
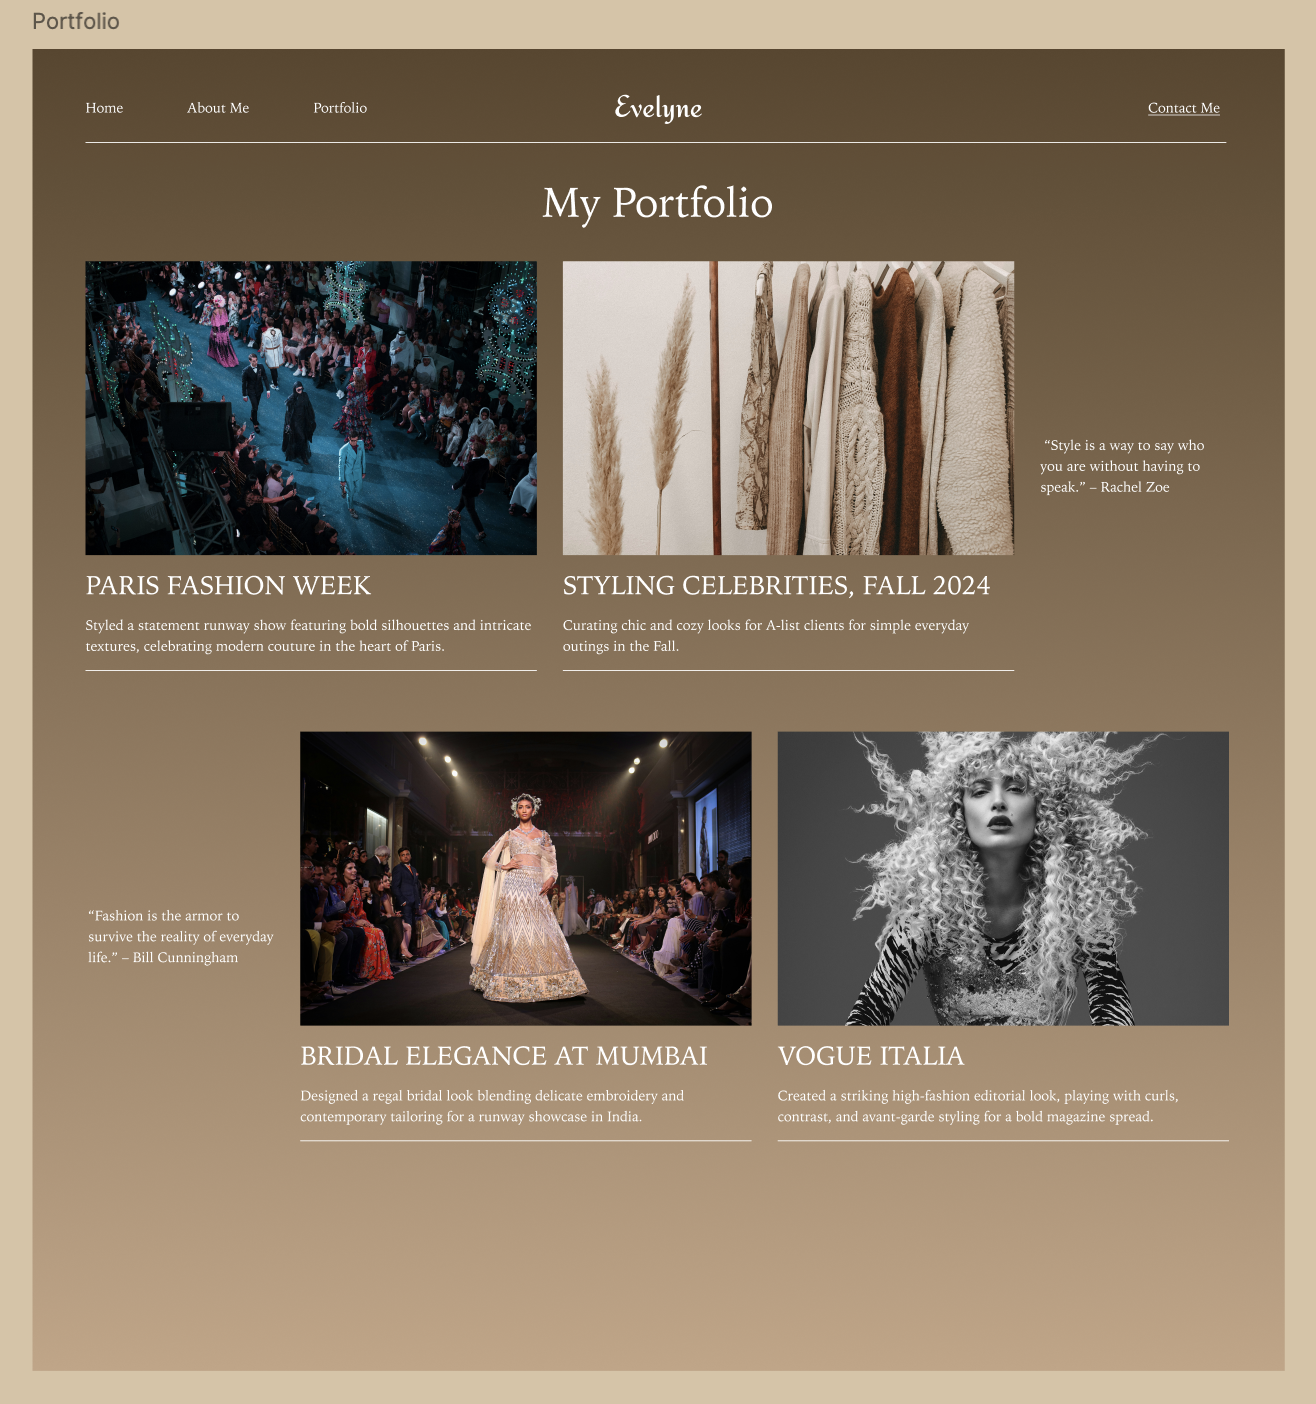
Now, let’s create the second row of projects by duplicating the first horizontal Auto Layout and placing it below.
- Select the Horizontal Auto Layout in the Layers Panel.
- Right-click and choose Duplicate.
- Drag the new Auto Layout below the first one.
- Rearrange the quote so that it is placed first in this row. You can do this easily by selecting the text layer and hitting the left arrow key on your keyboard.
- Replace the quote in this new Auto Layout with:
“Fashion is the armor to survive the reality of everyday life.” – Bill Cunningham - Replace the images, titles, and descriptions with the remaining content:
- Title: Bridal Elegance at Mumbai
- Image: the image titled “standing-lady-fashion-show”
- Description:
Designed a regal bridal look blending delicate embroidery and contemporary tailoring for a runway showcase in India.
- Title: Vogue Italia
- Image: the image titled “woman-in-black-and-white”
- Description:
Created a striking high-fashion editorial look, playing with curls, contrast, and avant-garde styling for a bold magazine spread.
Ensure that each project description is no longer than two lines for a clean look.
Creating the Footer
To complete the Portfolio Page, we will add a simple footer with a copyright notice and a horizontal line for separation.
Copying the Header Line
- Select the Portfolio Frame.
- On your keyboard, press L to activate the Line Tool, or click the Line icon from the bottom toolbar.
- Near the bottom of the frame, click and drag to draw a horizontal line. Ensure that the line stretches across the same width as the one in the header.
- In the Right Sidebar, adjust the line properties:
- Color: White (#FFFFFF)
- Stroke Weight: 1px
Adding the Copyright Text
- On your keyboard, press T to activate the Text Tool, or click the Text icon in the bottom toolbar.
- Click below the newly placed line and type:
© Copyright <insert current year> - Evelyne Stark - In the Right Sidebar, set the typography properties:
- Font Family: Noto Serif JP
- Font Size: 16
- Font Weight: Regular
- Text Color: White (#FFFFFF)
- Text Alignment: Center

—
Now that the footer is complete, the Portfolio Page is fully designed! The next step is adding an animation to link the Portfolio navigation link and the “My Portfolio” button on the Home Page to the Portfolio Page