Section Preview
Before you begin, take a look at the final result you’ll be working towards in this section:
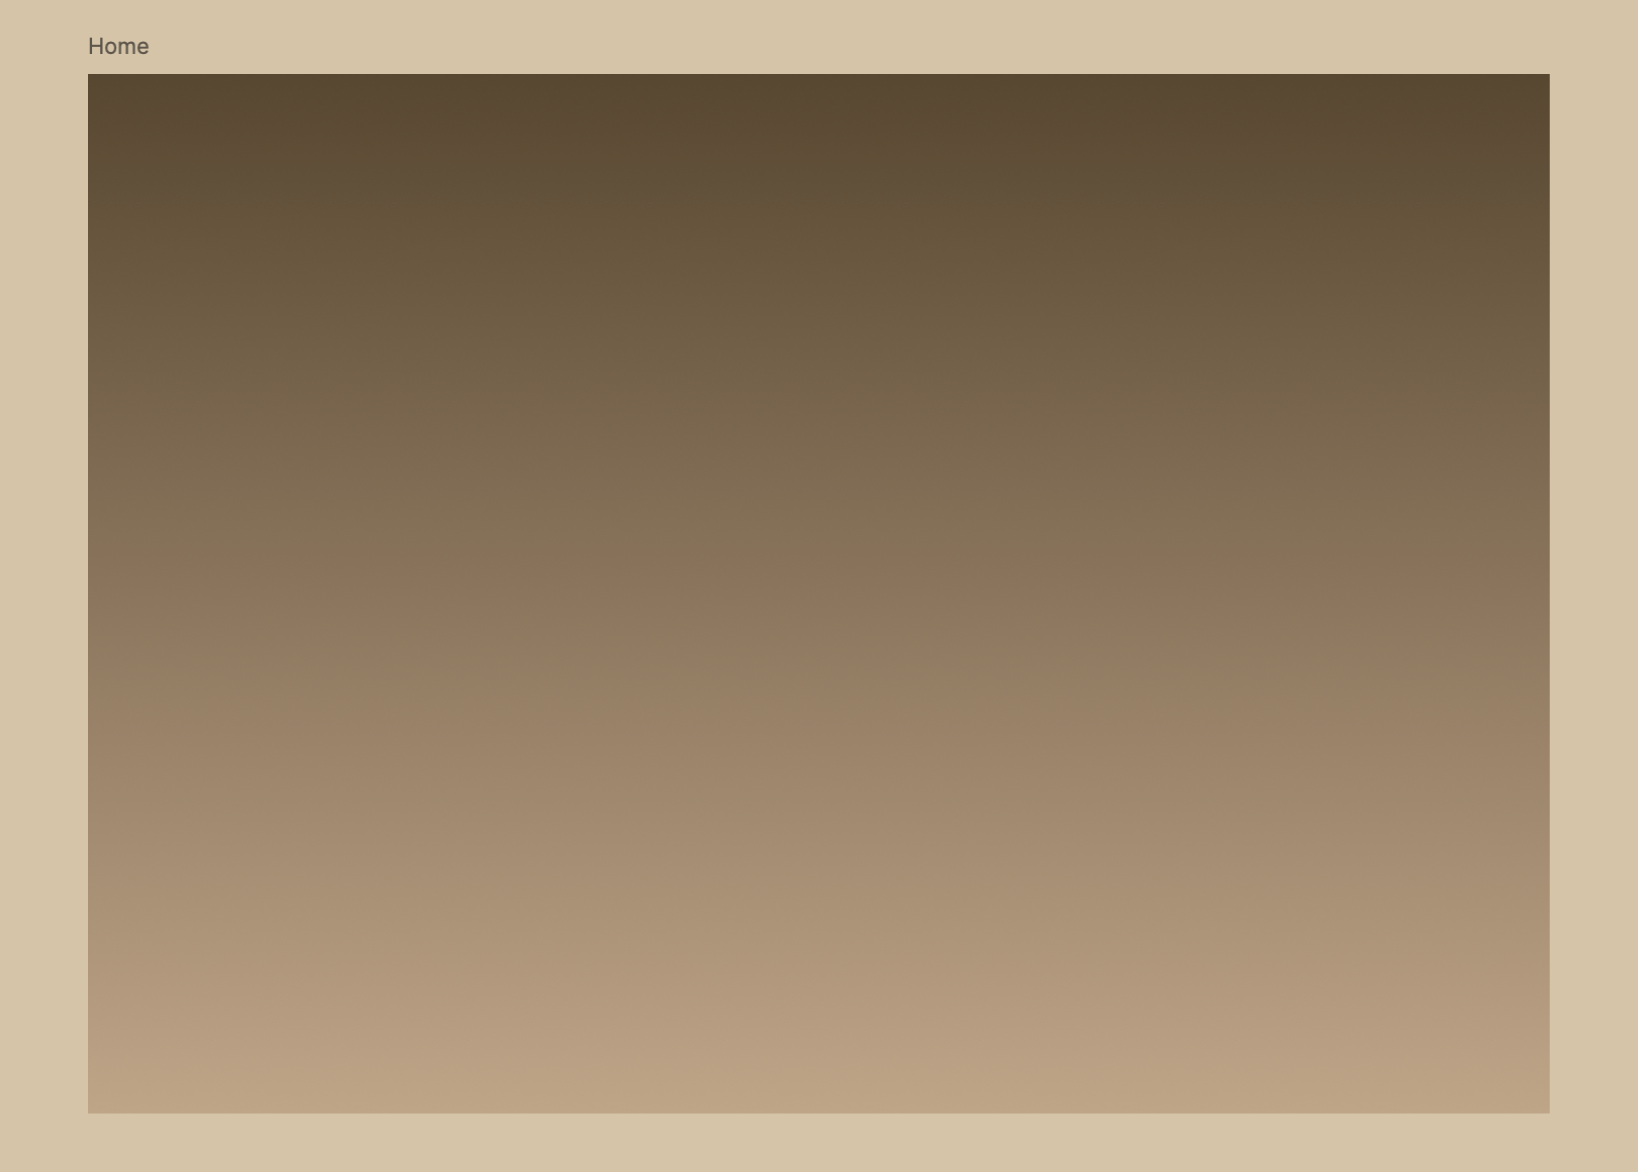
Working with Frames
If you and your group have any questions or get stuck as you work through this in-class exercise, please ask the instructor for assistance. Have fun!
1. Creating a Desktop Frame
In Figma, Frames act as containers for your designs and help structure your layout. Let’s start by adding a Desktop Frame to your canvas.
-
In the bottom toolbar, click on the Frame Tool (Shortcut: Press F).

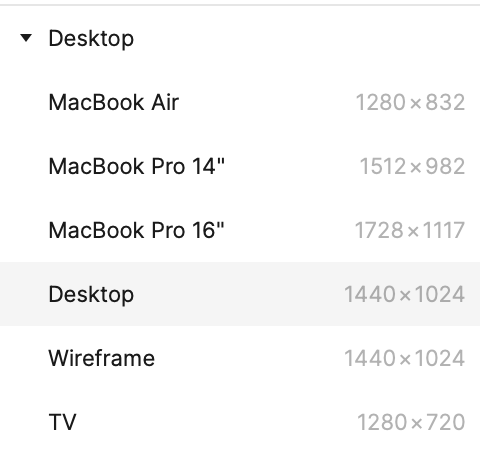
- On the Right Sidebar, a list of preset frame sizes will appear.
- Scroll down and click on the Desktop dropdown, then select the Desktop option to create a standard desktop-sized frame.
-
Your new frame will appear on the canvas. Make sure it is selected before moving to the next step.

- With the frame selected, go to the Layers Panel on the left.
-
Double-click on the frame name (default should be “Desktop - 1”) and rename it to “Home” (see image below)

2. Applying a Linear Gradient Background
Now, let’s style the frame with a linear gradient background.
- In the Layers Panel (on the left sidebar), find and select the “Home” Frame to ensure it’s active.
- In the Right Sidebar, locate the Fill section under Design.
- Click on the color box to open the color picker.
- In the color picker, click on the square icon with dots within to switch from a solid color to a gradient fill.
- Two color stops will appear on the gradient bar: The color stops are the arrows on each end of the color bar. The left color stop is for the color at the top of the object (here, the Frame), and the right color stop is for the color at the bottom of your object. Each corresponds to a row beneath the color bar, titled Stops, ordered left to right.
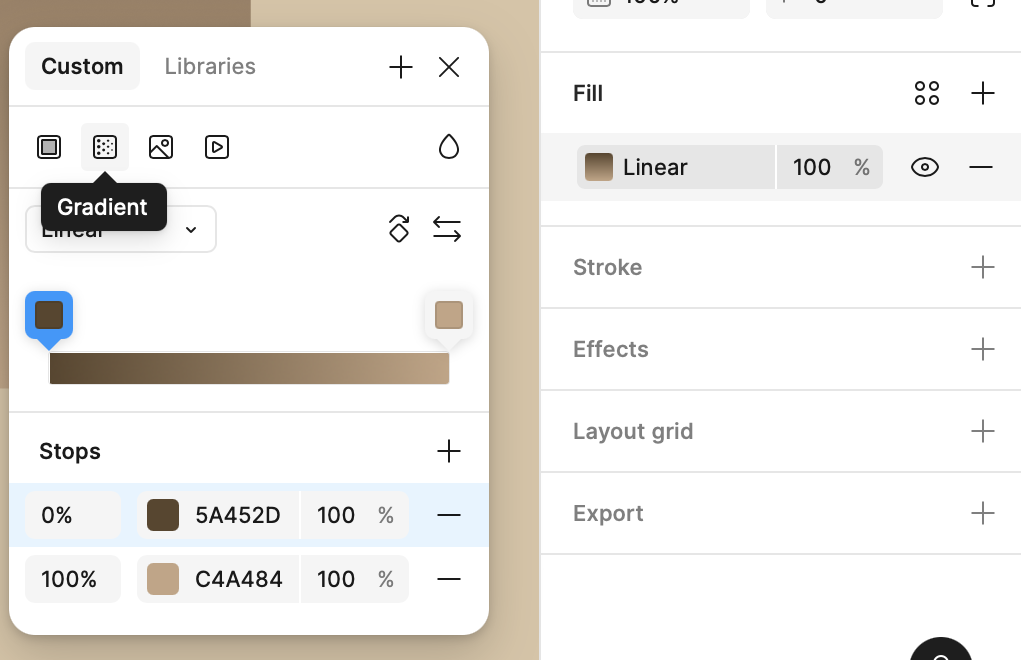
- Click on the first color stop (top of the gradient) and enter the HEX code: #5A452D.
- Click on the second color stop (bottom of the gradient) and enter the HEX code: #C4A484.

Next Steps
In the next step, we will design the header for our project, including adding a title, logo, and navigation elements.