![]()
Adding Materials to your Model
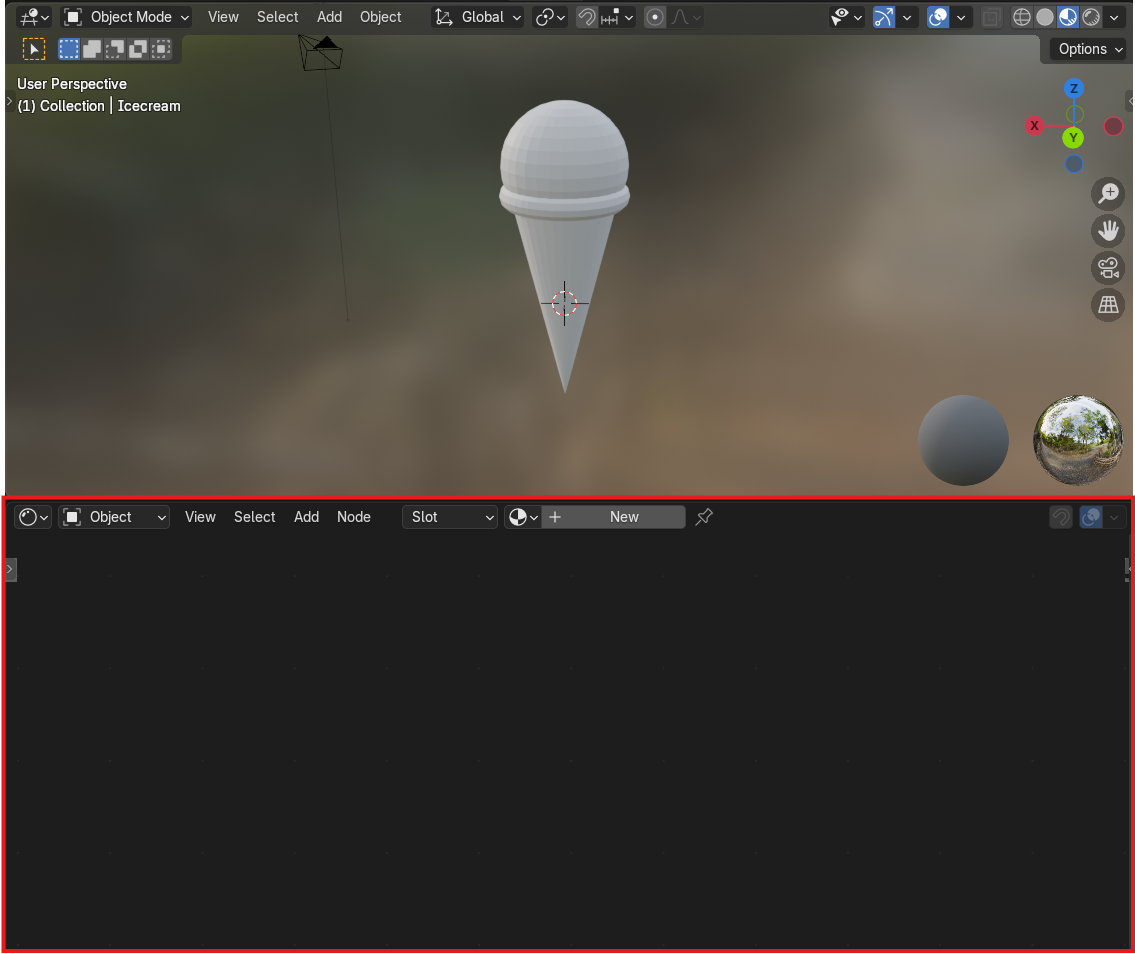
Using your icecream cone model from the last activity, let’s take it to the next level by adding materials in the Shading window.
Adding the colour to the Icecream Scoop
In the last activity, we conjoined the taurus and the UV sphere together to create the icecream scoop on top of the waffle cone. In this step we will cover how to make your icecream scoop whatever colour you’d like.
-
At the top of your Blender application window, you will see a variety of other window options. We are going to open the “Shading” window. Do not be alarmed by the sudden change in scenery, there is a lot going on in this workspace but if you follow the instructions you will be just fine.

-
Locate the “Shader Editor”. If you look below the viewport where your objects are, you will see an empty window which in the top left has a couple options that say “Object” “View” “Select” “Add” etc…. Right now there is nothing in it because we have not added any “materials” to our models to edit. Select your icecream scoop by right clicking on it in the viewport so that there is an orange outline surrounding it.
-
Navigate back into the shading editor. At the top of it beside “Slot” there should be a gray rectangle that says ”+ New”. Select this and a new window will show up in the shader editor. This is the material you just added.

-
The first thing in the window should be a “Base Colour” with a white rectangle to the right of it. Click on the white rectangle to choose a colour for your icecream scoop. Any colour will do, maybe pick the colour of your favourite flavour if you are unsure.

Adding an image to the Waffle Cone
Now, we want to add a some colour to the cone, but let’s try something more advanced. If you found the first step difficult, repeat the same steps and add a colour to your cone instead like we did for the icecream scoop. If you’re ready to learn something harder, follow along!
-
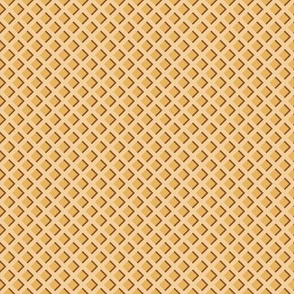
Download this image of a waffle cone pattern. Download Image
-
Back in Blender in the shading editor, select your Waffle Cone model and select “+New at the top.

-
Next at the top left of the shader editor choose “Add” and then “Texture” and lastly “Image Texture”. A window will pop up attached to your curser. Left click in the shader editor to place it down anywhere, but preferably to the left of the two other windows in the shader editor.
-
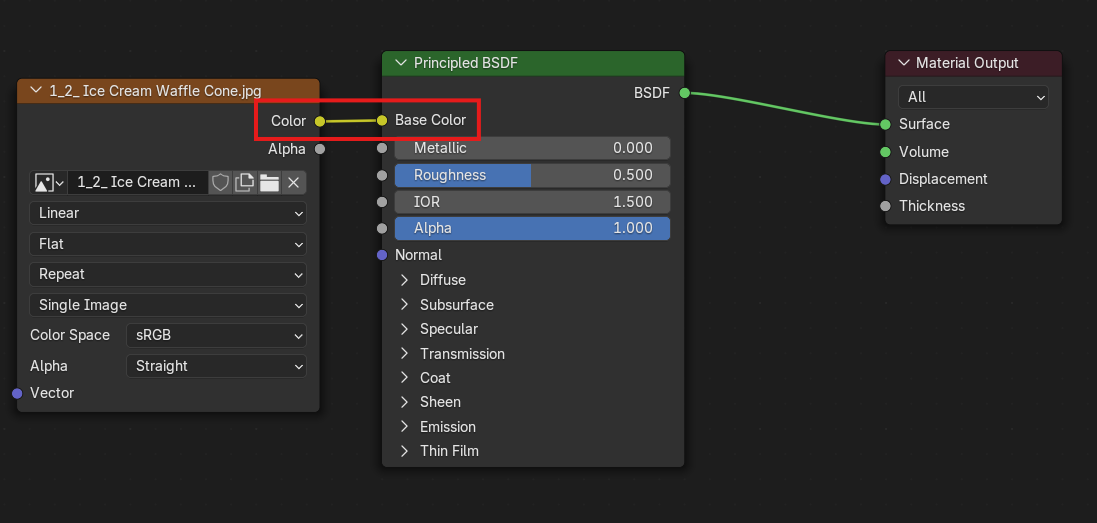
On the new window select “Open” and find the downloaded waffle cone image and select it. Notice nothing has changed.
-
You need to connect the “Image Texture” window to the “Material” window which opened first. You will see on both windows that there are yellow dots along the border. On the image texture window it will be the top dot on the right hand side next to “color” and on the material window it will be the yellow dot to the left of “Base Color”. Click on one of the circles and drag out to the other one, creating a line that attaches them and then let go once they have connected to one another like seen in the next example. Now you will see your pattern on the cone!
Looks awesome. Now let’s move along to learning about rendering an image of your waffle cone!