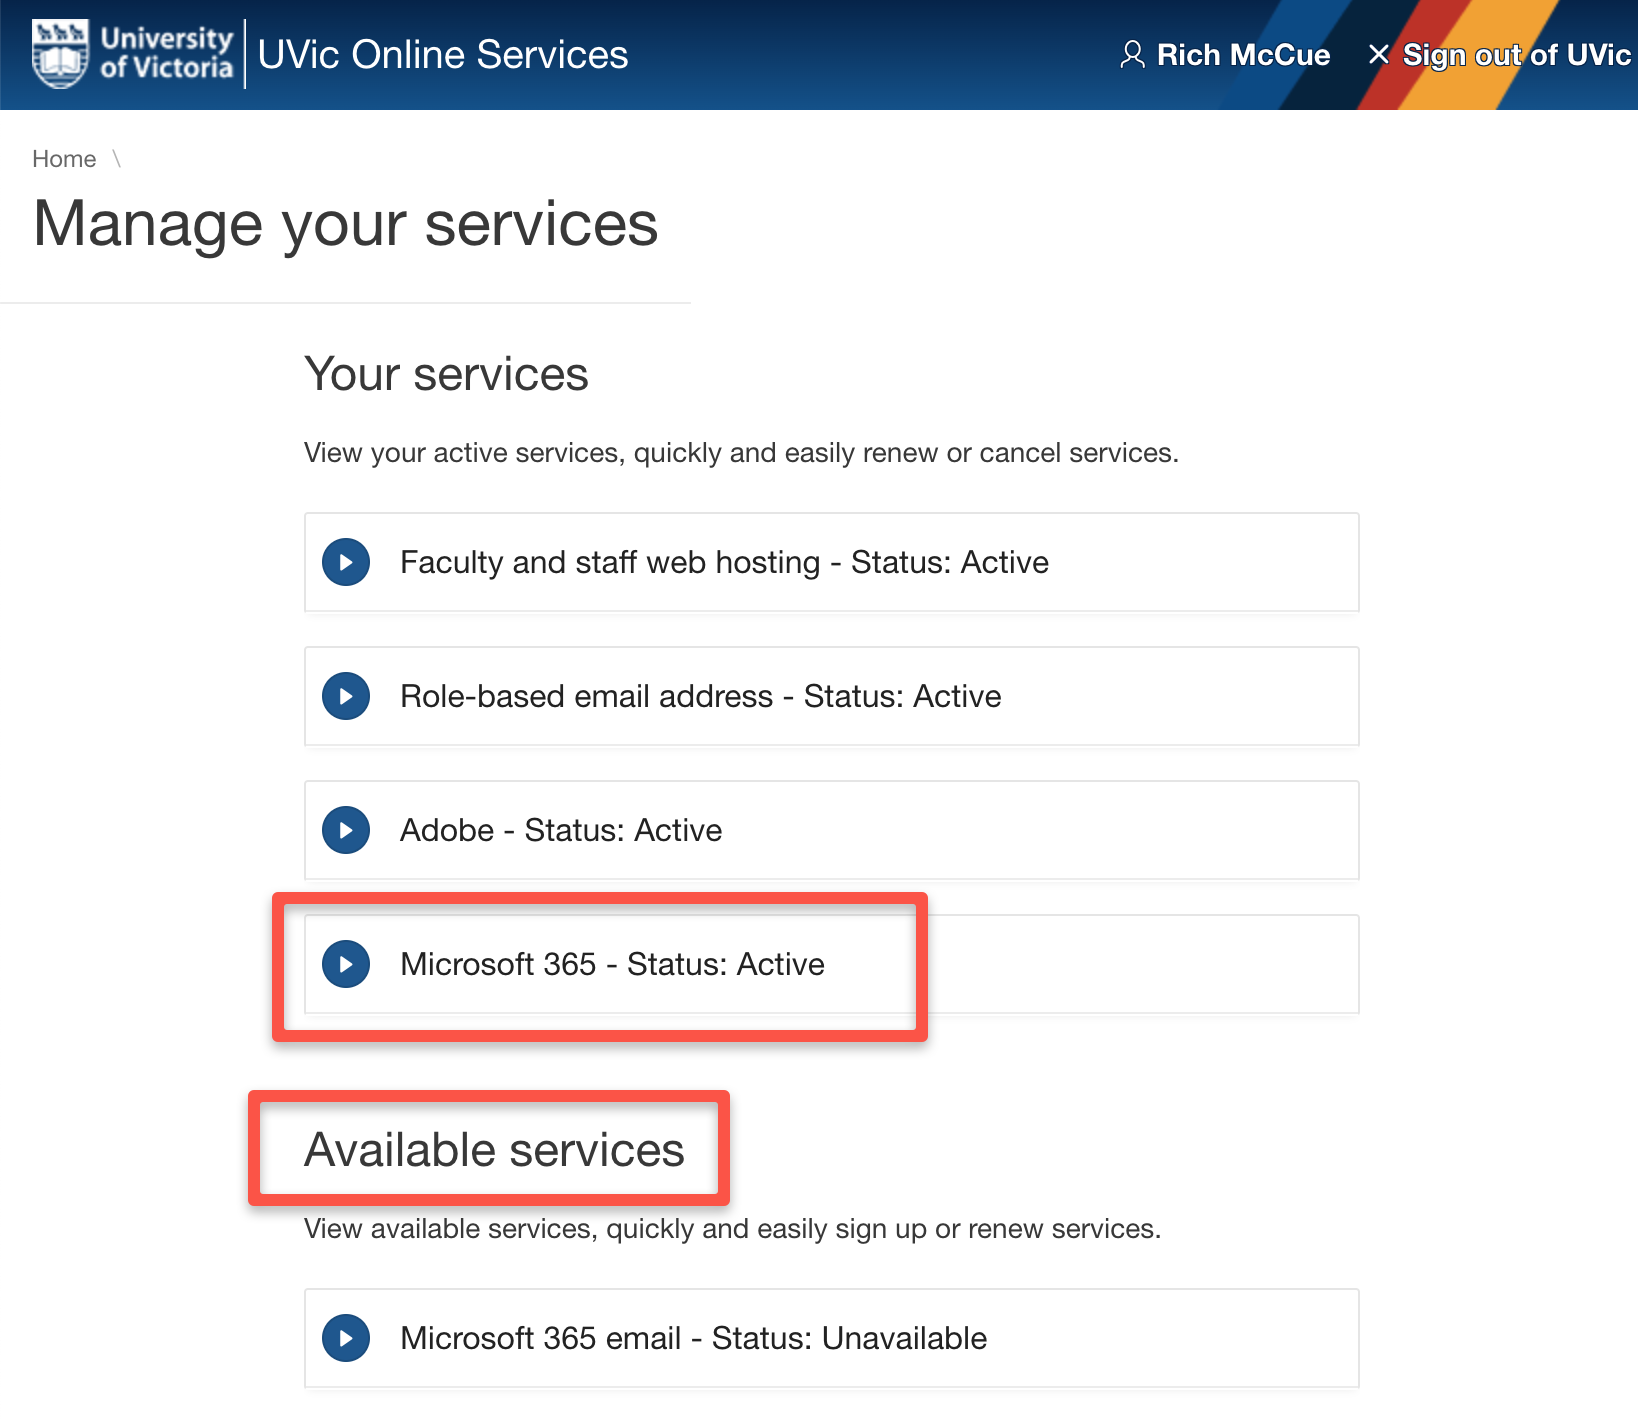
Wait 2-minutes & then log into Office 365 with your UVic email address: portal.office.com
If you are in a face-to-face workshop and you have any problems signing up for the UVic-licensed version of Microsoft 365 or accessing it, please ask your instructor for assistance. If you are working through this on your own and are having problems, please contact the UVic helpdesk: helpdesk@uvic.ca
Transcribe an audio file from a Zoom interview:
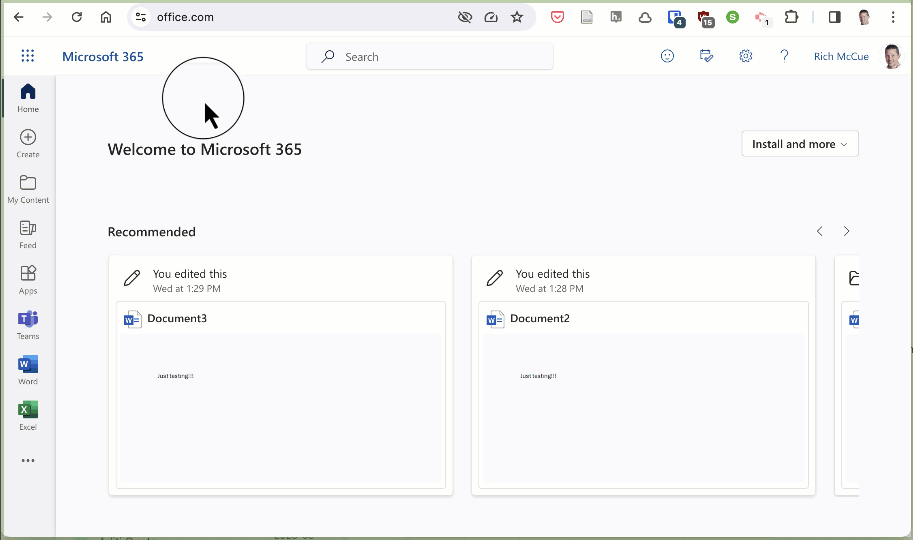
Make sure you’re signed into Microsoft 365, using the new Microsoft Edge or Chrome web browser.
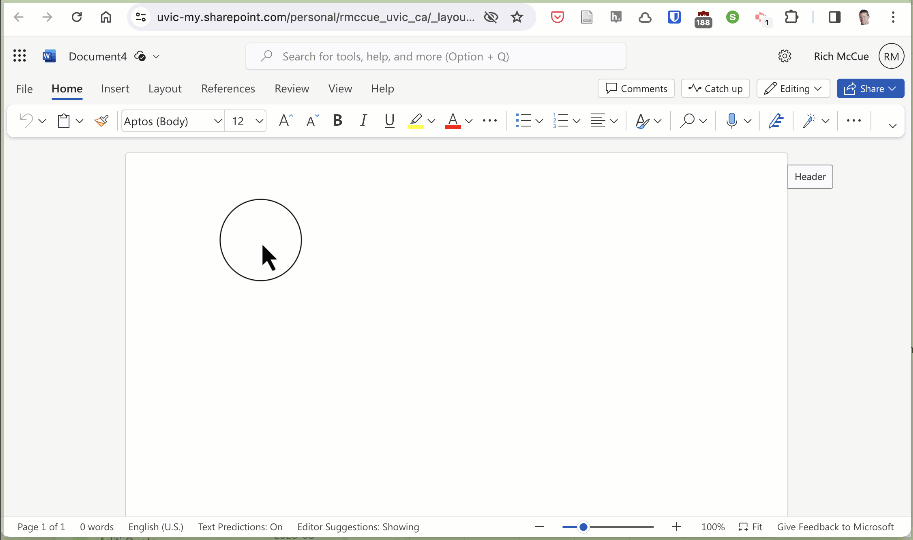
Open Word in the left nav bar and then create a new Blank document.
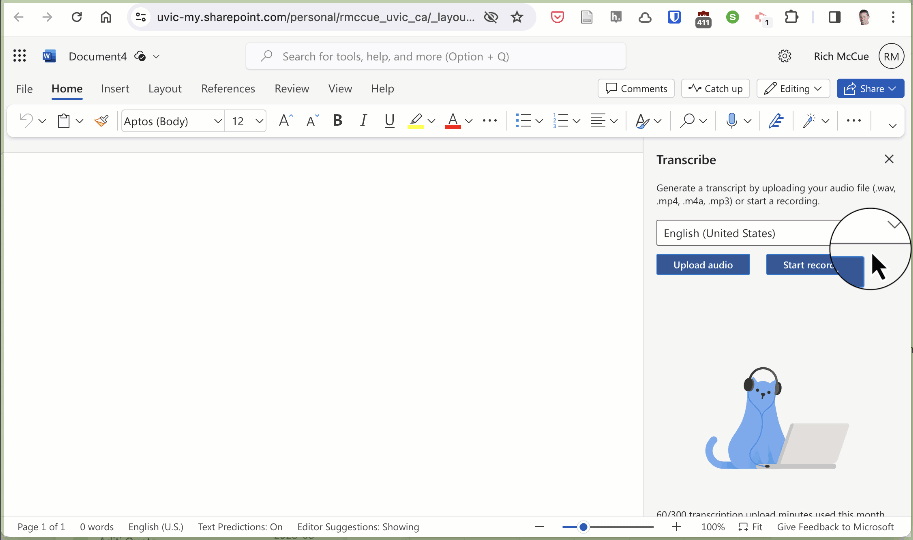
Go to Dictate then click on the dropdown, then Transcribe.
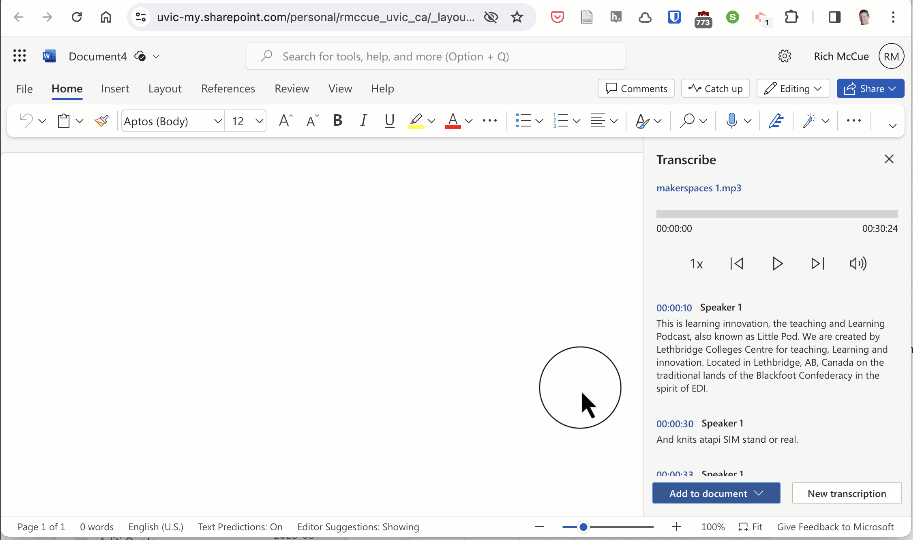
Choose an audio file from the file picker (if you downloaded the file above then it is called: makerspaced.mp3 (The Microsoft 365 transcription service currently supports .wav, .mp4, .m4a, .mp3 formats). In the Transcribe pane, select Upload audio.
Transcription may take a while, depending on your internet speed, up to about the length of the audio file. Be sure to keep the Transcribe pane open while the transcription is happening, but feel free to do other work or switch browser tabs or applications and come back later.
Add the transcription to your file, by selecting Add to document and then clicking on, With speakers. Note that there are multiple formats, but for researchers, the most popular format is “With speakers”
Great job! You’ve just transcribed your first audio file with Microsoft 365!