Adding a Video
In this exercise, you will practice capturing still shots of all or parts of your screen, annotating the screen captures and inserting the resulting image file into a blog post. If you have any questions or get stuck as you work through this, please ask your instructor for assistance.
Before you start making your own interactive video, please watch this excellent example of an H5P video being used to teach a grade 2 science experiment virtually.
- Add a new video and prepare to enhance it with interactive elements:
- Click on the Interactive button near the middle of the screen.
- Click on the light grey plus button under the “Add a video” text.
- Copy and paste a YouTube URL into the text box and click the Insert button. -OR-
- Click on the Upload video file button and upload your video to your blog.
For example: use the following youtube video or download the following video
- Click on the text box below the Title label, and type in the title for your video.

Adding Text
- Add an information text box to a video:
- Click on Step 2 Add interactions tab.
- On the toolbar above the video click on the T button.
- In the dialogue box that appears, click on the Pause video checkbox.
- Type the text you want to appear in the dialogue box in the Text field near the bottom.
- For the time stamp of the video: select where you want to insert the text. Example 0:40-0:55
- Click the Poster radio button just below the Pause video checkbox.
- Click the blue Done button near the top right corner.
- You can now move the text box around the video window and resize the text box to fit your needs.

Adding a Multiple Choice with Single Answer Question
- Add a multiple-choice question to your video
- On the toolbar above the video click on the single choice button (the button with 3 circles and 3 lines beside them).
- In the dialogue box that appears, click on the Pause video checkbox.
- Click the Poster radio button just below the Pause video checkbox.
- Type the title you want for your multiple-choice question in the Title text box.
- Type in the question in the Question field.
- Type in the correct answer in the first Alternatives field.
- Type in other answers below, clicking the Add answer button as necessary.
- When you’ve finished adding alternative answers, click the blue Done button near the top right corner of the web page.
- You can now move the multiple-choice box around the video window and resize the text box to fit your needs.
- Click the blue Create button in the very top right or bottom right corner of the web page, depending on your screen size.

-
Finally, copy the “Short Code” on the top right of your screen that should look something like this:
[h5p id="1"]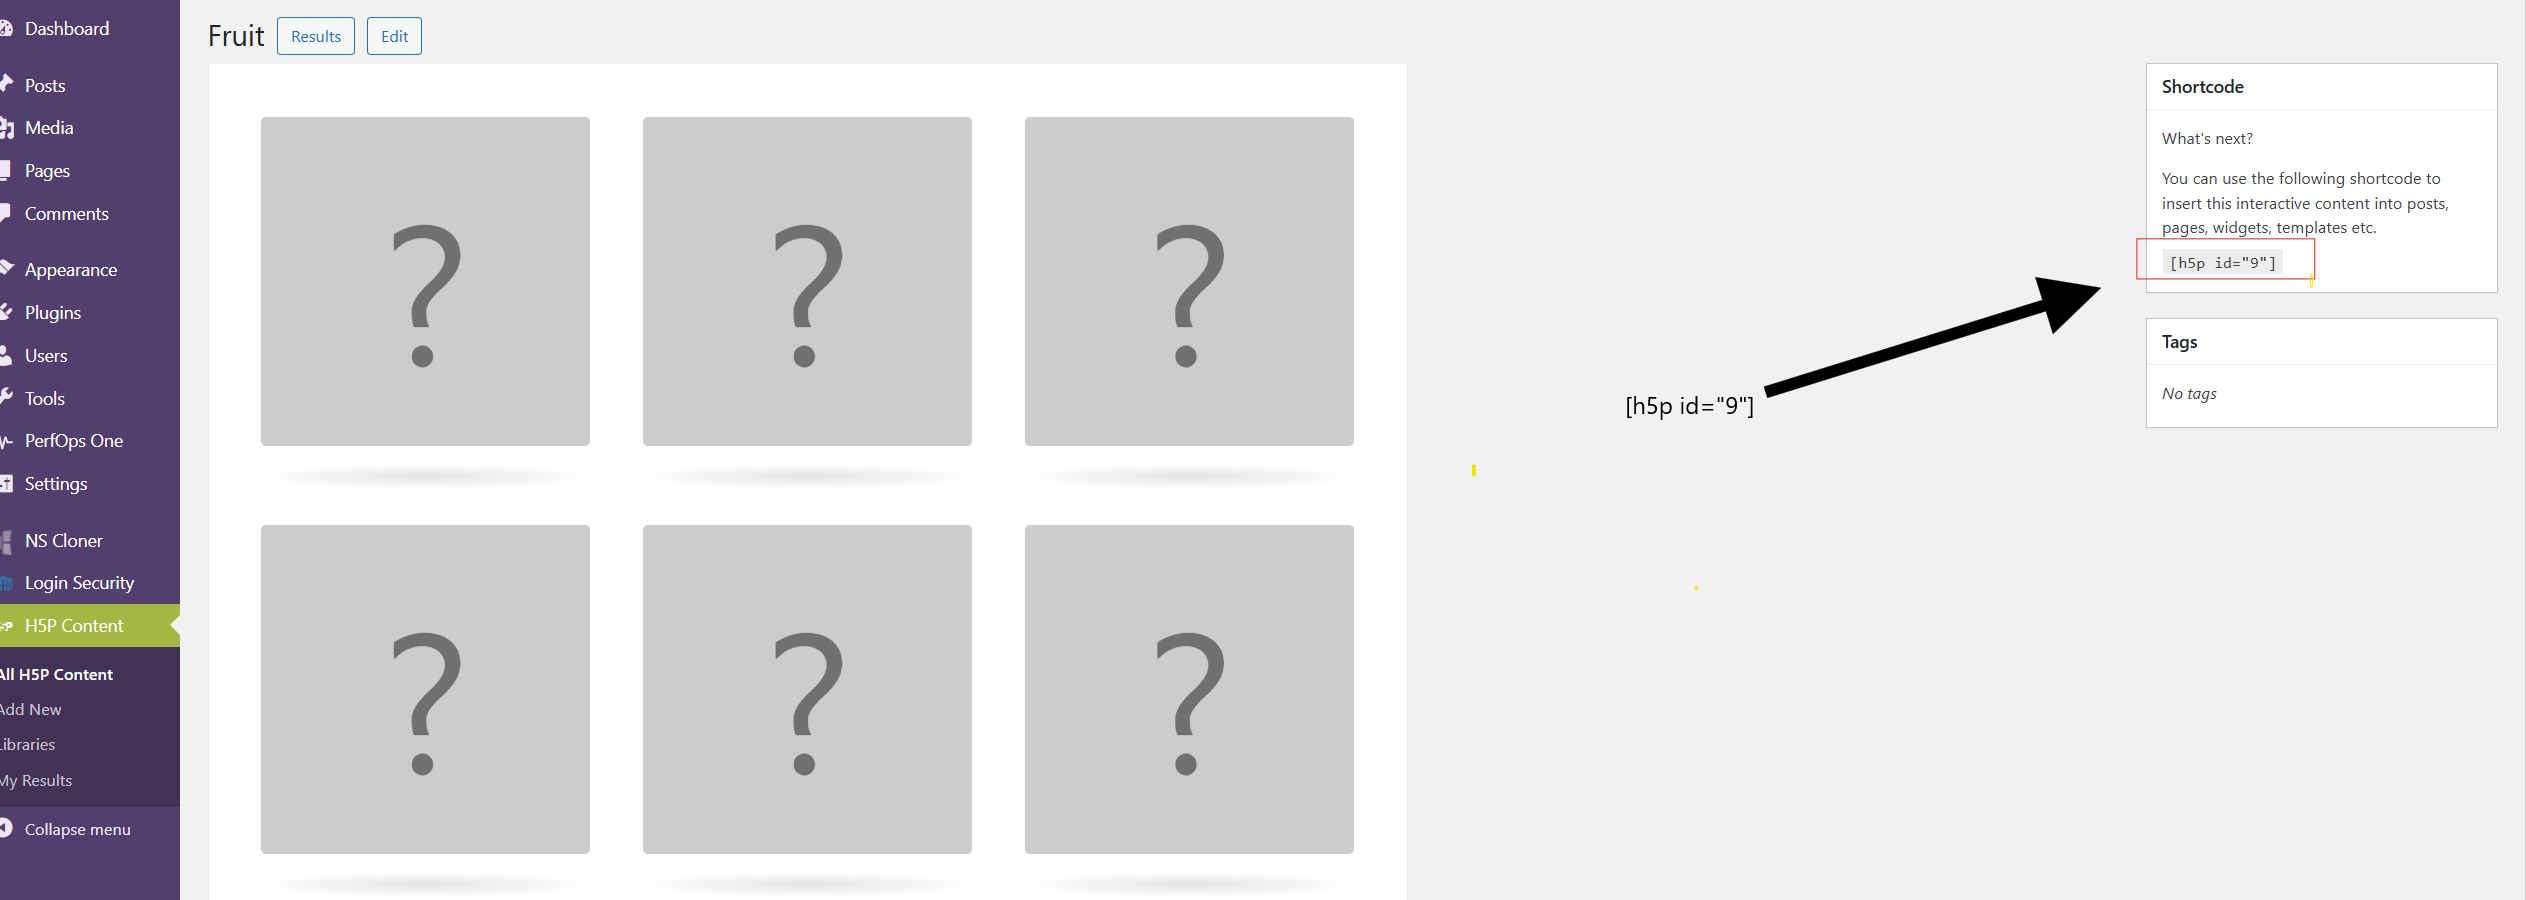
-
You will paste the short code you just into a new blog post line or block in order to embed it in your blog post in the next step. Your interactive video is now ready to be embedded in a blog post or web page!
Congratulations, you’ve created an interactive video.