H5P Plugin Installation
- If you haven’t done so already, install the H5P plugin in your OpenEd.ca blog for this exercise if you don’t already have one.
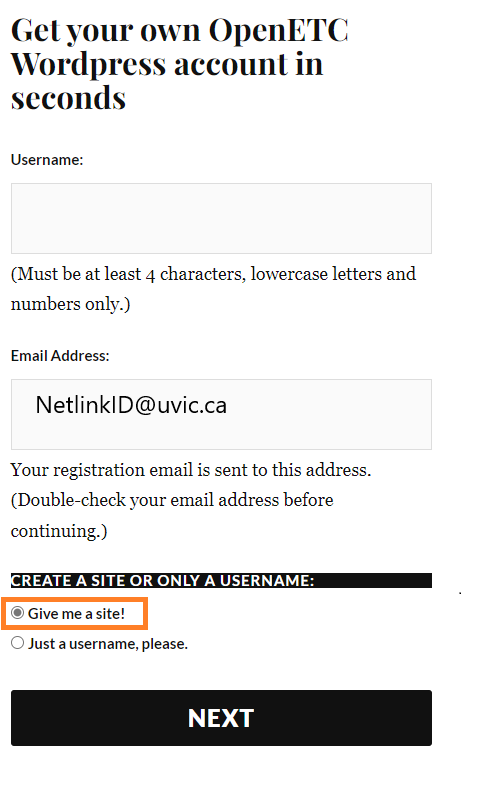
- Create a Username, Sign up using your Netlink email and then select Give me a site and next. (see photo).Use The Hemmingway theme to get started.

- Enable the H5P plugin on your WordPress blog:
- In your blog administration control panel click on the Plugins button, on the left navigation bar, and then scroll down and find the H5P plugin, and click the Activate button.

- In your blog administration control panel click on the Plugins button, on the left navigation bar, and then scroll down and find the H5P plugin, and click the Activate button.
- Navigate to the left side bar and click on the H5P Content button on the left navigation bar and then select the Add New.
- If this is your first time using H5P, click on the blue I consent, give me the Hub! button to enable the H5P features you will need to make your interactive video.

- Next once you have selected Add New, select interactive videos, you’ll need to click on the Get button beside the top item (Interactive video).
. - Press install

- If this is your first time using H5P, click on the blue I consent, give me the Hub! button to enable the H5P features you will need to make your interactive video.
Great Job!
