
Snowflake Ornament Activity
-
Open up TinkerCad, make an account or log-in. Open a new design. On the top left, change the name to Snowflake.
- From the Basic Shapes, grab a box and place it on the workplane.
- Select the white handles and change it to a rectangle that is 5mm tall by 5mm wide and 55mm long.
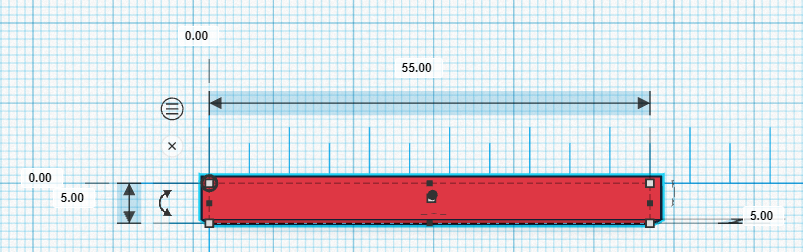

- Select the white handles and change it to a rectangle that is 5mm tall by 5mm wide and 55mm long.
- From the Basic Shapes, select a second box and place it on the workplane.
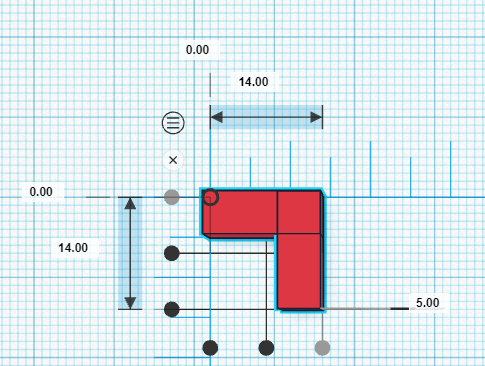
- Make it 5mm tall by 5mm wide and 14mm long.
- Duplicate it. Using the curved black arrow, rotate the new shape 90 degrees.
- Align the two shapes together like an ‘L’.
- Click the Group button.
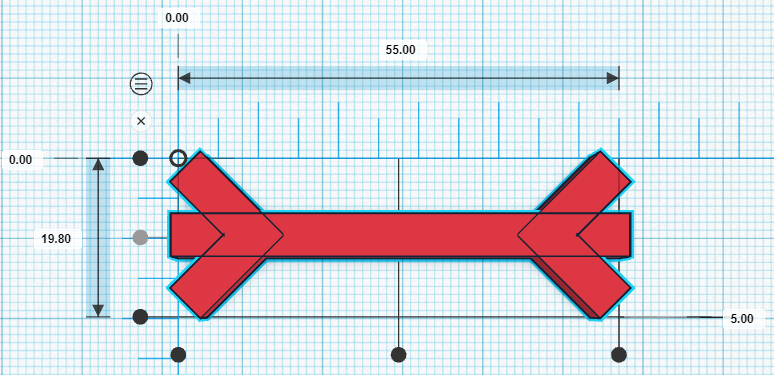
- Duplicate the corner.

- Rotate the corner you just created 45 degrees, and Align it to one side of your rectangle to create a “leaf” (see to the right).
- Rotate the other corner 180 degrees and align to the other end of the rectangle.
- Group these three items.
- Make two more copies of this shape.

- In the Basic Shapes menu, select a polygon and place it onto the Workplane.
- Leave it with 6 sides, as a hexagon
- Decrease the height to 5mm.
- Align it to the center of the leaf.
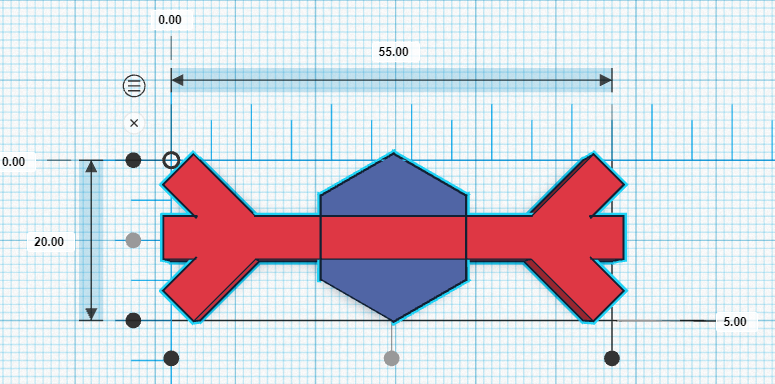

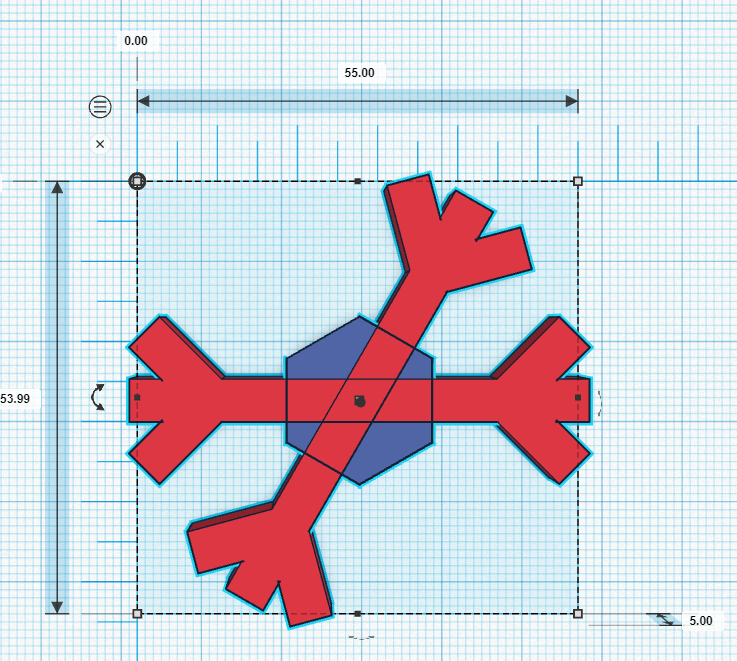
- Using one of your other leaves, rotate it 60 degrees. Align it onto the hexagon (see image).
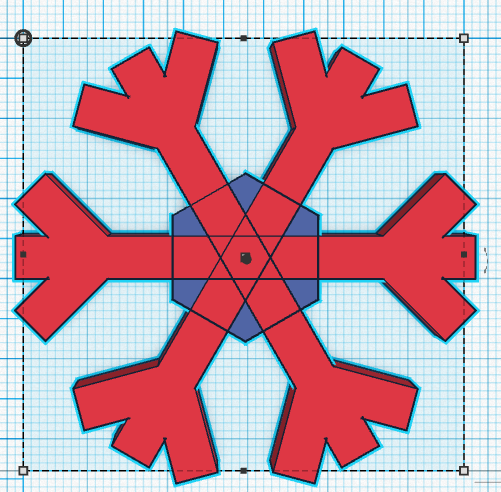
- With the third leaf, rotate it -60 degrees. Align it onto the hexagon, then Group everything.

- From “Basic Shapes”, select and place a hollow cylinder on the Workplane.

- Shrink it to 3mm by 3mm and 6mm tall.
- Place it in the center of one leaf, near the edge (see right).
- Make sure it is firmly on your workplane by pressing D. Next, select Align
- This is your hole for your string.


-
Congratulations, you have a snowflake you are ready to print! You can make it more complex if you want, just remember that it has to be kind of small.
- Lastly, click on the “Export” button on the top right of the toolbar, and then select “.STL” and save the file to your hard drive so you can 3D print your snowflake!