
Lapentor Activity
If you have any questions or get stuck as you work through this in-class exercise, please ask the instructor for assistance. Here is a sample Lapentor Tour of the DSC. Have fun!
Note: This free virtual tour software supports self-hosting on your own domain
- Go to https://lapentor.com/ and click register/sign in in the top right corner
- Download some or all of the following 360 images, or use your own 360 images (please note which folder they are downloaded into on your computer so you can find them):
- Image 1: Library stacks
- Image 2: DSC library 3rd floor, top of stairs
- Image 3: DSC entry & glass stairwell
- Image 4: DSC hallway
- Image 5: DSC 3D scanner & VR room hallway
- Image 6: DSC VR room
- Image 7: DSC 3D Scanner room
- Image 8: DSC classroom windows
- Image 9: DSC 3D printers
- Image 10: DSC offices
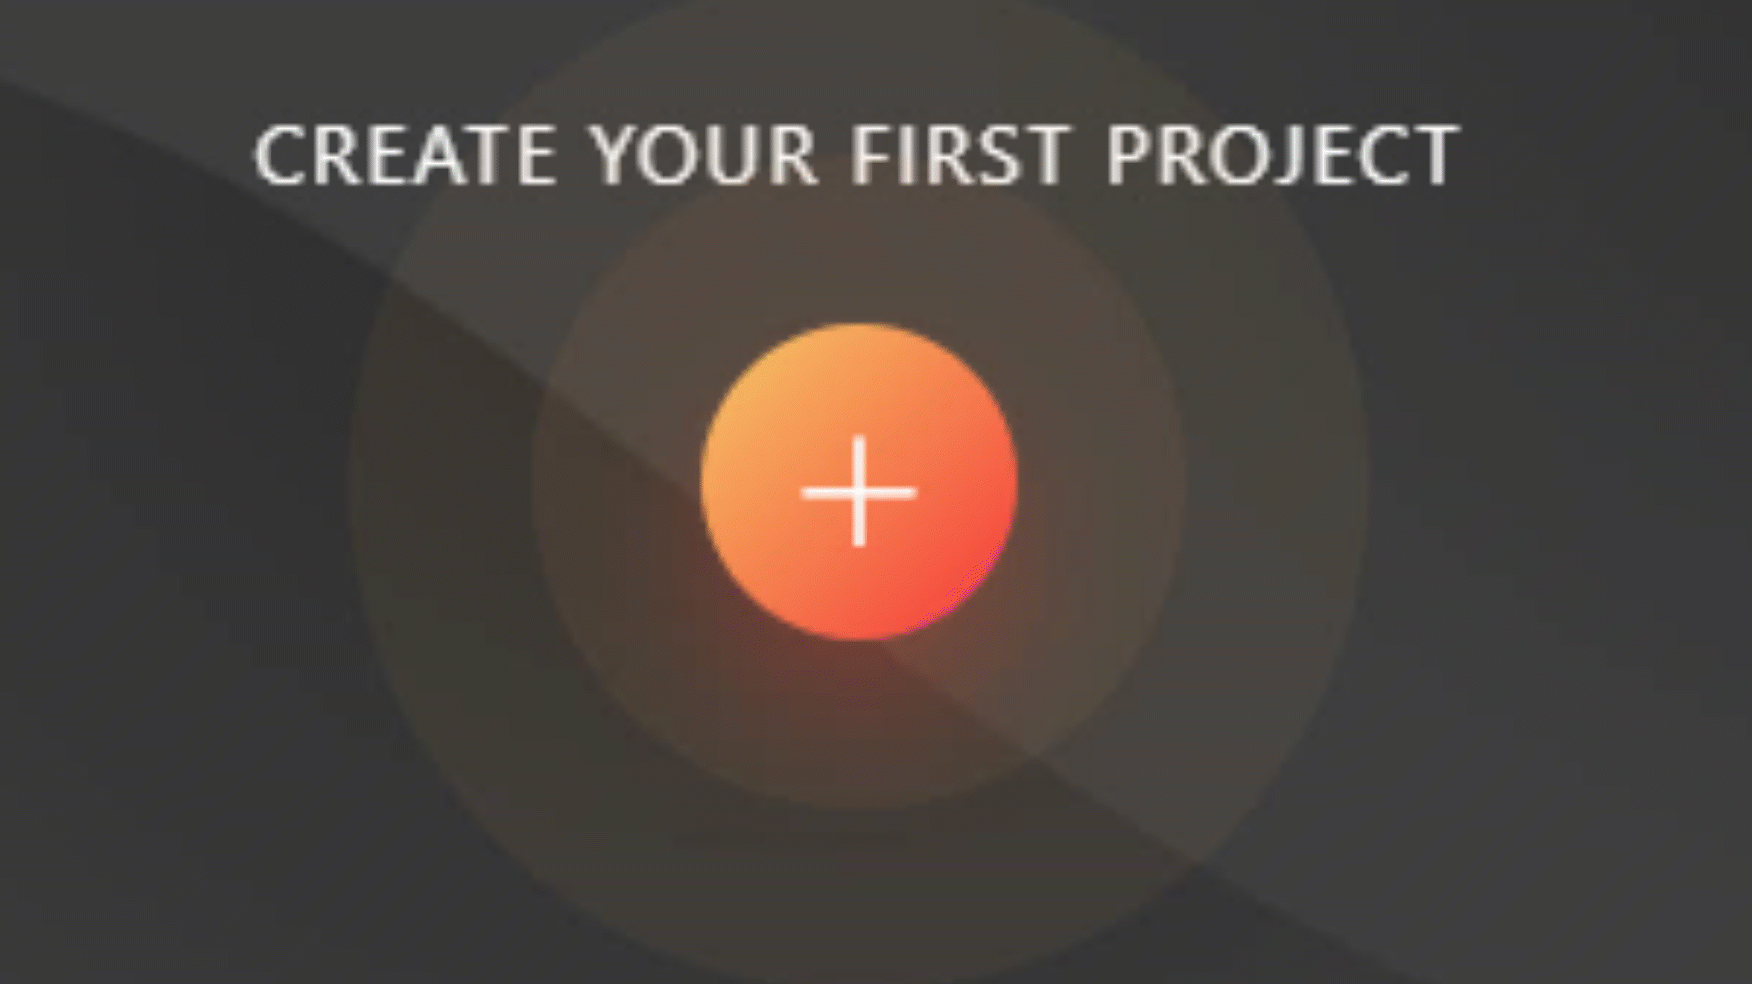
- Select the central pulsing ”+” sign to create a new project
- A new box will come up saying “create new project”. Under untitled, rename your project
- The media library will appear and ask to select, drag or upload. Drag the images you wish to use to the dropbox. (Note: you can borrow a 360-camera from the Music & Media desk in the library). Depending on how many images you load, it may take several minutes to process
Tip: the first image uploaded is the first image of the tour. Therefore, the bottom of your sidebar is the start and the top is the end -
Next, click on the images you have uploaded (you will see a checkmark on each selected image) and press make sphere (standard resolution)

- Once your images have been processed, you will be able to add names to each image, hotspots to each image, change view settings of your tour, add power up features and share your tour
- Adding names/titles: Under the image on your left sidebar, click the writing under each image to change the name (this name will show up in the table of contents)

- Adding hotspots: On the right side of the screen, you can add a point hotspot, directional sound hotspot, image hotspot, video hotspot, article hotspot, info hotspot and URL hotspot (make sure to create a label for each hotspot)
-
Point hotspots bring us from one scene to the next. Image/video hotspots share an image/video. Article hotspots display text. Info hotspots display text when clicked. URL hotspots take viewers to a new image of the tour when clicked. When you add a hotspot, you can drag it to the point in your image that you would like it to be displayed

-
For each hotspot don’t forget to label them and edit the parameters on the left side (once it is clicked)

-
For the points hotspots, make sure to have a minimum of 2 images to navigate between images. That way you can create a pathway
- View Settings: Under the hotspots bar, there is a square with a line through it. Use it to access the following:
- Set Default View
- Set Limit View: you can limit the view by dragging to the desired view and selecting which side (left or right) or (top/bottom) to limit the view. Click Reset This Scene in the top right corner to remove these limits.

-
Set Max & Min zooms and use Reset Zoom

-
Toggle mini planet: this will create a birds eye view

-
- Power Up Features: There are many plugins and power ups. Feel free to try them out and play around to explore them in this workshop by clicking on the rocket ship icon on the right side
-
These features allow you to edit the look of icons such as hotspots, the control bar, the scene list and many other power features. These are only visible typically during the preview (located in the top-middle of the window)
Note: you can always preview your tour by clicking the preview button on the top middle of your screen
-
-
Share/Get link: (Note: it costs 10 dollars to export) but you can share the link via online platforms (facebook, twitter, reddit), you can embed the code and/or use the QR code, you can also get the link by copying it on the top right
- To upload your Lapentor tour to your personal UVic web space you’ll need to set up your personal webspace. You can do this by following the directions here to sign up for your personal webspace and following the instructions below that to upload your files: 1. UVic Faculty & Staff web space request 2. UVic Student web space request