Bonus Activity: Removing the Background from Images
If you have a graphic or photo and need to get rid of the background and convert it to a transparent background, you may find this guide helpful. If you have any questions, please ask!
- Download this image for the exercise
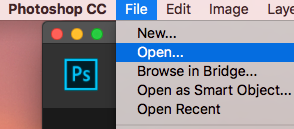
- Open the photo in Photoshop by either clicking on the Open button or going to File -> Open. Find where you saved the photo and open it. If your browser automatically saved it for you, it is probably in your Downloads folder.
- Method #1: Magic Eraser Tool
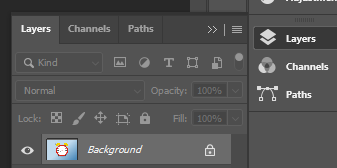
- 3.1 Unlock the layer for editing by opening up the Layers menu (in the right sidebar or Window > Layers). The image layer will be labeled Background with a small lock. Click on the lock to unlock the layer.
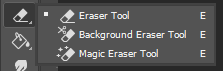
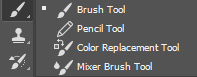
- 3.2 Find the Magic Eraser Tool: In the left toolbar menu, click and hold on the Eraser Tool icon and a menu containing three eraser tools will pop up. Select Magic Eraser Tool.
- 3.3 In the top properties menu, set the Tolerance to 30, make sure Anti-alias is checked and Opacity is set to 100%.

- 3.4 Click on the background and all the touching areas in that colour will disappear, replaced with a grey and white checked background (indicating a transparent area). Click on all the areas of the background in different colour ranges until the only parts of the graphic left are what you want to keep.
- 3.5 Trim away excess space by clicking on Image > Trim in the top menu. Make sure Transparent Pixels is selected and click OK. All unnecessary parts of the image will be cropped out.
- 3.6 See the Exporting instructions at the end of this activity to save it.
- 3.1 Unlock the layer for editing by opening up the Layers menu (in the right sidebar or Window > Layers). The image layer will be labeled Background with a small lock. Click on the lock to unlock the layer.
- Method #2: Quick Selection Tool
- 4.1 Download this image for the exercise
- 4.2 Unlock the layer for editing by opening up the Layers menu (in the right sidebar or Window > Layers). The image layer will be labeled Background with a small lock. Click on the lock to unlock the layer.
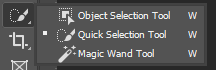
- 4.3 In the left toolbar menu, click on the Quick Selection Tool.
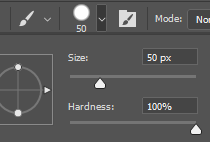
- 4.4 In the top properties menu, make sure New Selection is chosen, click on the little downward arrow next to the brush size icon (round white icon) to increase the size of the brush to around 100.

- While holding down the left mouse button, use the selection brush to draw over the subject of your image (the person in the photo).
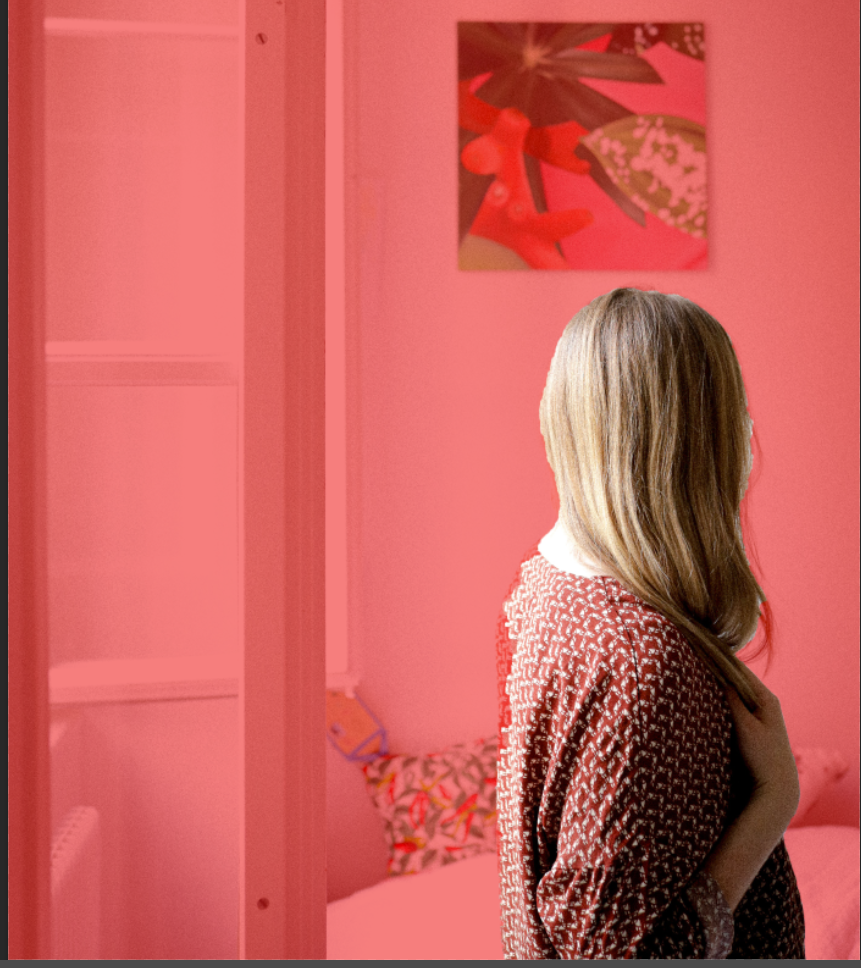 Don’t get too close to the edge or the brush may select background areas.
 - Release the mouse button and click on the Q key on your keyboard. This will turn all the unselected area red. We will use this red area as a guide to clean up our selection.
- Use the Magnifying Glass to zoom in closer to the subject so you can see the edges better.
- Click on the Brush Tool in the left menu. Change the brush size to a comfortable size to work with (in this case, 50px should be a good size).
 With the brush, use White to select more of the subject (erase the red) and use Black to deselect areas of the background that were selected (add red). To change the colour of the Brush tool, use the colour selector at the bottom of the left toolbar menu (the larger square sitting in front of another square is the brush colour. You can click on the tiny black and white icon above it to change the colour swatches to black and white. You can click on the tiny double arrow to switch back and forth between black and white.
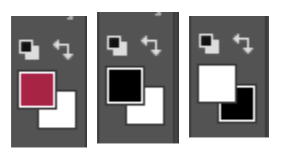
- Once you are satisfied with your selection, click the Q key on your keyboard again to show you the image with the selection around the subject.
- Go to the top menu and click Select > Inverse to change the selection to the background area.
- Click the Delete key on your keyboard to delete the background.
-
Trim away excess space by clicking on Image > Trim in the top menu. Make sure Transparent Pixels is selected and click OK. All unnecessary parts of the image will be cropped out.
- Export as a PNG: Note: As the goal for these images is to be placed in another project, it’s best to export at full resolution.
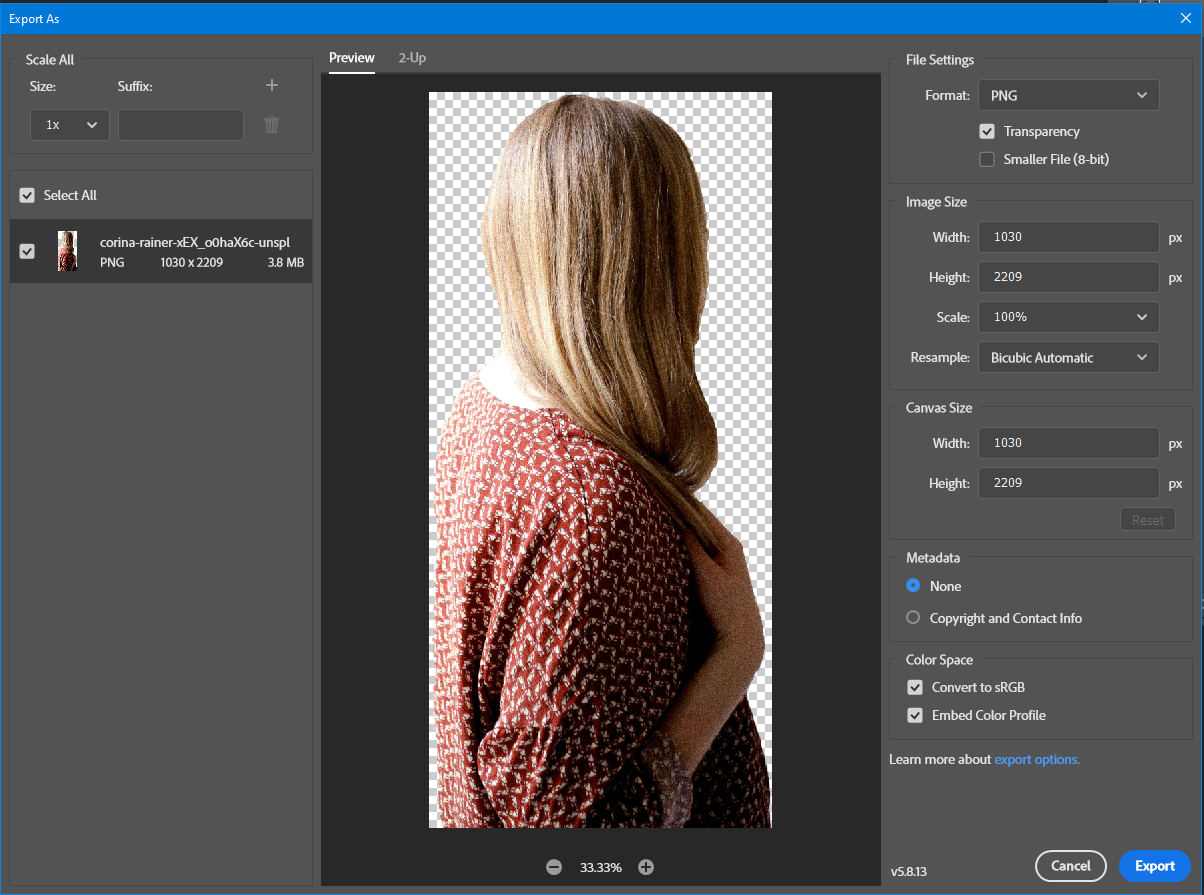
To export your image, click on File -> Export > Export As in the upper left corner. A window will pop up with options for resizing. Leave image size and quality at 100%, but make sure the Format is set to PNG in the dropdown in the upper right corner of the Export window and the Transparency box is checked.. Click the Export All button in the bottom corner when ready. Another small window will pop up giving you an option to choose a save location. Choose a place on your computer to save the file and click Save.