Make a Standing Silly Character using TinkerCAD and Inkscape
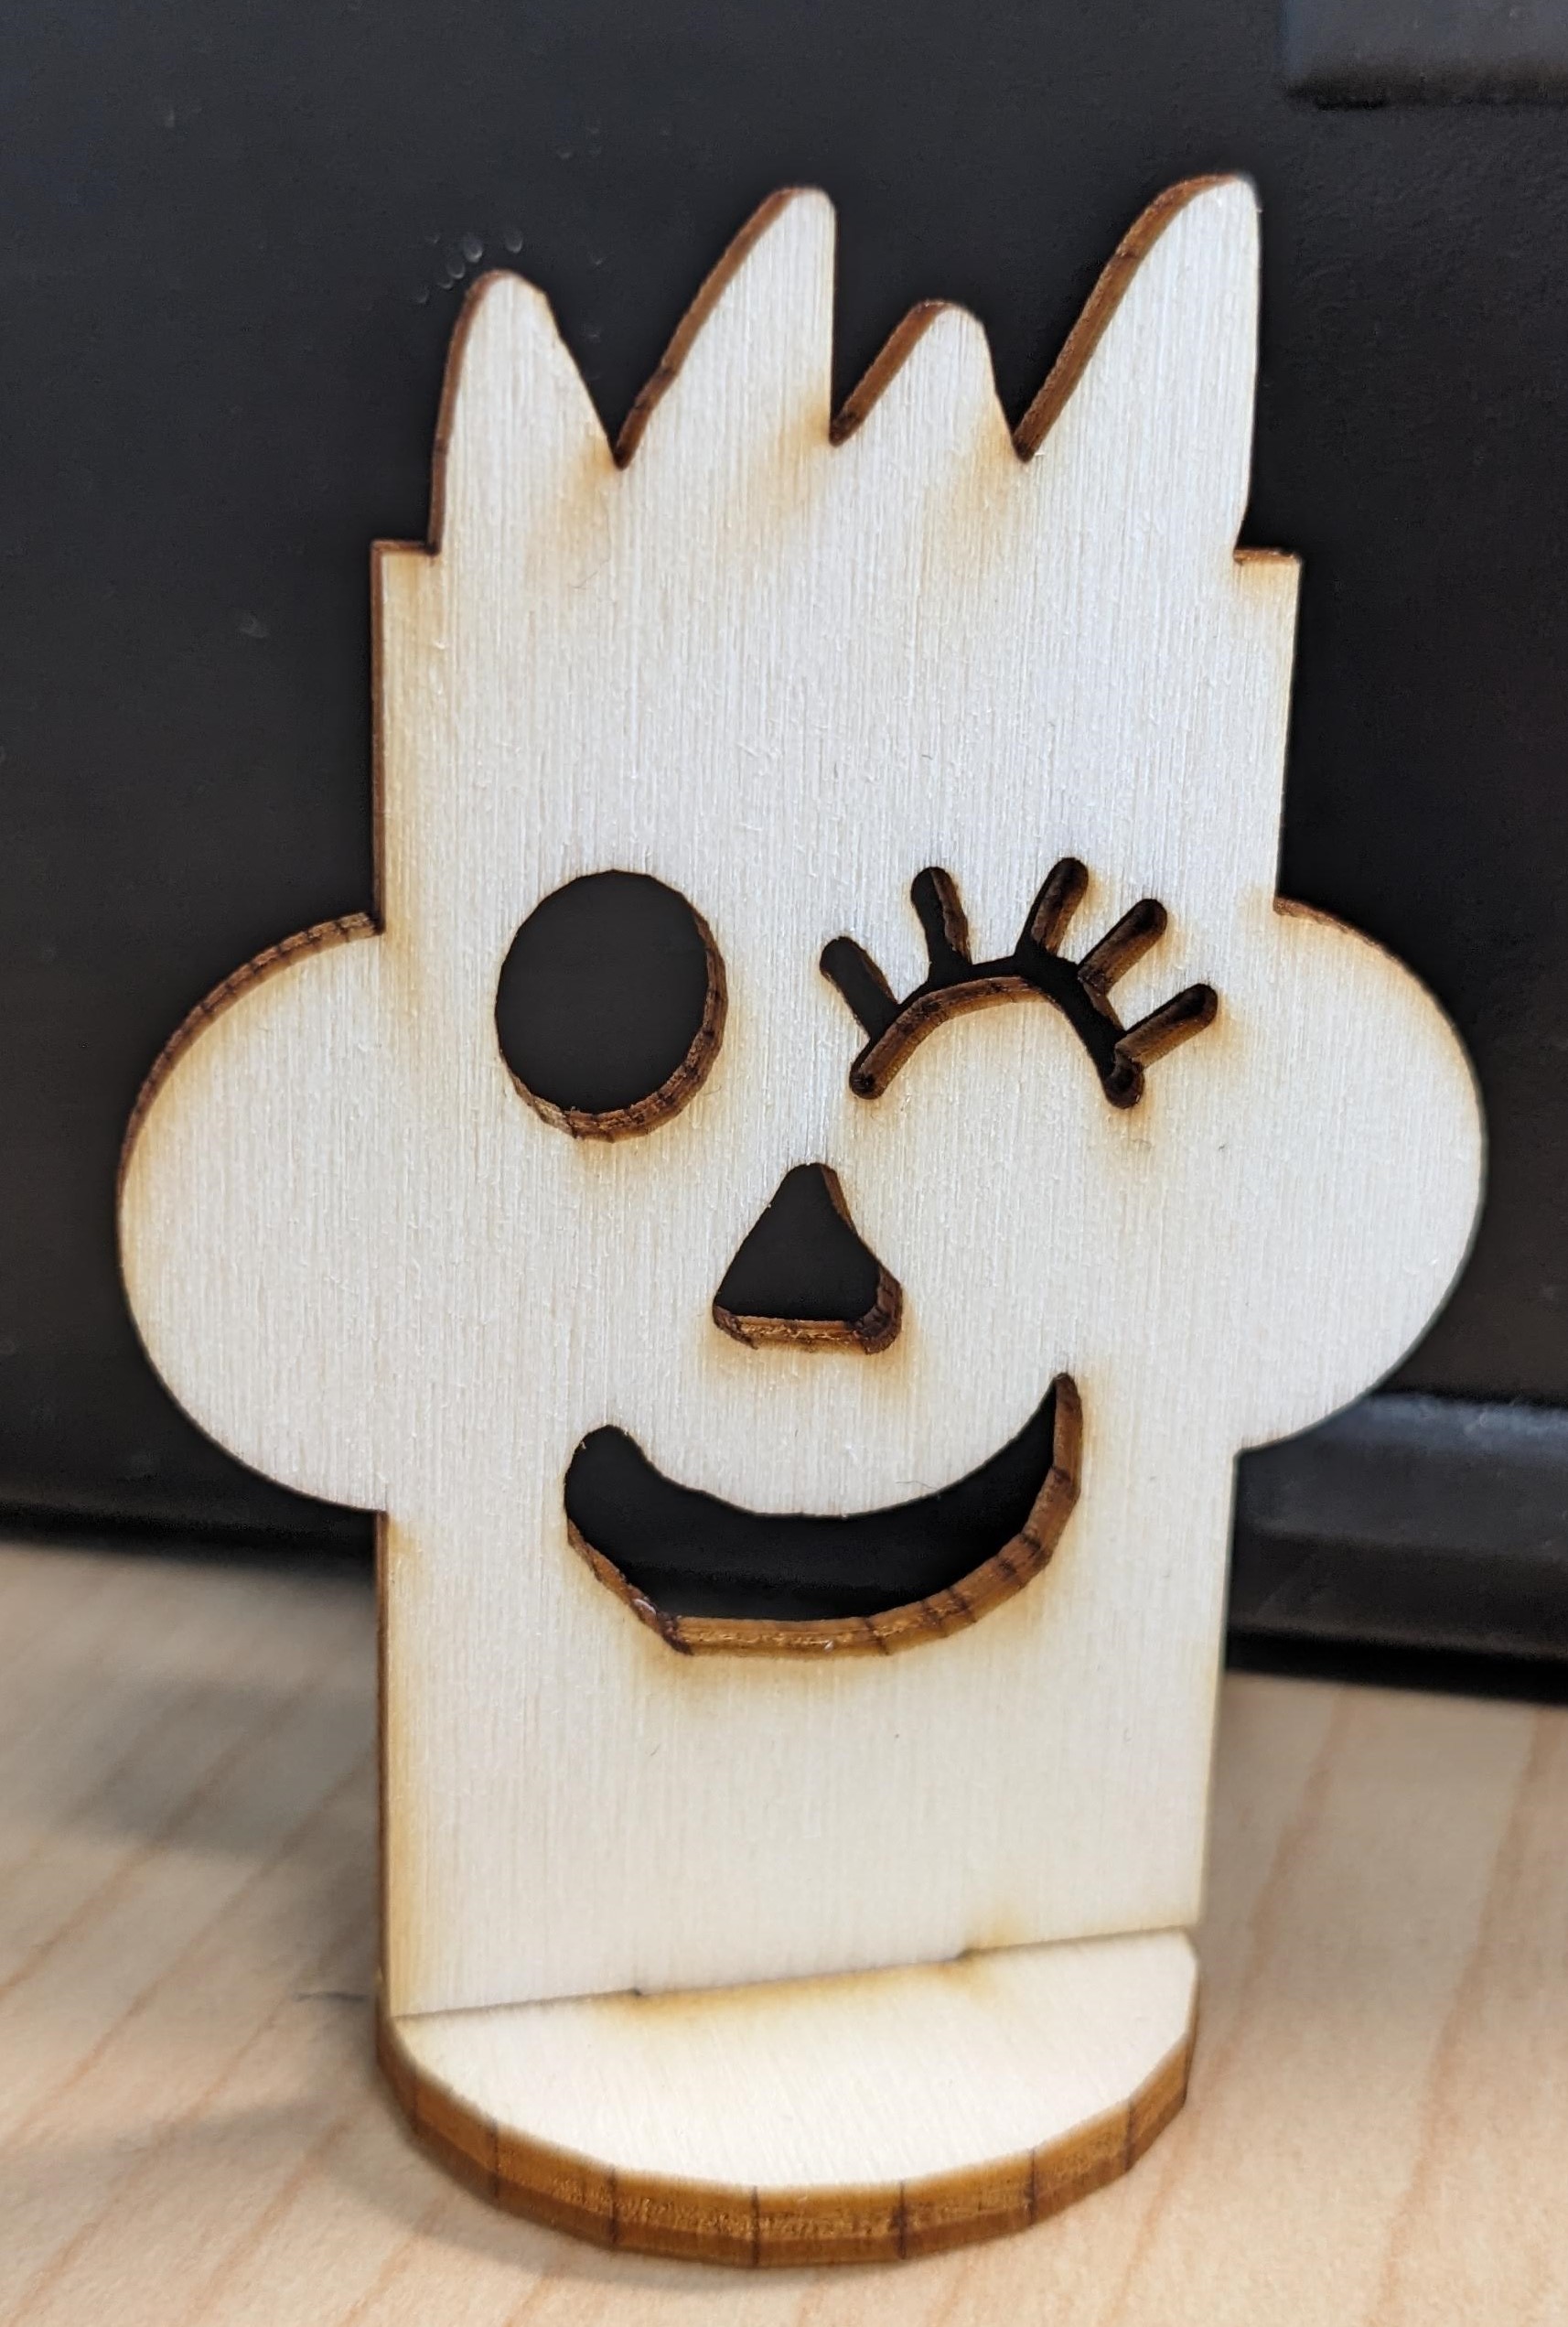 If you and your group have any questions or get stuck as you work through this in-class exercise, please ask the instructor for assistance. Have fun!


- Go to the TinkerCAD website https://www.tinkercad.com/ and login, if you don’t have an account, go ahead and create a free account.
- If you haven’t already, go to https://inkscape.org/ and download the appropriate version of Inkscape for your computer.
- Create the shape of your character
- Insert a cube from the basic shapes onto the work plane.
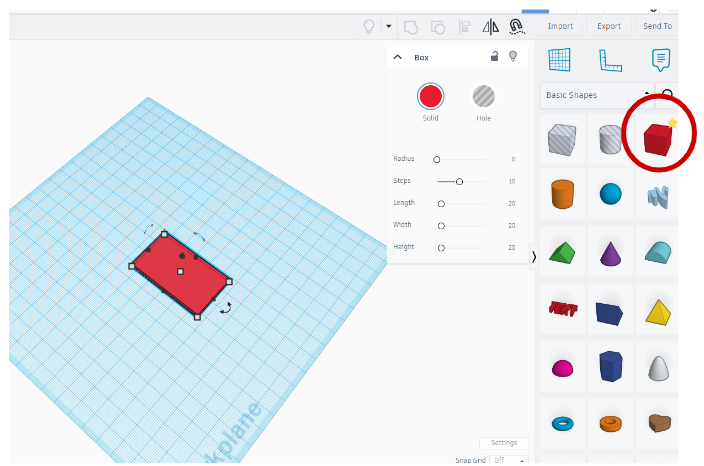
- You will need to change the dimensions of cube. Click on the white squares on the corner of your cube, this will allow you to change the dimensions. Resize your shape to be:
- Width: 30 mm
- Length: 50 mm
- Height: 3 mm (thickness of your material)
- This is going to be the base shape of your character.
- Insert a cube from the basic shapes onto the work plane.
- Create the tab and group your shape
- Add another cube to your work plane, this cube must be resized to be:
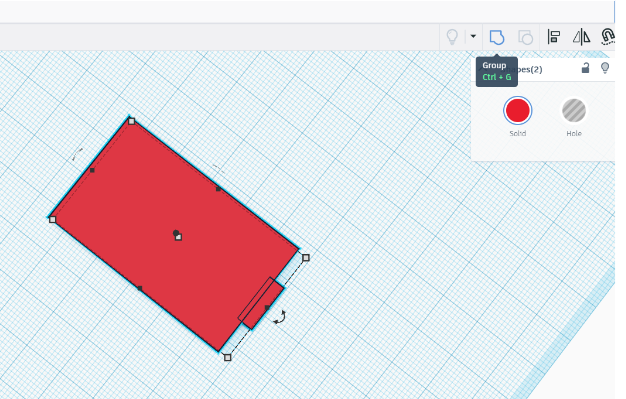
- Width: 4 mm
- Length: 12 mm
- Height: 3 mm (thickness of your material)
- Move the second shape to be at the bottom of your character, there should be about 1mm of overlap between both shapes.
- Select both shapes, and click on the Group button. This will combine both shapes.
- Add another cube to your work plane, this cube must be resized to be:
- Create your base
- You will now create the base that will hold your character vertically.
- Insert a cylinder from the basic shapes. Resize the shape to be:
- Width: 30 mm
- Length: 30 mm
- Height: 3 mm (thickness of your material)
- It’s now time to add the slit that will hold your character.
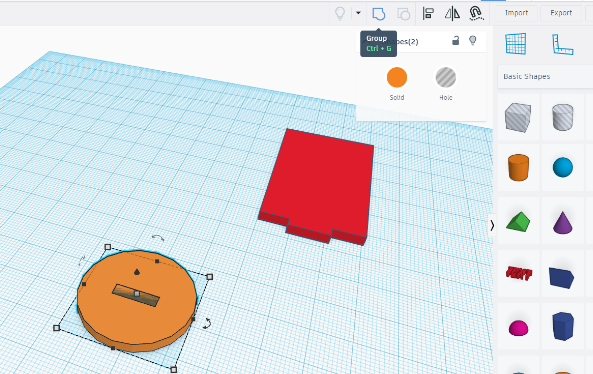
- Add a cube and select the hole function.
- Resize the shape to be:
- Width: : 3 mm (thickness of your material)
- Length: 11.5 mm (0.5mm less than the length of the tab you created previously)
- Height: 3 mm
- Move the rectangle to the center of the cylinder. Once in place, select both shapes and group them together.
- Decorate and customize
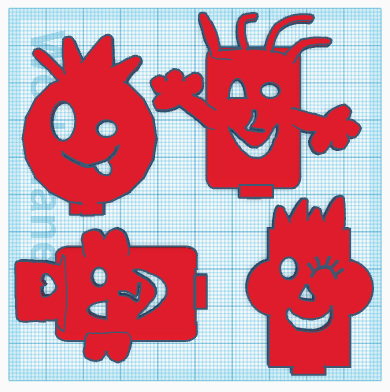
- Add pieces to your base shape to customize your character. You can add pieces to extend outside of the shape or create holes. You can use any additional shapes, including the Scribble tool. Remember, everything needs to be flat and 3 mm in height!
- Make sure that all your pieces are touching! If one part doesn’t touch, it will fall and your design won’t look like you want it.
- Group everything together.
- Exporting your file from TinkerCAD to Inkscape

- Your design is now ready to be exported as an .svg and imported to Inkscape. Click on Export, and a pop=up box will appear, click on .svg and save your design onto your device.
- Open Inkscape, you can now import your design by clicking on files and import. Find the file you just saved. A box may pop-up asking about import settings. The default settings are fine, click OK.
- The page will look blank, however, do not worry.
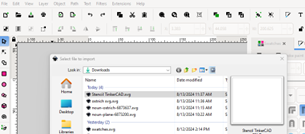
- Adjust your design to be ready for laser cutting
- To make your design visible, click on the blank works space until you select an item. This is your design imported from TinkerCAD.
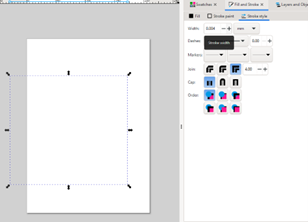
- Go under Fill and Stroke and increase the width of the stroke to be at least 1mm. This will make your design visible.
- Save your design.
- To make your design visible, click on the blank works space until you select an item. This is your design imported from TinkerCAD.
Congratulations, your design is now ready to be laser cut!