Motion Sensor to Send a Message (Facebook, Twitter, Email)
Materials Needed
- 1 Adafruit Feather Huzzah (a type of Arduino board)
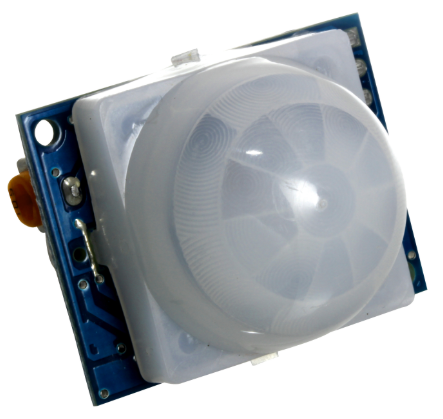
- 1 PIR motion detector
- 1 breadboard
- 1 LED light
- 2 red wires, 2 black wires, 1 other coloured wire
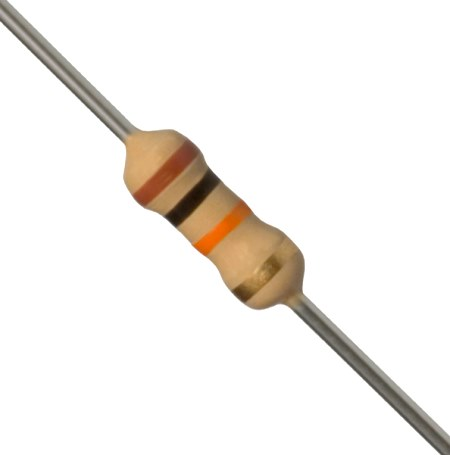
- 1 10K ohm resistor (brown - black - orange - gold)
Please Note: The DSC also has smaller PIR motion detectors than the one pictured here. These need to be connected without the 10K ohm resistor tying the OUT pin to ground.
Hardware Setup
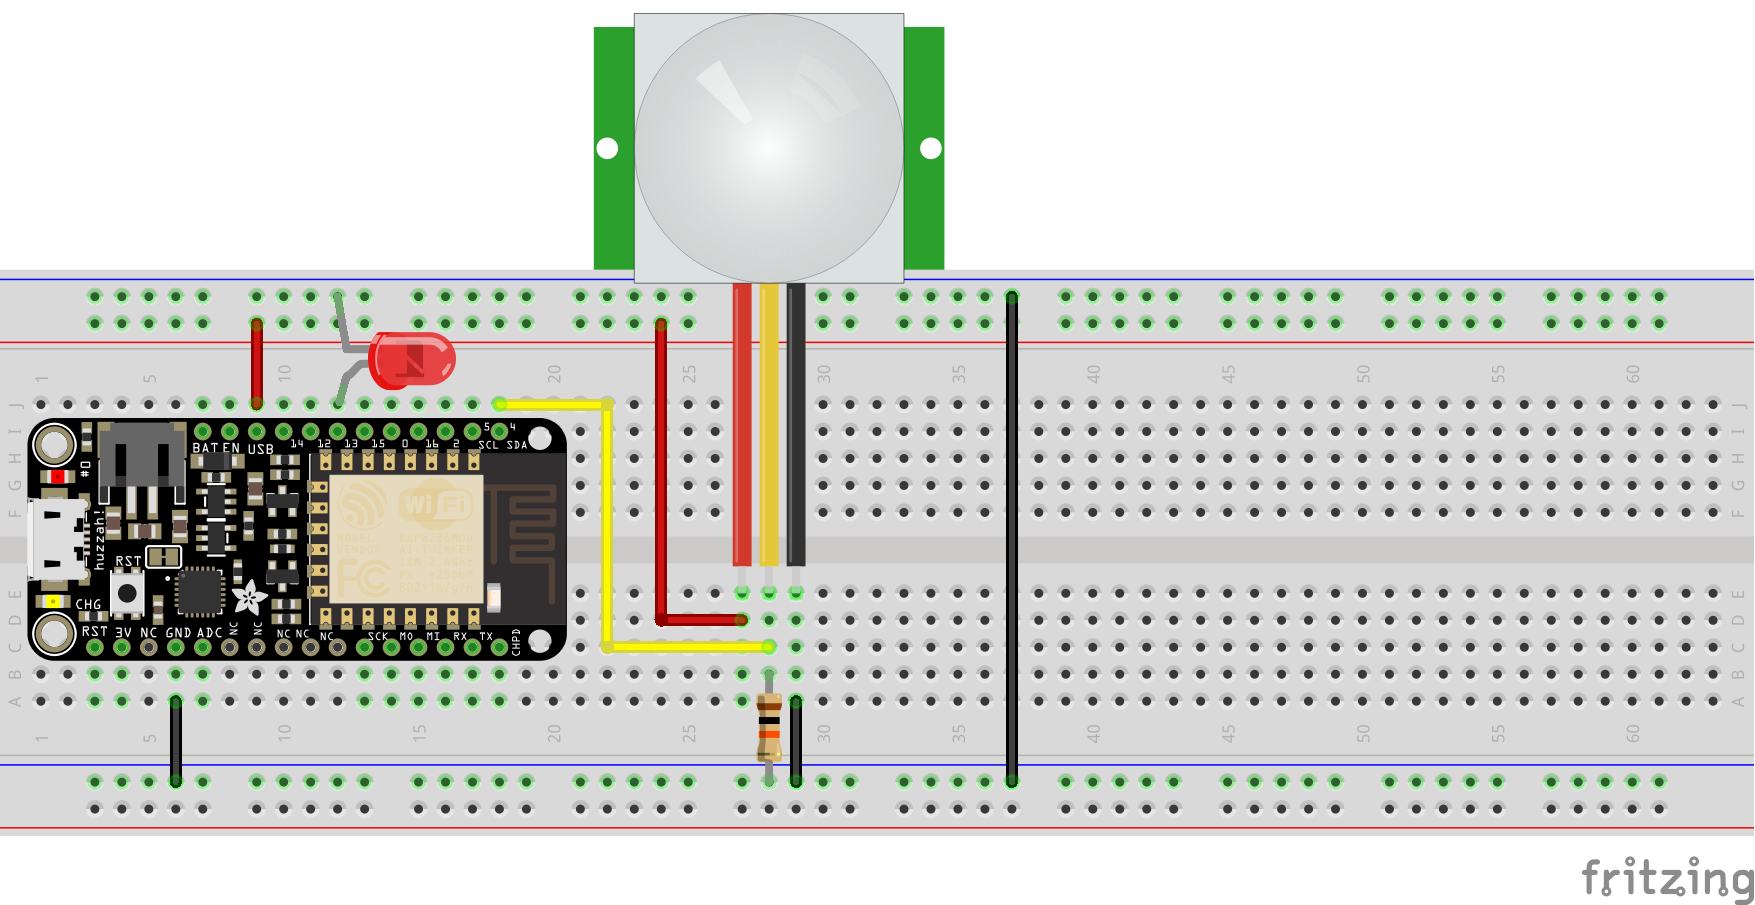
- Connect parts as in the diagram (Note: double check the pins on your motion sensor, as they may differ from the one used in the example here):
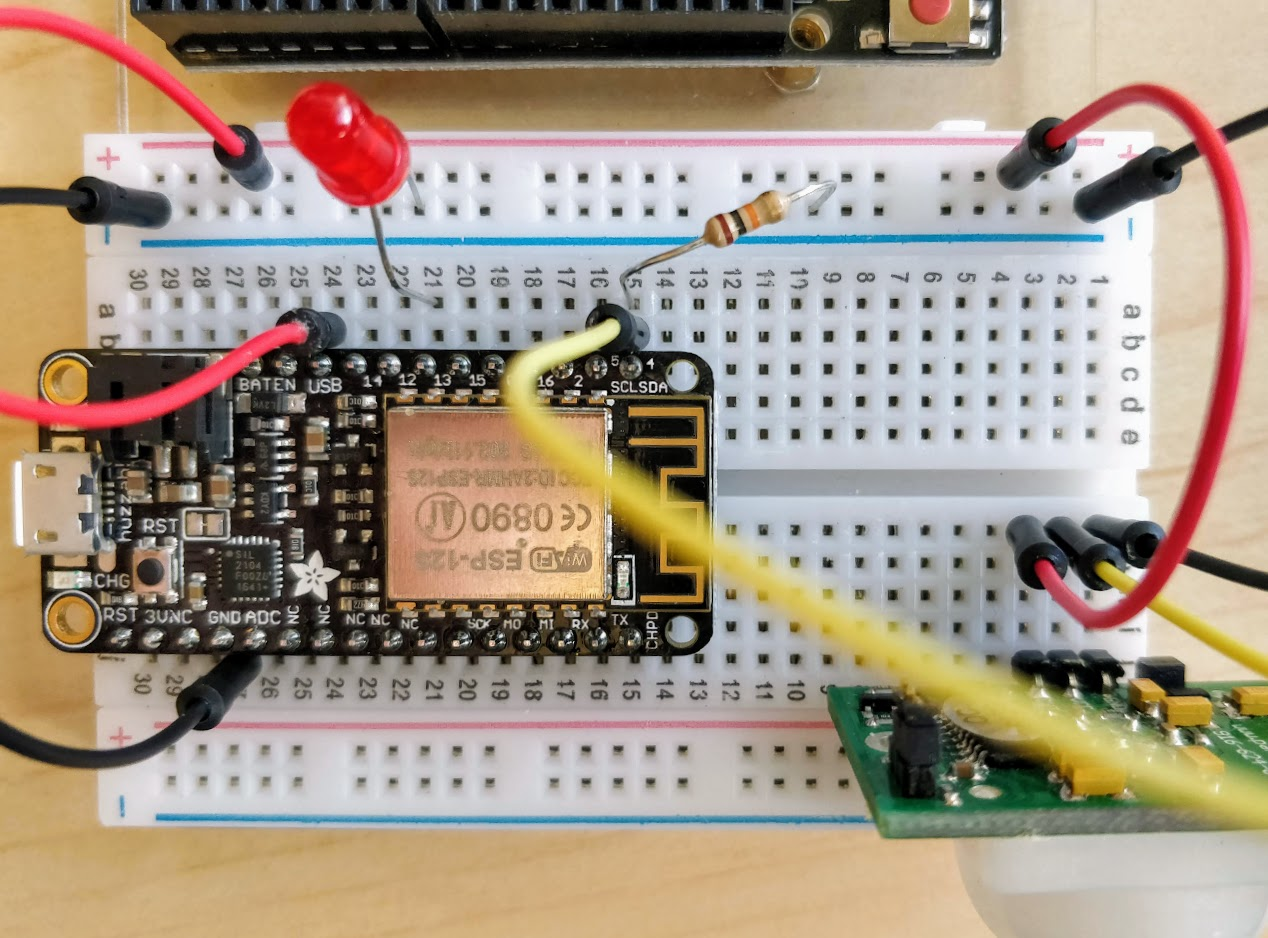
- Place the Feather Huzzah on the far left of the bread board as you can see below
- Place the PIR sensor somewhere to the right of the Feather
- Connect the GND pins of the Feather and the sensor together
- Connect the VCC pin of the sensor (VDD on the smaller ones) to the USB (5V) pin of the Feather
- Connect the OUT pin of the sensor to IO pin 4 (SDA) of the Feather
- Tie the OUT pin of the sensor to GND using the 10k ohm resistor as a “pull-down” resistor
- Place the LED with the long pin (anode) connected to IO pin 13 of the Feather and the short pin (cathode) connected to GND
- Download & open the following file in your Arduino editor, then save it: https://bit.ly/2JPqHTO
- Plug your USB cable into your computer. Go to Tools -> Port and select the port your Feather Huzzah is on
- Now compile and upload code, and wave your hand in front of the PIR motion sensor and watch the LED light up!
- Note: you may need to adjust the orange sensitivity & delay dials with a phillips screwdriver
Triggering an Action Online: Create an Adafruit IO Web Feed
- Exit out of all of your Arduino IDE windows, and shutdown the program
- Download & open the following new file in your Arduino code editor, and then save it: https://bit.ly/2JSBlMY
- Edit the code to add your IO_Username, IO_Key, along with the wifi username and password. You can find your Adafruit IO credentials at https://io.adafruit.com by clicking on the yellow My Key button in the top menu bar
- Edit the code so that the input receive is from the motion sensor. Hint: You may need to change the input pin in the default code.
- Now compile and upload code by clicking the Upload arrow on the top navigation bar
- After the code is loaded, go into Adafruit IO. Click Feeds and then view all and open your command feed
- Activate the motion sensor, and you’ll see the graph on the Adafruit IO website update. Great job!
Connecting to an IFTTT Applet
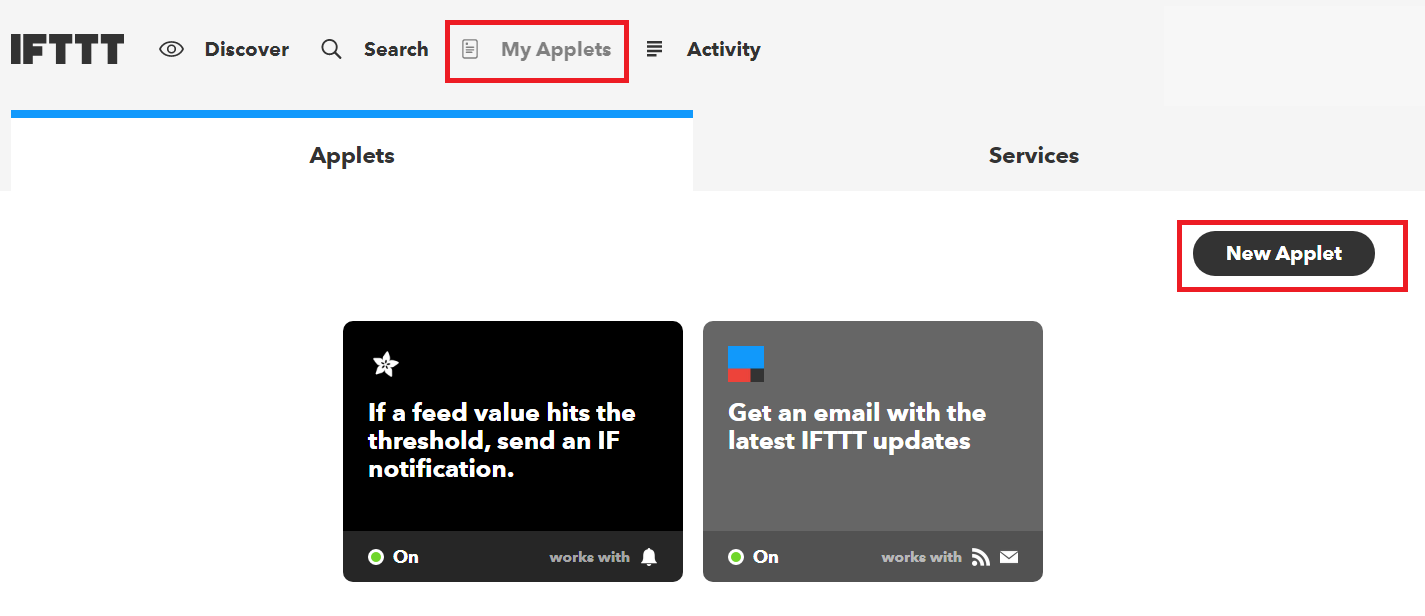
- Go to https://ifttt.com/ and log in or setup an account if you haven’t already. Create a new applet on IFTTT by clicking My Applets & then the Get more button
- In the search bar (underneath the Explore text) search for “Adafruit”
- Select the Adafruit service
- Click the Create option
- Click the Add button next to the “If This” text
- Search for Adafruit again and select it
- Select Monitor a feed on Adafruit IO
- Select the command feed from the “Feed” dropdown box, select equal to from the “Relationship” dropdown box, and in the value field enter “1”. Now press Create Trigger
- Click on the Add button next to the “Then That” text to select an output service
- Search for and click on email (or another output device to your liking: email, twitter, facebook, etc.)
- You will be asked if you want to connect to the service. Click Connect, and then Accept
- Click through to customize the message if you want to, and click on Create action
- A warning on IFTTT states that the applet can take up to an hour to apply. It may not work for workshop attendees right away
- Click Finish. Now every time you activate the motion sensor, you should receive a text, email, message, or call (depending on how you’ve configured it!)