![]()
Workshop Learning Objectives
We’ll start by discussing what workshops’ learning objectives are and why they are important, as well as some related issues to consider before you lead a DSC Flipped Learning workshop. If you have any questions, concerns, or would appreciate some guidance, please do not hesitate to ask your instructor for assistance. Let’s get started!
- Before we look at what effective learning objectives look like, there are three other things to keep in mind that will help inform what we include in learning objectives for a workshop:
- Who is your audience? What is their age and education level? Do they have experience with the topic you chose, or something closely related?
- What is the “Big Idea” that will capture their imagination or inspire them to fully engage with the workshop instruction and activities?
- What do you think they would like to get out of the workshop collectively and as individuals? Don’t be afraid to ask your colleagues and prospective students what they would like to get out of the workshop. Occasionally, you may find that the specific topic you chose is not as popular as you thought it was, so you may need to tweak or abandon the topic.
- The Curse of Expertise (Fisher & Keil, 2016):
- If you have significant experience or expertise in the area of the workshop, it is often difficult to remember what things or skills you don’t need to explain in detail and which you’ll have to elaborate on.
- To guard against “the curse of expertise,” you can do a test run of the workshop with a trusted novice so that you can get accurate feedback on what areas and words need more explanation, and which areas you may have elaborated on too much.
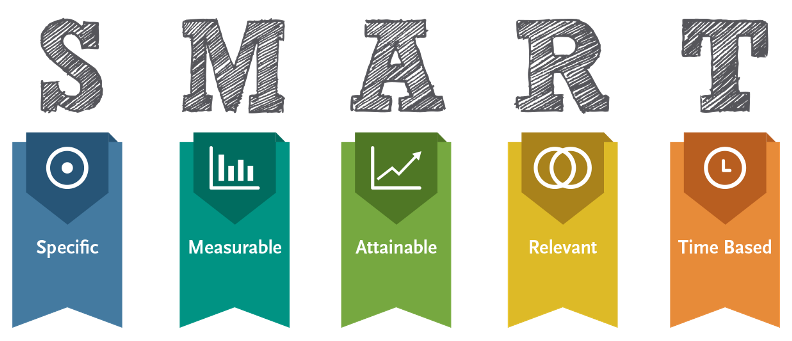
- Begin with the end in mind by making sure your workshops’ Learning Objectives are SMART: Each learning objective should be: Specific, Measurable, Attainable, Relevant, and Time-based (Chatterjee & Corral, 2017).
- Specific: Exactly what should workshop participants have learned by the end of the workshop - who, what, where, why?
- Measurable: How will you determine that the specific learning outcome has been met?
- Attainable: Ideally, the learning objectives should not be out of reach, but not too easy either.
- Relevant: How do the learning objectives relate to the needs and desires of the workshop participants?
- Time-based: When will the learning outcome be successfully completed? During or at the end of the workshop?
- Here are two examples of SMART learning objectives:
- “By the end of this workshop, participants will be able to add new shapes and text to the TinkerCad workspace in order to create the compound object(s) they desire.”
- “By the end of this workshop, participants will have created an Excel scatter plot chart and trend line using their own data (or sample data), and shared it with the instructor.”
- “By the end of this workshop, participants will be able to add new shapes and text to the TinkerCad workspace in order to create the compound object(s) they desire.”
- Create two SMART learning objectives for a workshop you’ll be teaching in the coming weeks. Please don’t look at the learning objectives that have already been created for the workshop
Learning objectives:
A. ____________
B. ____________
Good job! Time to move on to looking at features in flipped learning workshops that help make them successful.