Adding Images and Links in HTML
If you haven’t already completed the first exercise, please go to Getting Started With HTML.
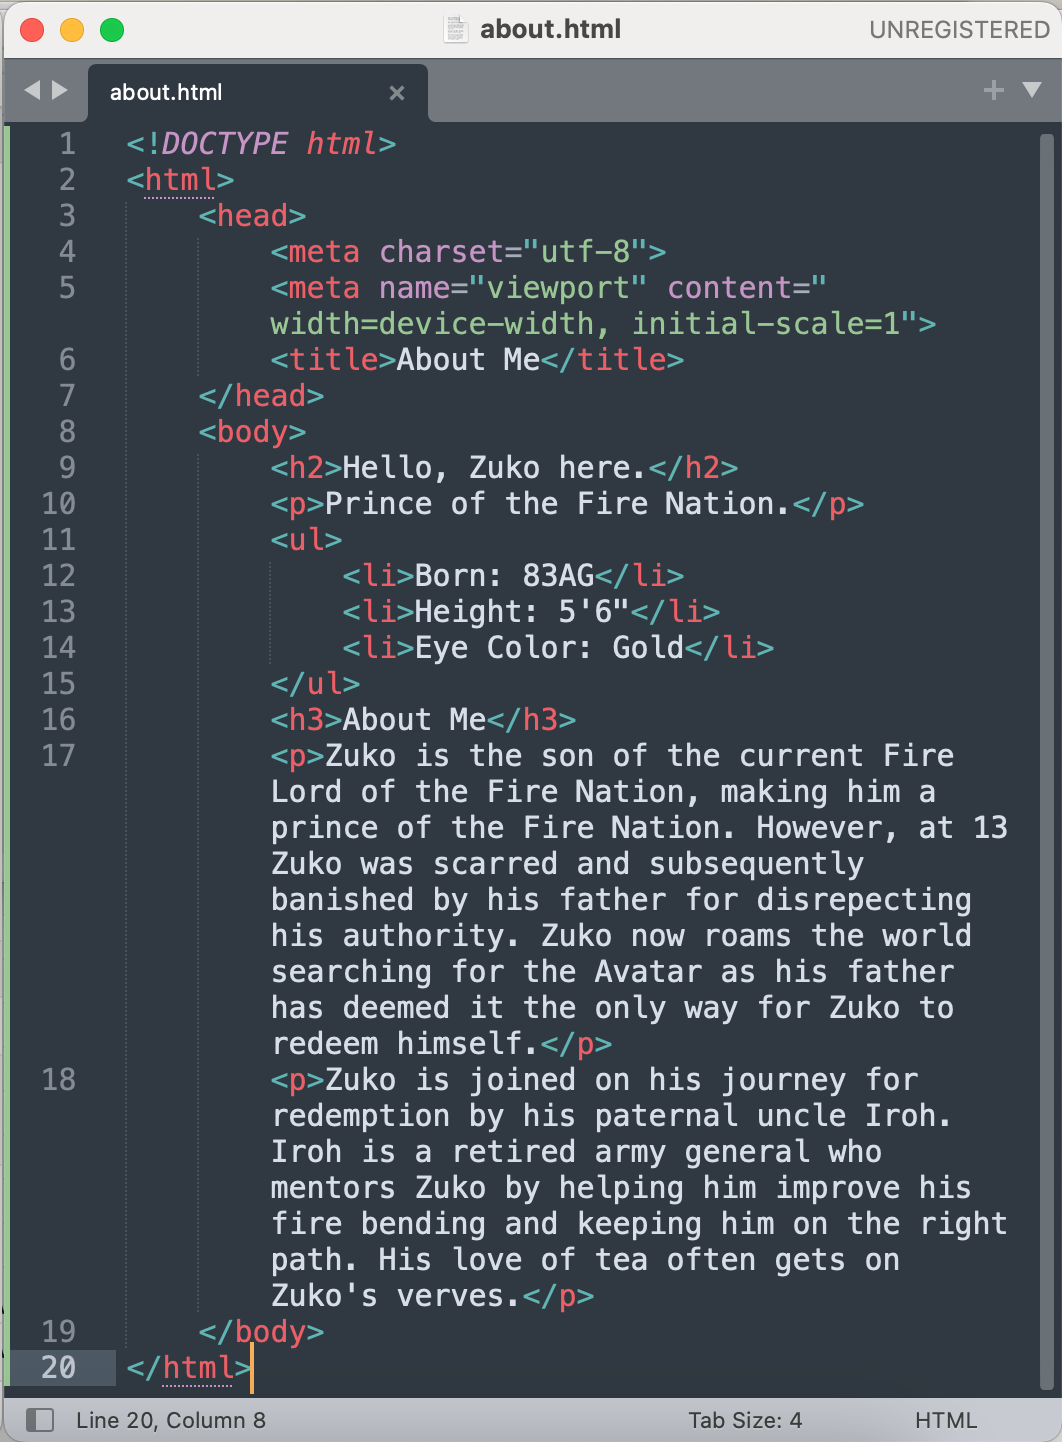
Assuming that you are following along and making your own “Frodo Baggins bio” web page, your about.html file (in the Sublime Text editor) should looks like this:
In this section, we’ll learn how to add images and links to an HTML page.
We are starting with images because this will help us to better understand and practice the relationships between folder and file locations.
Adding images to an HTML document
Images come in all shapes and sizes, as well as “formats”, or file types.
The most common image file types on the internet are PNG (Portable Network Graphics) and JPEG (Joint Photographic Expert Group image). PNG files end with the .png extension (or suffix) and JPEG files typically end with .jpg or .jpeg.
You have likely seen other file formats, but we will be working with a PNG file, as this file type strikes a good balance between image quality and file size. In this case, file size does not mean its scale (the length of its height x width), but how much storage space the file requires.
Create a place to store your image
Let’s start by creating a place to store our image.
- On your computer, navigate to the
html_workshopfolder and open it. - In the
html_workshopfolder, create another folder calledimages. - Click on the following link: Frodo portrait and save the file into the
imagesfolder you just created. If the previous link does not work for you, I have uploaded the identical file here. - Rename your PNG image file as follows:
frodo-01.png. This may seem like a trvial step, but it will pay off later, should we wish to add more images of Frodo.
Note: if the process of saving images from the internet to your computer is new to you, or if you get into the digital weeds, please reach out to your intstructor. If you are doing this workshop remotely, then this web page walks through the process.
Now that we have created a place to store our image, and renamed it, we are going to get the image to appear on our HTML page.
Make an image appear on your HTML document: the <img> tag
To get our image to appear on our web page, we are essentially creating a “link” (not an HTML hyperlink: we learn about those soon) between the image in our images folder and our about.html page.
Another way of thinking about this is that we are going to tell the HTML file what “path” to take to get to the image, or the “file path” we want to use.
HTML uses an “image tag,” or<img> tag, to “embed” an image in a web page. One quirk of an <img> tag is that it does not need a closing tag. But, it does have two requirements:
- (1) it must contain the
src, or “source” attribute, which provides the file path information for your image (or other file types). - (2) it must contain
alttext, or “alternate text” attribute, to describe the image for a screen reader, or the text to display in cases where the image might fail to load for someone.
- In Sublime Text, return to your
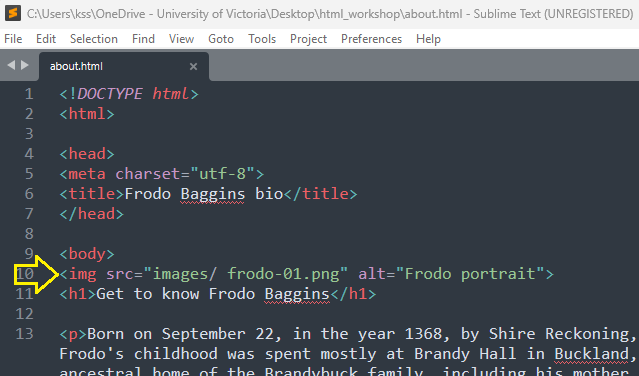
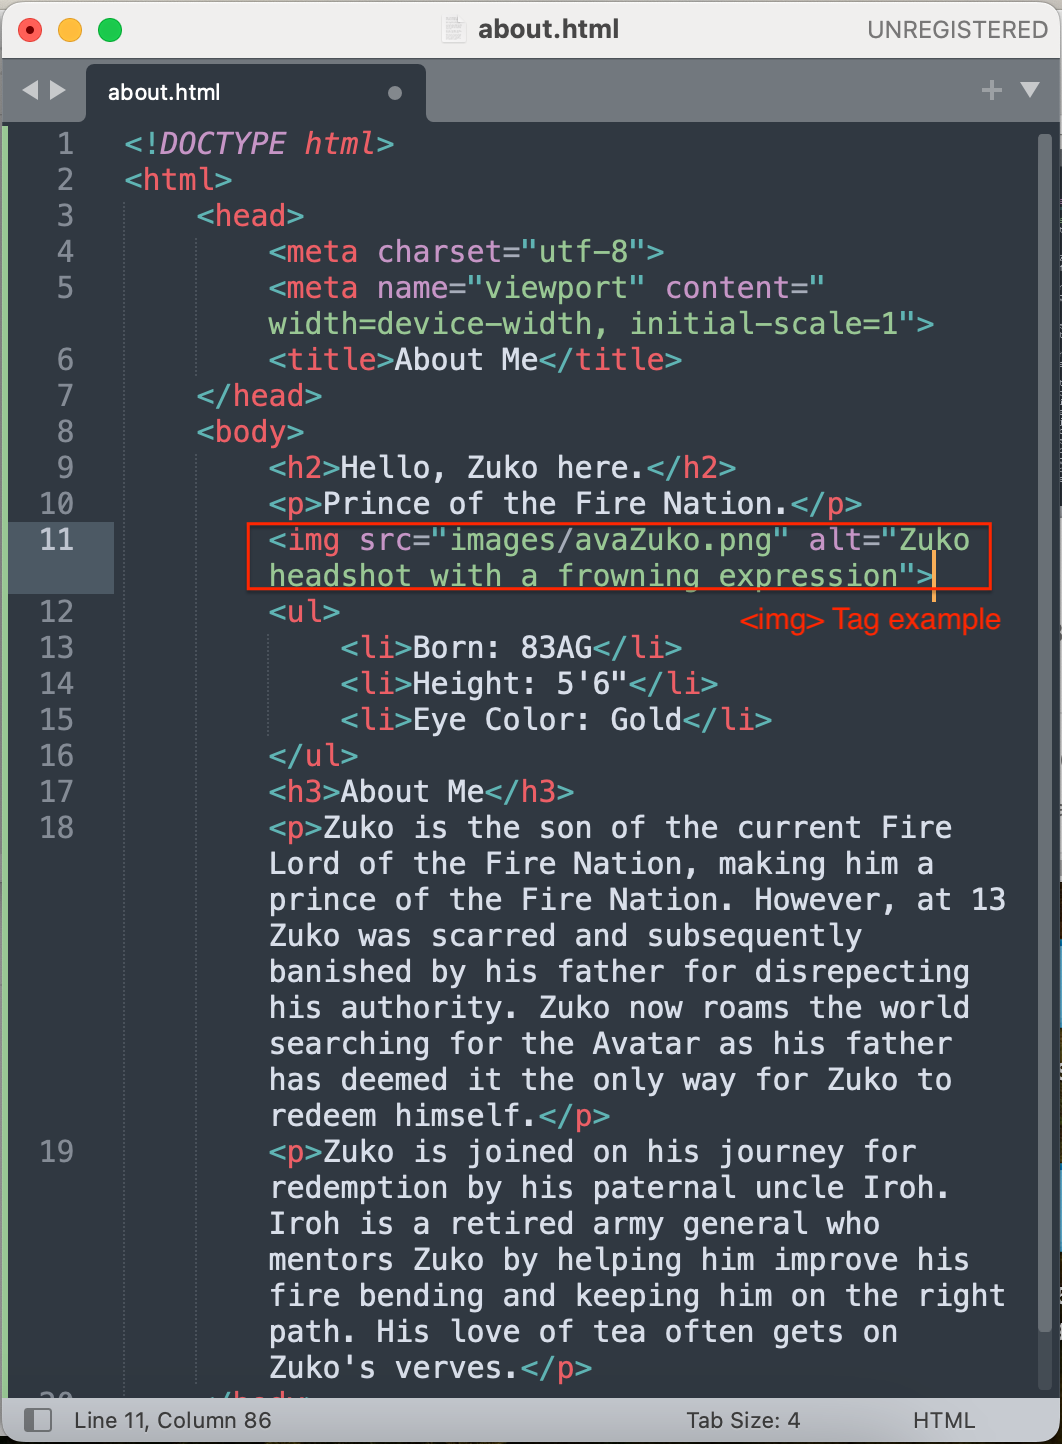
about.htmlfile. - Underneath the opening
<body>tag, add the following file path information exactly as written:<img src="images/frodo-01.png" alt="Frodo portrait">. Here is an image of what this looks like in myabout.htmlfile:
- Save your file.
- Open the file in your browser and see if your image appears. Here is what mine now looks like in Firefox:
- In Sublime Text, return to your
about.htmlfile. We are now going to break something on purpose to learn a valuable lesson. - In the
<img>tag, add a space betweenimages/andfrodo-01.png. So, the full<img>tag will change as follows:- Before:
<img src="images/frodo-01.png" alt="Frodo portrait"> - After:
<img src="images/ frodo-01.png" alt="Frodo portrait">
- Before:
- Return to your browser and refresh it. You should no longer see the portrait of Frodo. Instead, you should see only the “alt text,” that is, the text between the double quotation marks in
alt="Frodo portrait". Here is my example: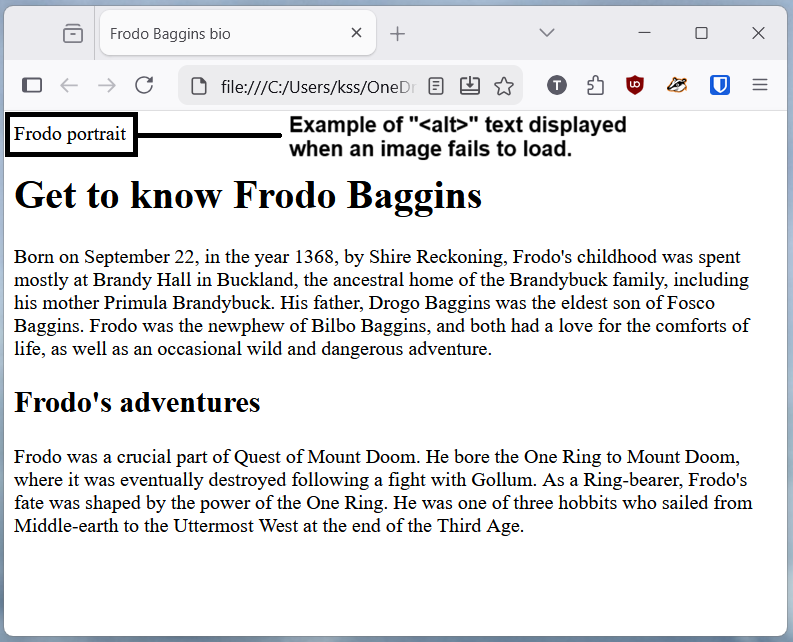
- In Sublime Text, return to your
about.htmlfile and remove the space you added in step 6. - Save your file.
Breaking our image’s file path teaches us several things. First, if you cannot see an image on your web page, it could be that you have accidentally introduced a typo of some kind. Maybe you added a space somewhere, or there are differences between the name of your image file and what you wrote in the file path.
Second, this lesson reminds us of the value in adding alt text. Screen-reader users rely on clear and concise alt text to navigate and experience web pages. This text can also be helpful in cases where your images do not load, for whatever reason. At the very least, someone visiting your broken web page will know the type of image should be there.
As with “hyperlinks,” or “links,” file path accuracy is important. Now that you have added an image to your growing web page, it is time to add a link.
Adding hyperlinks to an HTML document: the <a> tag
HTML links are fundamental to websites. Links literally act as links from your web page to other web pages and other forms of content. This content can be other websites, a different page within your own website, or even a different spot on the same web page.
Get to know the <a> hyperlink tag
Here is an example of a complete hyperlink tag for an Internet URL (Uniform Resource Locator) web address: <a href="https://www.wikipedia.org/">Wikipedia</a>.
The content between the open and closed <a> tags will appear as a clickable link in your browser. In the example given, the word “Wikipedia” would appear as the clickable hyperlinked text.
The <a> in the hyperlink tag defines it as a hyperlink element, and the href is the attribute that indicates the link’s destination.
Hyperlinks have four basic types:
- “external links” link you to other locations outside of your directory, or folder(s), such as other web pages. External links always use a full URL (the whole
https://wwwpart). Example:<a href="http://www.wordpress.com/my-webpage.html">clickable text</a>. - “internal links” link you to other locations within your directory, such as other web pages wuthin in your own website. These links do not use the full URL. Example:
<a href="about-me.html">clickable text</a>. - “anchor links”, or hashtag links, “jump” you to locations within the same webpage. These are helpful in pages with a lot of text. You can, for example, create a table of contents at the top of your HTML page that jumps to sections (or text) within that same page. Example:
<a href="#anchor-location">clickable text</a>. - “email links” link you to an email address. When you click on these, they tell your computer to open up whatever email program you are using. Example:
<a href="mailto:some-email@yoursite.com">Email me</a>.
In this workshop, we will be adding an external link, but you are free to play with other kinds later, using the resources provided at the end of this section.
Add an external link to your HTML document
In my “Frodo Baggins bio” page, I will be adding a link to the words “Third Age,” as I want my readers to learn more about where Frodo’s adventures sit within the broader history of Middle Earth.
- In Sublime Text, return to your
about.htmlfile. - Wrap the words “Third Age” in the following tags:
<a href="">Third Age</a> - Between the double quotation marks in the
hrefattribute, add the following link:https://en.wikipedia.org/wiki/History_of_Arda#Third_Age. Make sure that you do not add any accidental spaces before or after your URL. Here is my example:

Note: if the text is too small to read in the above screenshot example, right click (or Control + click for Mac users) and select “Open image in a new tab”
- Save your file.
BONUS work: add an anchor link to your HTML document
Skip this section if you are feeling pressed for time, or if you would rather move on to learning about Cascading Style Sheets (CSS) (how to change the look your about.html file).
Anchor links jump you to another place in the same page based on where you place an “anchor” within it. Note that you need to add enough text content that so that you have to scroll down in Sublime Text to get to the end of it.
If you need to copy in some more random text into your about.html file, you can use “placeholder text” called “lorem ipsum.” This gibberish text is often used by web developers for creating website examples.
People like to have fun inventing their own versions of lorem ipsum, and my current favourite is, of course, The Lord of The Rings lorem ipsum generator.
In overall terms, anchor links require that we wrap a selection of text in a unique identifyer, or ID, and then link to that ID from another part of the same web page. In fact, the link we used in our external link example, above, is an anchor link.
You can tell an anchor link because it will have a hashtag in it: https://en.wikipedia.org/wiki/History_of_Arda#Third_Age
Follow this tutorial, if you want to play with anchor links in your about.html file.
Once you are done, return to this page to move on the next part of this workshop.
Excellent! Now you know how to add images and links to a web page 😎
Let’s move on the final part of this workshop: changing the look and feel of your web page using CSS, or Cascading Style Sheets…