Bonus Take Home activity: Mini Home Studio
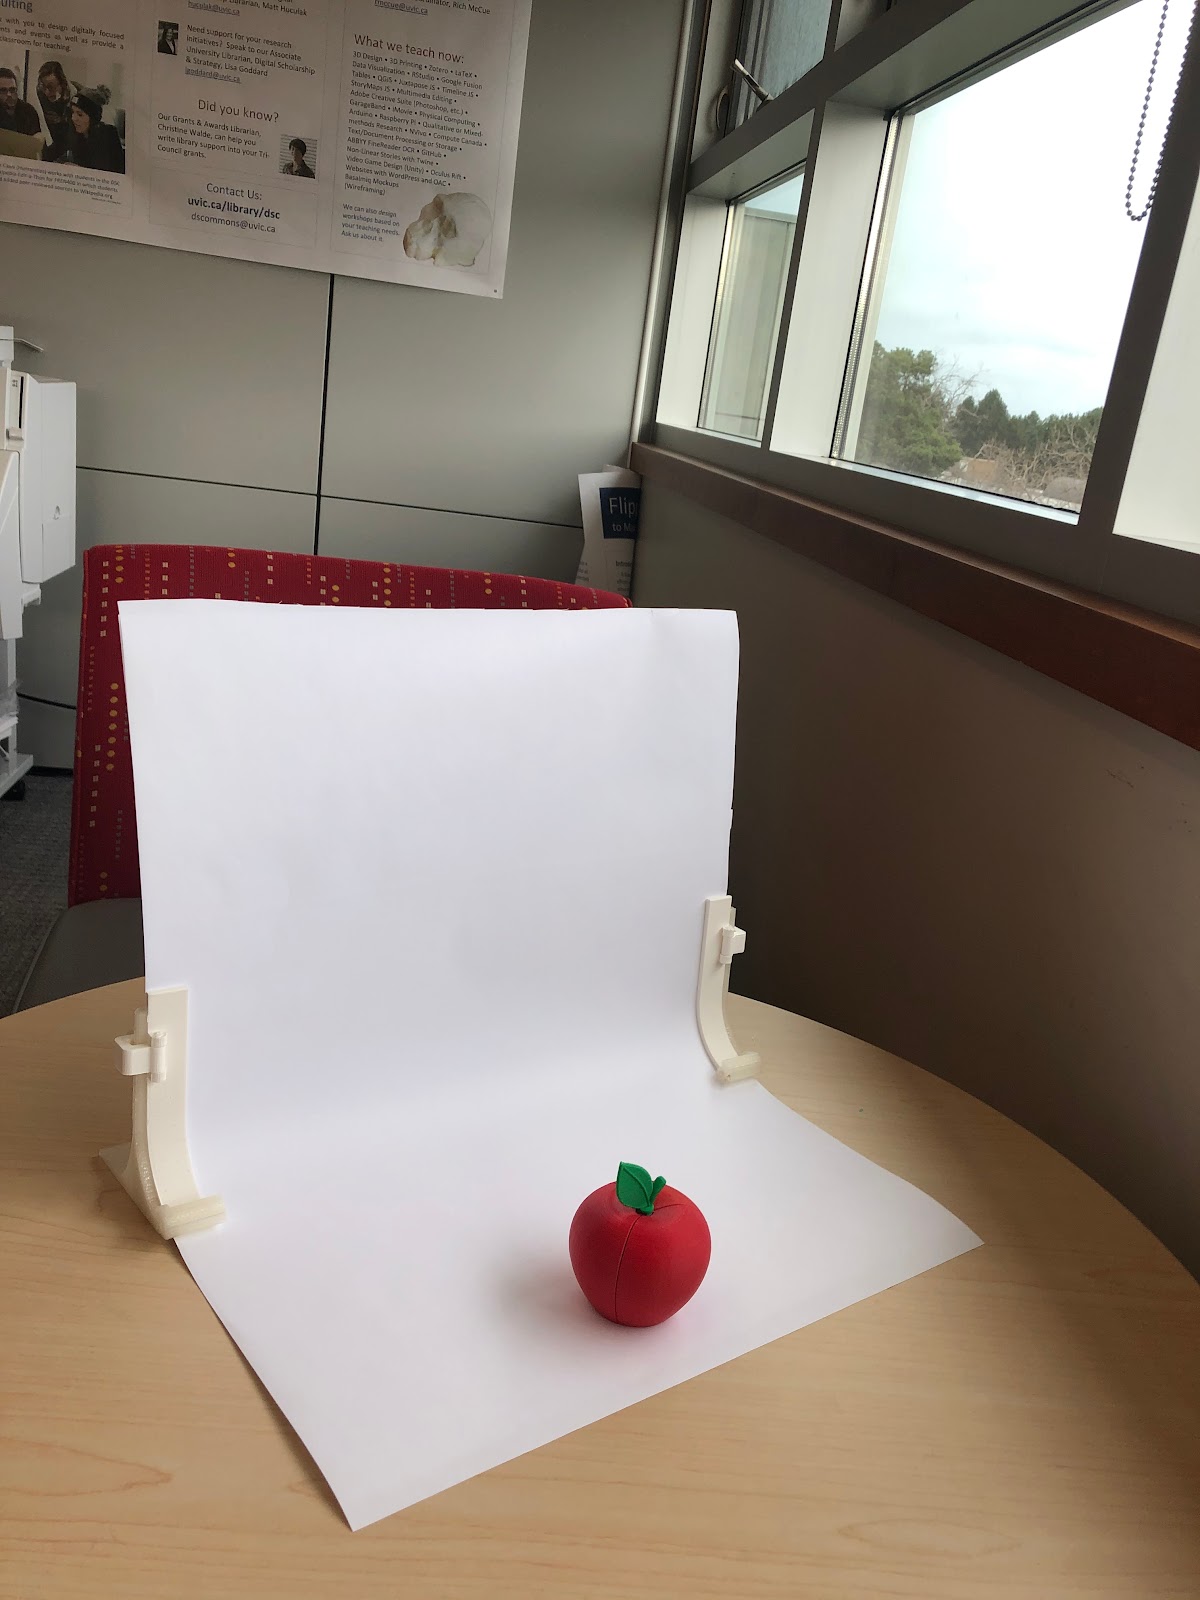 This is a handy little setup you can use for taking photos of isolated objects. Useful for anything from academic projects to selling items online. You can use something like this 3D printed frame to hold the paper in a smooth curve: https://www.thingiverse.com/thing:3638751 (talk with the UVic Libraries DSC staff if you would like to get one printed for your own use). You could also prop up a backdrop using clips, magnets, or adhesive. Setting up a large piece of paper or cloth in a chair tacked down with tape would work.
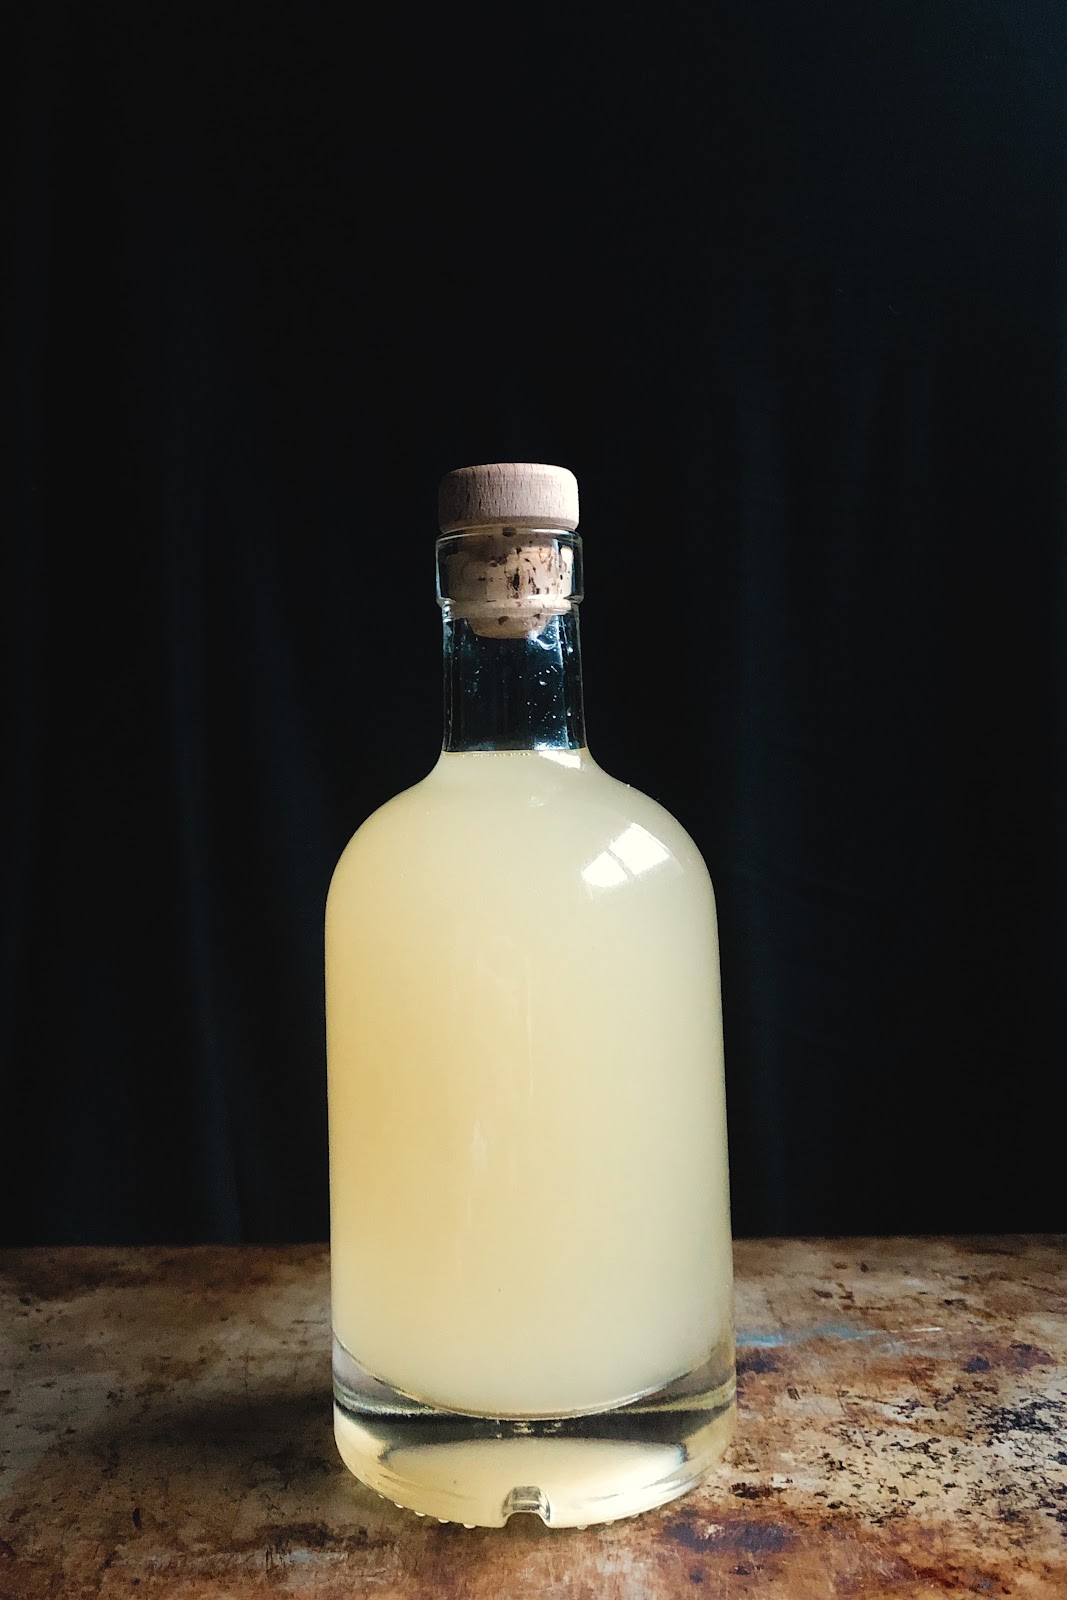
- Choose an object and a background. It is easier to have the object stand out (contrast) with the background a bit. For example: a light object with a dark background, a dark object with a light background.
 Larger objects will need a larger backdrop.
 - Set up the backdrop near a window. Bright, indirect light is best for this. (If the day is too cloudy and dark in your space, you may not get ideal results, but can still practice.) Make sure the indoor lights have been turned off, as the mixed light temperatures are likely to cause white balance issues.
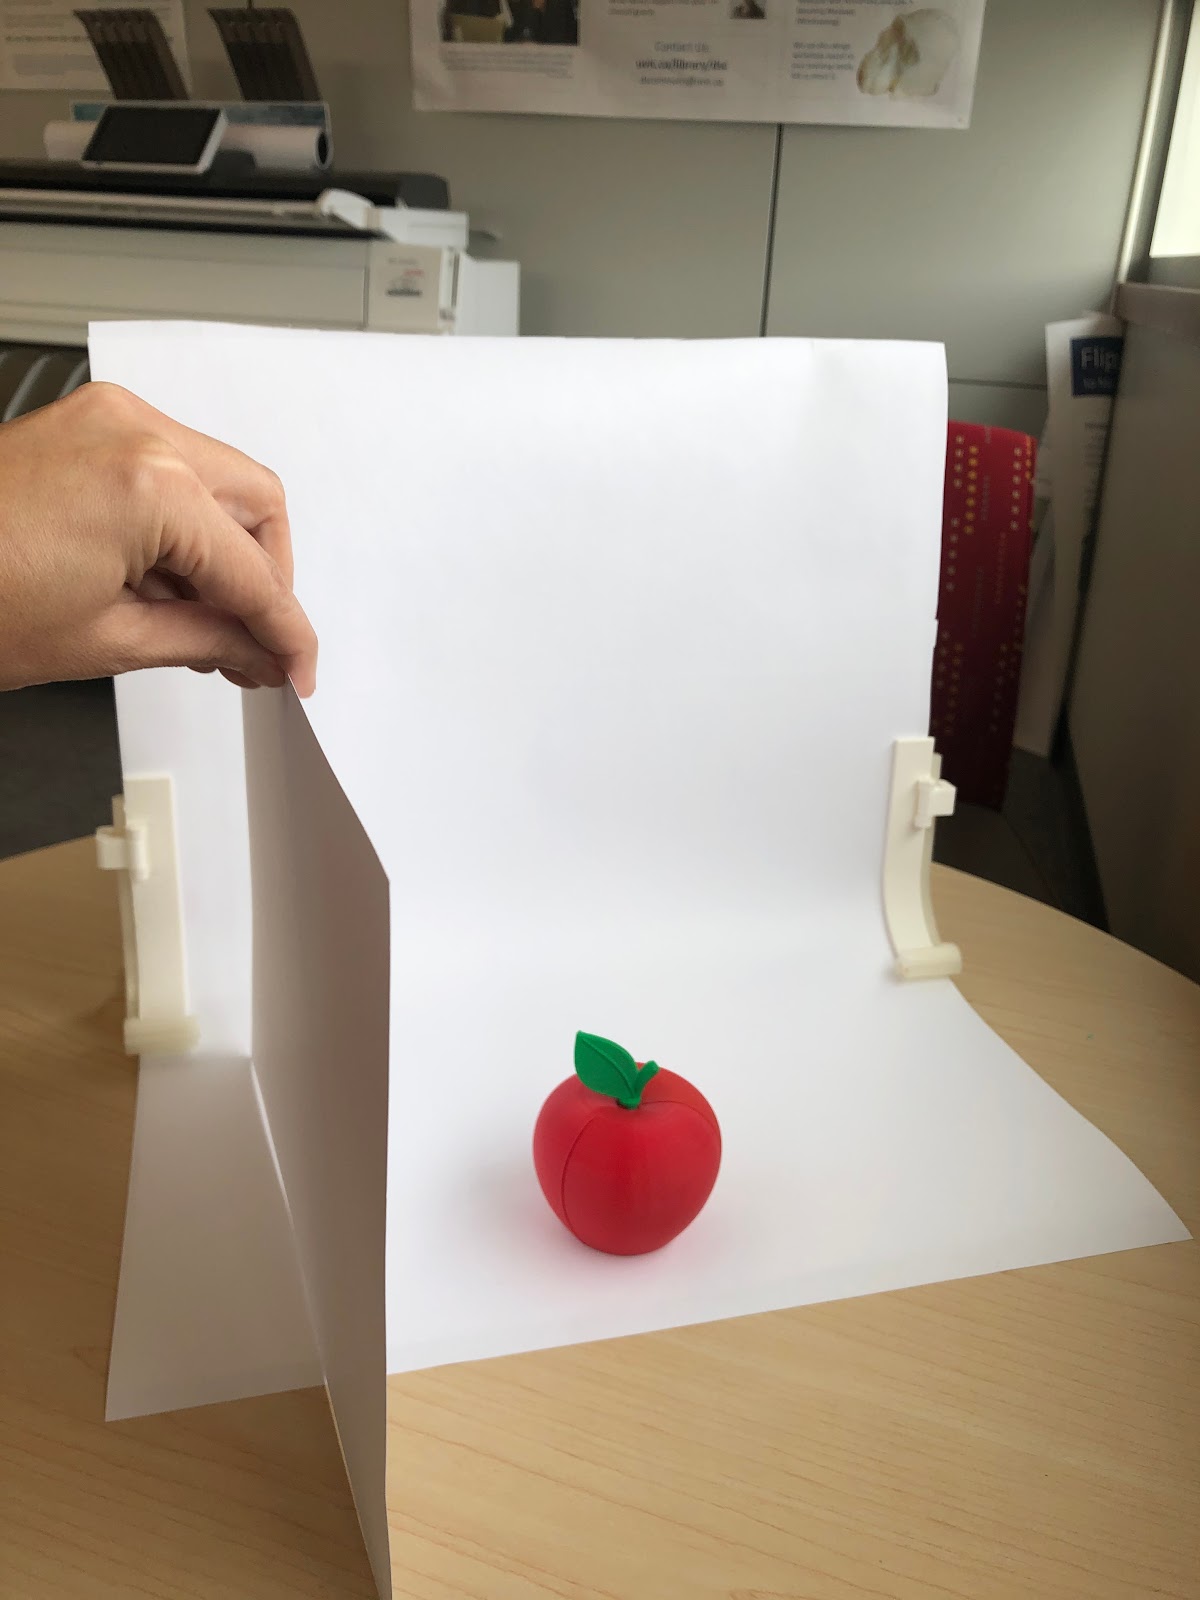
- Place the object on the floor of the backdrop, towards the front (closer to the camera). Ideally, you don’t want it too close to the wall of the backdrop, which should drop out of focus.
- Optional: Set up a white or silver bounce card to reflect some of the light from the window back onto the object to fill in some of the shadows. If using a dark background, you do not want to let the bounce light or any direct light hit the background, just the object (you may need to turn the backdrop until it sits at a good angle for this). The bounce card can simply be a piece of white paper. This isn’t necessary for all situations, but can be helpful if you find you need more light.
- Open up the Camera app and tap on the screen where you want the point of focus to be. Make sure the camera is not casting a shadow on the background or on the subject.
- With a white backdrop, the sensor may think you are in a bright space and may have the exposure too low. With a dark backdrop, the sensor may think you are in a dark space and may have the exposure too high. Adjust the exposure up or down as needed.
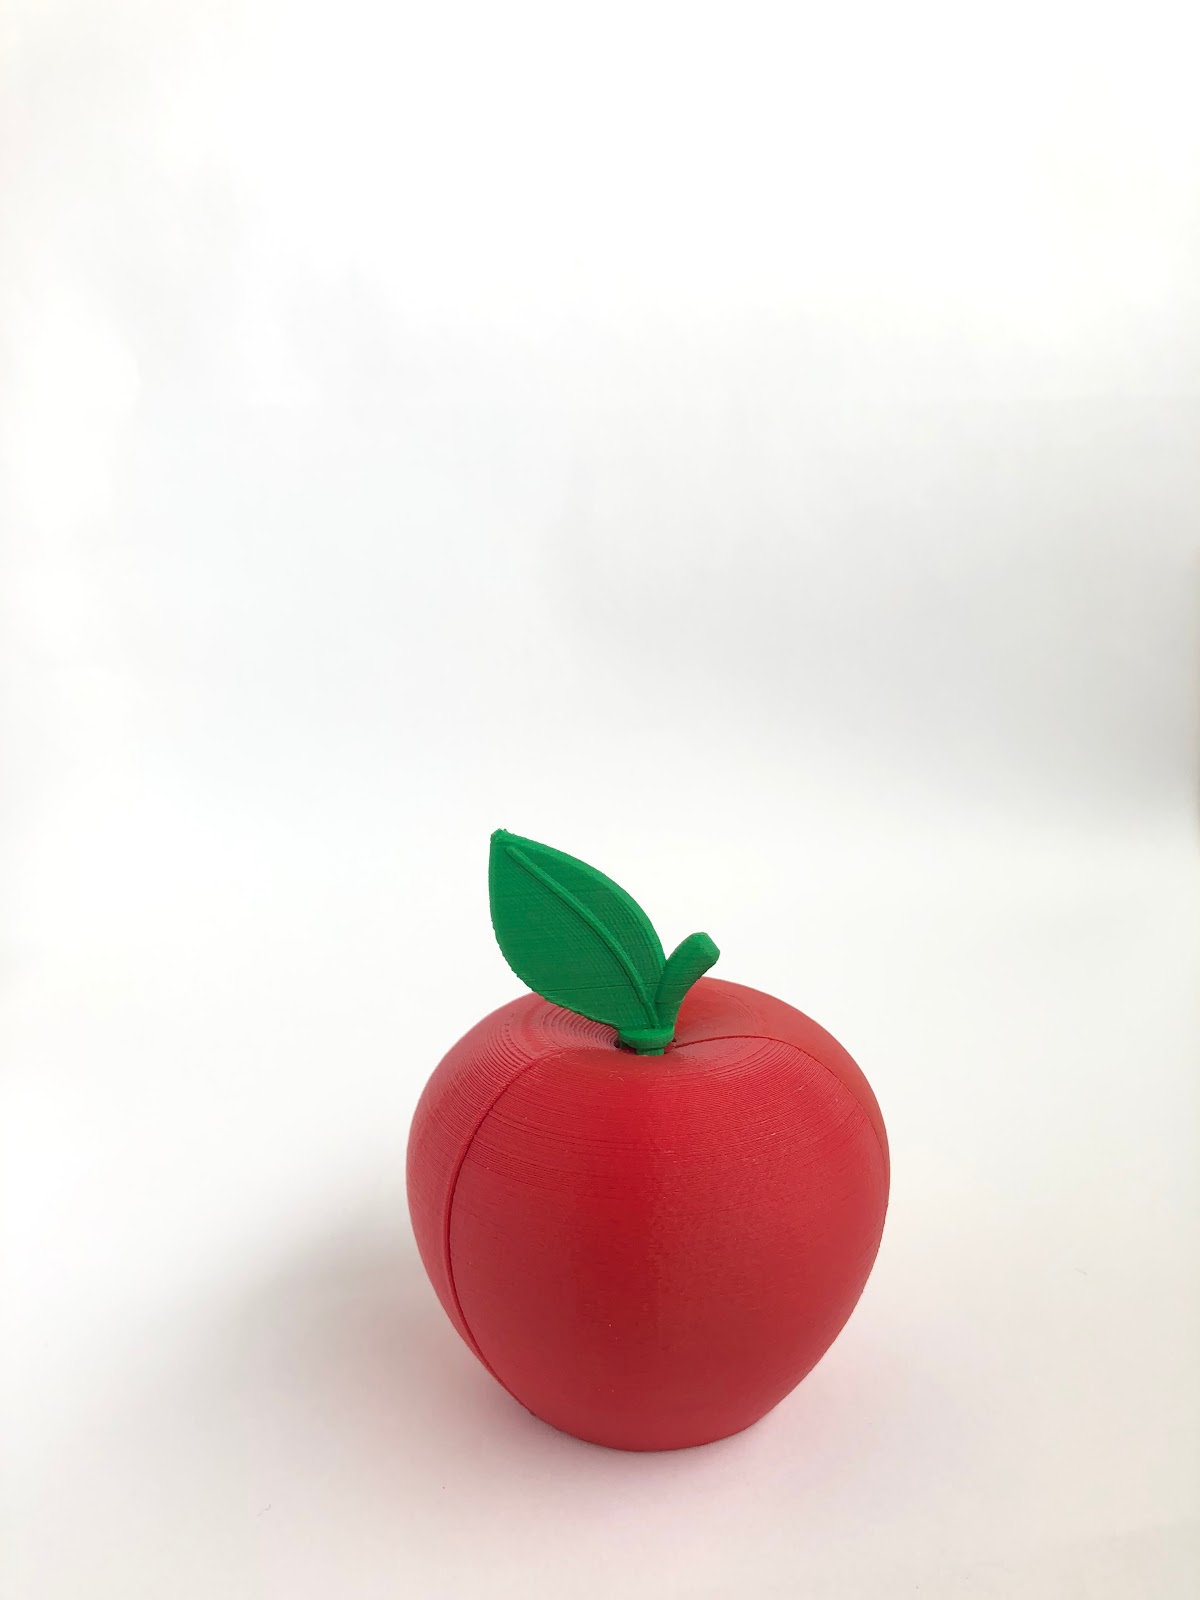
- Take a couple of photos of your object.
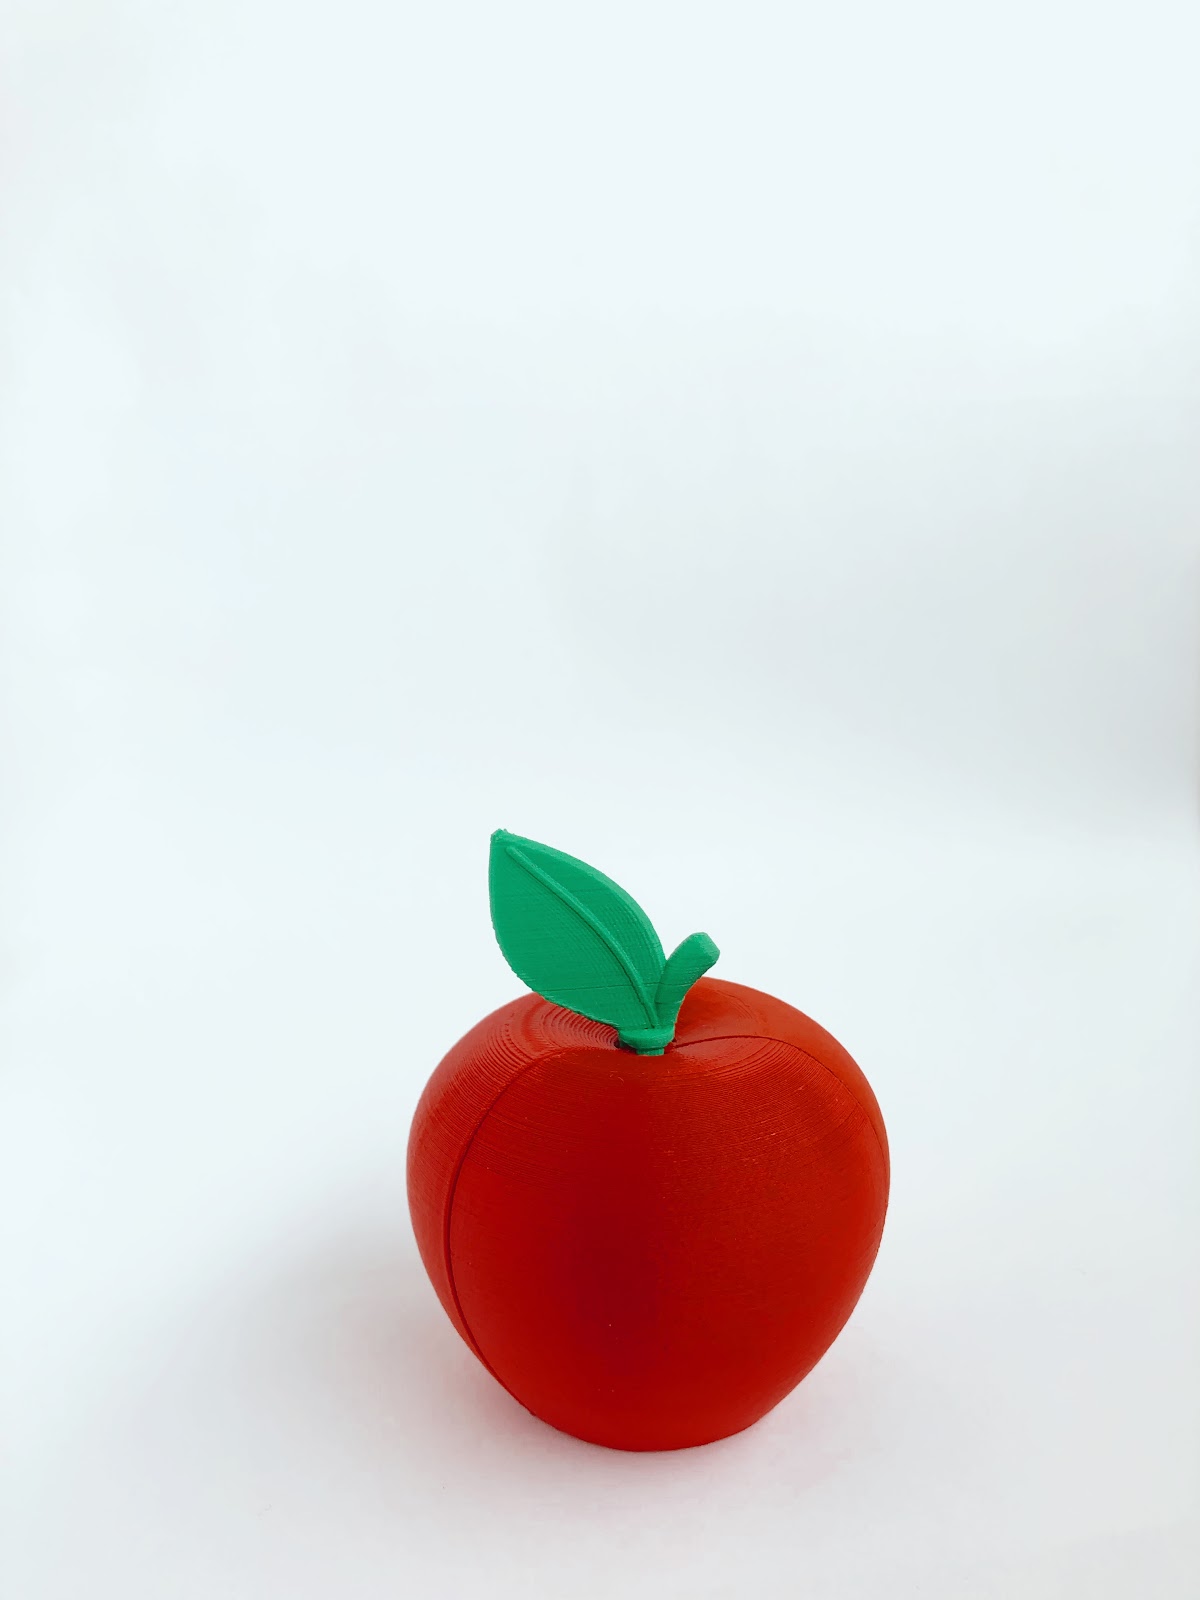
- Use the Post-Processing Activity to put the finishing touches on the image. You may need to adjust White Balance, etc.
Notes:
- Do not use the flash on your phone to light these sorts of photos. The flash will cast harsh, unflattering shadows.
- Be cautious about mixed lighting sources. Bright, indirect daylight is the easiest to work with for smartphone photos. Try not to cast shadows from you or your phone onto the object or backdrop.
- It is helpful to use a tripod for this if you have access to one, but it is not necessary if you don’t. (The UVic library has smartphone tripods to borrow if you need one.)
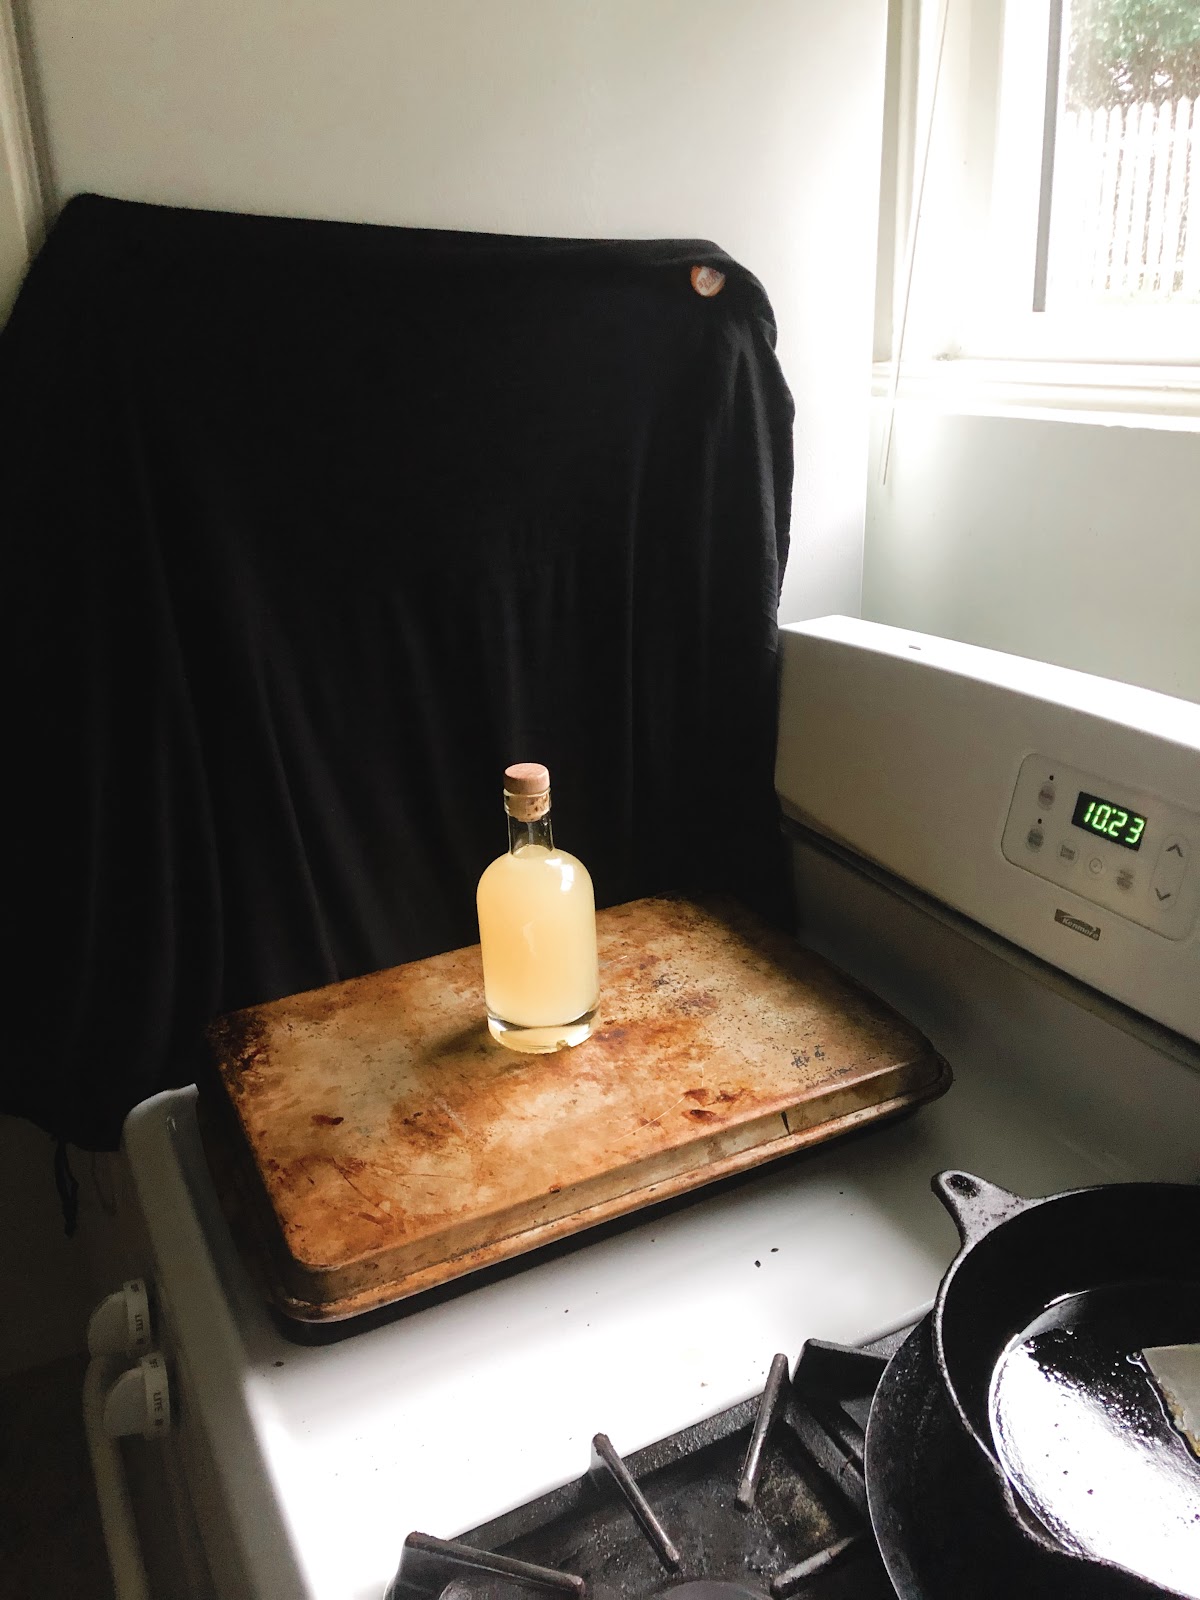
- The example to the right is using a black dress hung up with magnets and an overturned sheet pan on a stove top by a kitchen window for the photo, so the set up does not need to be fancy. No bounce card was needed as there was adequate indirect light coming in from the window.
Bonus Take Home Activity 3: App list. More videos and Key terms