Step-by-Step Practical Tips for Audio Recording an Interview with an Elder
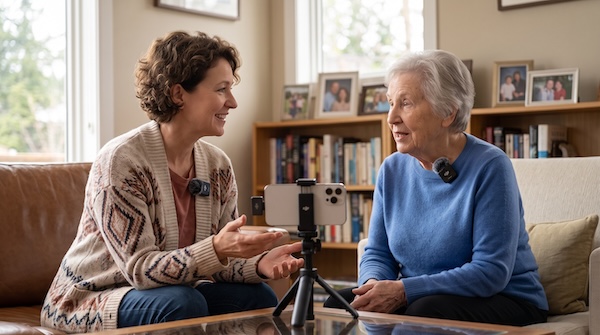
1 - Pre-Interview and Environment
- Pick a soft, quiet room. Choose a space with carpets, curtains, and upholstered furniture to absorb room echo, rather than kitchens or dining areas with hard, reflective surfaces.
- Eliminate subtle background noise. Turn off television sets, air conditioners, fans, and chiming clocks, as low hums prove difficult to remove cleanly in post-production without degrading voice timbre.
- Keep sessions under 45 to 60 minutes. Energy and vocal clarity decline quickly; scheduling two or three shorter conversations produces far better material than a single marathon session.
2 - Equipment and Setup
- Set up a secondary backup recorder. Run a voice memo app on a second smartphone placed on a soft cloth or coaster nearby as a fail-safe against corrupted files or dead batteries.
- Keep gear visually unobtrusive. Large microphones and heavy headphones can feel intimidating or clinical, so tuck receivers and wires out of sight to keep the atmosphere conversational.
3 - During the Conversation
- Practice silent active listening. Nod, maintain eye contact, and use facial expressions instead of verbal interjections like “uh-huh” or “yeah,” which bleed over their audio and ruin potential soundbites.
- Embrace deliberate pauses. Allow 3 to 5 seconds of silence after they appear to finish a thought, as older adults often use that quiet space to retrieve deeper, more detailed memories.
- Have water within easy reach. Dry mouth and vocal fatigue occur rapidly; offering room-temperature water keeps speech clear and reduces mouth clicks.
- Anchor memories with physical prompts. Bring family photographs, letters, or familiar keepsakes to ground abstract questions in concrete sensory details and stories.