![]()
Google Assistant
If you have any questions or get stuck as you work through this in-class exercise, please ask the instructor for assistance. Enjoy!
Register For The Google API
- Log into the Google Console Actions Dashboard with your Google account (it is much faster to use your own computer and not Chromium on the Raspberry Pi).
- Click “New project”, enter a name for the project and the country and language, then click “Create project”.
- Click “Device registration” or the link after “Are you looking for device registration?” and keep this tab open.
- Go to the Google Cloud Console, select the project, and click “Enable”.
- Configure the OAuth consent screen for the project. Most of the fields will be optional.
- Go to the Activity Controls of your Google account and ensure that the following are enabled:
- Web & App Activity
- Include Chrome history and activity from sites, apps, and devices that use Google services
- Include voice and audio activity
- Device Information
- Web & App Activity
- Go back to the device registration tab, click “REGISTER MODEL”, and enter what you want for “Product name”, “Manufacturer name”, and “Device type”.
- Click “Download OAuth 2.0 credentials” and make sure to keep track of the downloaded JSON file. Selecting traits should be skipped.
- If the model needs to be edited, click its entry on the list.
- If the credentials JSON file needs to be downloaded again, click the icon with three dots on the right of the list entry.

Raspberry Pi Installation
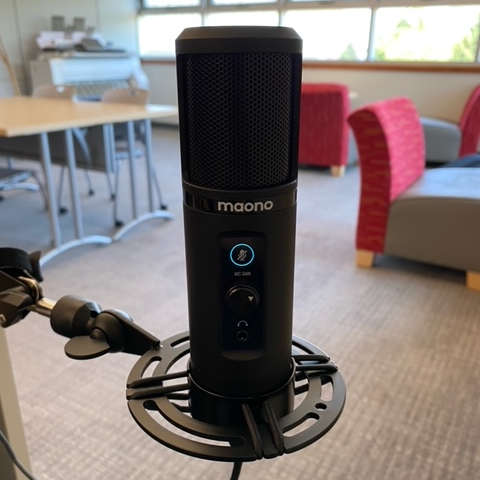
- Find a USB microphone and an audio jack speaker or headphones and connect them to the Raspberry Pi.
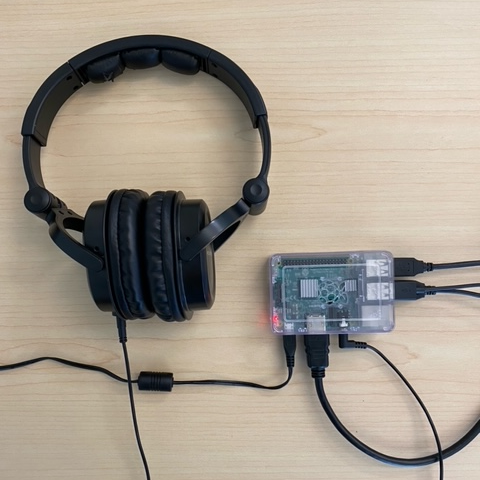
- Test the microphone and speaker by entering the terminal command
arecord --format=S16_LE --duration=5 --rate=16000 --file-type=raw out.rawto record 5 seconds of audio andaplay --format=S16_LE --rate=16000 out.rawto replay the audio. - Create a folder named
google_assistantin the/home/pidirectory. Rename the JSON file downloaded earlier tocredentials.jsonand move it to this folder using a USB drive or by directly downloading the file to the Raspberry Pi from Chromium. Note that/home/piassumes a username “pi” and should be corrected to the actual username if it is different. - Before attempting any installations on the Raspberry Pi while connected to the UVIC network, ensure the correct time has been set and IPV6 is disabled as outlined in activity 1.
- Set up and activate the Python virtual environment:
sudo apt-get update sudo apt-get install python3-dev python3-venv python3 -m venv env env/bin/python -m pip install --upgrade pip setuptools wheel source env/bin/activate - Install the Google Assistant dependencies:
sudo apt-get install portaudio19-dev libffi-dev libssl-dev - Install the Google Assistant library and example programs (this installation might take a while):
python -m pip install --upgrade google-assistant-sdk[samples] - Install the Google Authorization Tool:
python -m pip install --upgrade google-auth-oauthlib[tool] - Because of issues with the current release of the Google Assistant as of writing, these fixes were required:
- Ensure the dependency Tenacity is installed:
sudo pip install -U tenacity - A Python file needs to be edited:
sudo nano ~/env/lib/python3.9/site-packages/googlesamples/assistant/grpc/audio_helpers.py - Go to line 57 by pressing “ctrl” and “-“ then entering 57.
- The line
buf = arr.tostring()needs to bebuf = arr.tobytes()instead. - Press “ctrl” and “X” then “Y” to save and exit.
- Ensure the dependency Tenacity is installed:
- Generate the credentials:
google-oauthlib-tool --scope https://www.googleapis.com/auth/assistant-sdk-prototype --save --client-secrets ~/google_assistant/credentials.json - Chromium will automatically open and prompt you to sign in with your Google account. Press “Continue” to give the Google Assistant access to your account. The last line of output in the terminal should say:
credentials saved: /home/pi/.config/google-oauthlib-tool/credentials.json - Run the Google Assistant program:
googlesamples-assistant-pushtotalk - Press the enter key and try talking into the microphone. Make a query like “What time is it?” or “What is the weather tomorrow?”
- To close the program, press “ctrl” and “C” twice.
“Ok Google…”
- In order for the hot word version of the Google Assistant to run properly, another Python file needs to be edited:
sudo nano ~/env/lib/python3.9/site-packages/googlesamples/assistant/library/hotword.py - Go to line 65 and change
with Assistant(credentials) as assistant:towith Assistant(credentials, "device-model-id") as assistant:wheredevice-model-idshould be the model ID from the Actions Console. Save and exit. - Run the hot word program:
googlesamples-assistant-hotword - Say “Ok Google” followed by any query or request into the microphone.
- Press “ctrl” and “C” once to exit.
Electronics and Voice Control
- Our final goal is to explore the potential of voice controlled electronics projects by making changes to the hot word program.
- Connect an LED in series with a resistor between GPIO 14 and ground and between GPIO 15 and ground.

- Install the GPIO library to the Python environment:
sudo pip install RPi.GPIO - Edit the hot word file again:
sudo nano ~/env/lib/python3.9/site-packages/googlesamples/assistant/library/hotword.py - Near the top of the file right below the
fromandimportstatements, add the line:import RPi.GPIO as gpio - The GPIO pins need to be assigned as outputs. Make these changes to the start of the
mainmethod:def main(): gpio.setmode(gpio.BCM) gpio.setup(14, gpio.OUT) gpio.setup(15, gpio.OUT) ... - Ending the conversation after a custom action will require the
assistantinstance. Change the line where theprocess_eventmethod is defined fromdef process_event(event):todef process_event(assistant, event): - Find the line where
process_eventis called near the bottom of the file and change it fromprocess_event(event)toprocess_event(assistant, event) - Add these lines to the end of
process_eventand make sure to indent them to match the lines above:if event.type == EventType.ON_CONVERSATION_TURN_STARTED: gpio.output(14, gpio.HIGH) if event.type == EventType.ON_CONVERSATION_TURN_STARTED or event.type == EventType.ON_CONVERSATION_TURN_TIMEOUT or event.type == EventType.ON_NO_RESPONSE: gpio.output(14, gpio.LOW) - Immediately after those lines, add these to turn the LED connected to GPIO 15 on or off:
if event.type == EventType.ON_RECOGNIZING_SPEECH_FINISHED and event.args:
    text = event.args['text'] # Get the user input as a string.

    if text == 'light on':
        gpio.output(15, gpio.HIGH)
        assistant.stop_conversation()
    elif text == 'light off':
        gpio.output(15, gpio.LOW)
        assistant.stop_conversation()
The trick is to get the
textstring from theON_RECOGNIZING_SPEECH_FINISHEDevent and compare it to your own command strings. - Run the hot word program and test the custom behaviour that was added:
- GPIO 14 should turn on when you say “Ok Google” and turn off when the Google Assistant is finished talking.
- If you say “light on” GPIO 15 will turn on.
- If you say “light off” GPIO 15 will turn off.
- Feel free to experiment. Anything that can normally be done using Python on a Raspberry Pi can be made into a voice command!
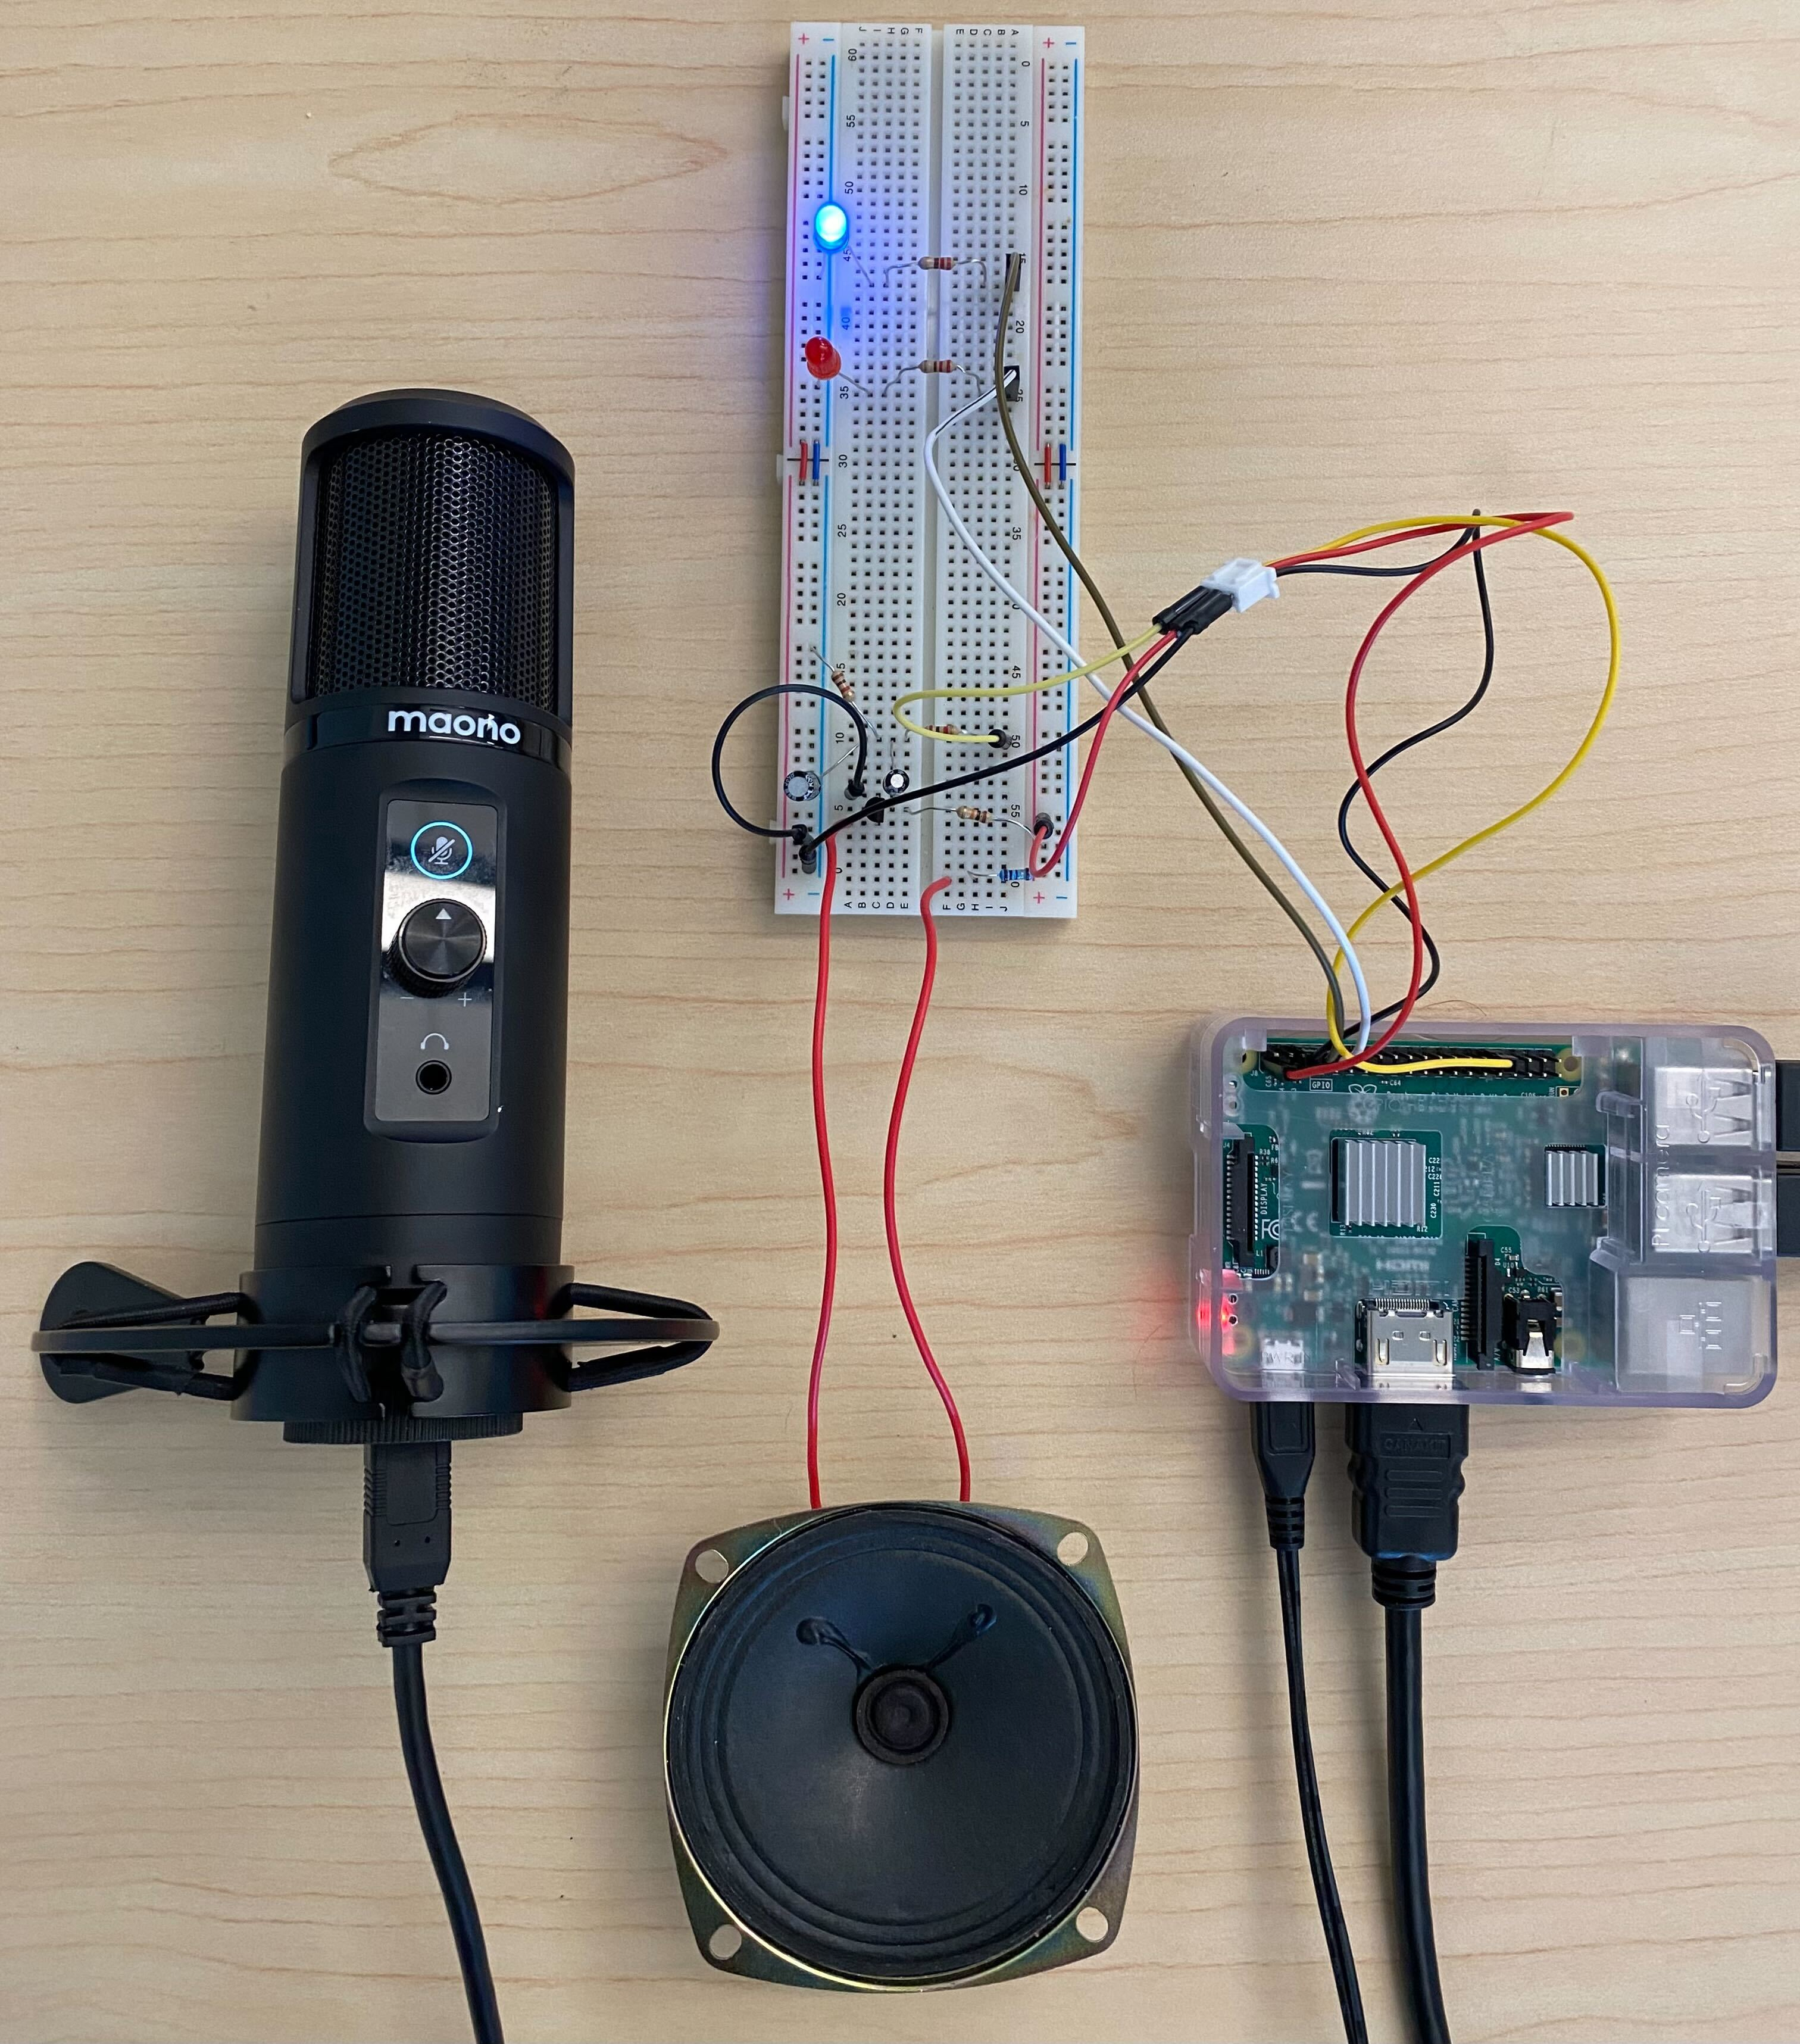
- This project pairs well with the activity 5 speaker circuit.
- See the Google Assistant Library Reference for a list of Python events that can be processed.