Learning goals
By the end of this activity, you will be able to:
- Use NotebookLM to create a presentation outline from one or more sources.
- Turn summaries into slides, section headings, and speaker notes.
- Adjust slide content for different audiences and time limits.
- Critically review AI-generated slides to keep them accurate, concise, and audience-appropriate.
Convert an Article to a Presentation
 You’ve written an essay or journal article, and now you need to create a conference presentation? NotebookLM can help. In this activity, with the help of NotebookLM and Meta.ai, you will create a presentation based on a journal article or essay.
NOTE 1: Before using NotebookLM to help you create a presentation based on a paper you’ve written, be sure to check-in with your instructor to make sure that they will allow you to use NotebookLM in this way. NOTE 2: Like all other Generative AI tools, NotebookLM will sometimes make mistakes, although because you are providing it with training data, it will likely make fewer mistakes than general purpose Generative AI tools. Always research any factual claims it makes if you are not a subject area expert.
If you have any questions or get stuck as you work through this exercise, please ask the instructor for assistance.
Getting Started
- If you completed the first activity in this workshop: Please use the notebook from the first activity with the 3 badging journal articles. To do this:

- Return to the NotebookLM home page with the 3 articles by first clicking the black circular NotebookLM logo in the top left of the web application.

- Next, click on the The Digital Badge Ecosystem in Libraries notebook to get into the notebook we’ll be using for this activity.
- Return to the NotebookLM home page with the 3 articles by first clicking the black circular NotebookLM logo in the top left of the web application.
- If you haven’t completed the first activity, No worries! Please complete the following first two steps of this workshop’s starter activity before returning here to continue on to learn how you can use NotebookLM to assist you in creating a presentation:
- Unlike the first activity in this workshop where we used three articles as training data, in this activity we are using only one of them to create a presentation (in either PowerPoint or Google Slides). This is to replicate a typical use case where you’ve written an assignment or journal article and need to create an accompanying presentation for it.
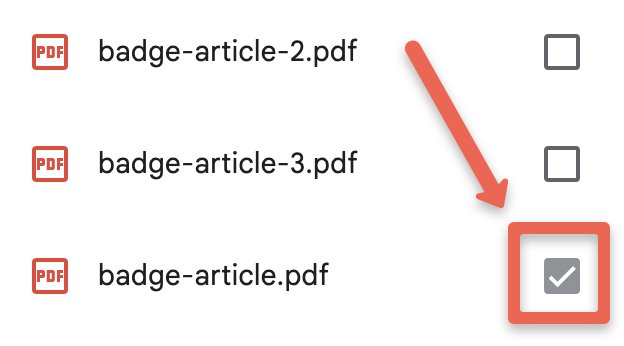
- Click on the checked boxes beside, badge-article-2.pdf & badge-article-3.pdf to deselect these two articles so that NoteboolLM will only use the one remaining selected article to respond to your prompts.
- If you haven’t created a PowerPoint or Google Slides document to start recording suggestions from NotebookLM, now would be a good time to create one.
- If you’d like, you can use a UVic presentation template in Google Slides, or you can create your template. Make sure to be logged into your Gmail or Google account before you click on the blue Use Template button on the top right of the window.
- If you choose to use the UVic template, feel to to pick and choose from the three different styles of the template.
Catchy Presentation Titles
Get your presentation off to a good start with a catchy presentation title. Let’s get some suggestions from NotebookLM:
- In the chat box at the bottom of the page copy and paste the following prompt:
Suggest some attention-grabbing, catchy titles for my presentation at an academic conference to draw in my audience, who will consist of my academic peers.- How do the suggestions look? Are there any that look appropriate and catchy for the audience you’ll be presenting to?
- If none of the titles look appropriate, you might want to give NotebookLM a follow-up prompt something like this:
Give me 5 more suggested presentation titles that are no longer than 6 words long. - Copy and paste the title you like best and paste it into the title slide of your presentation. The title I’ve chosen given my goals for the presentation is: Badges as Evidence of Achievement & Skills.
Create Presentation Speaker Notes Based on an Article
Now we’ll prompt NotebookLM to suggest ideas for speaker notes, with minimal text on each slide. Research shows that text-heavy slides read by presenters are more difficult to member than slides with a title, image, and minimal additional text that are narrated by the presenter. With that in mind, we will craft a prompt to help suggest slide titles and detailed speaker notes with minimal text on the slides (to conform with the best practices from Multimedia Learning Theory, in order to help people watching the presentation remember more of it).
- In the chat box at the bottom of the page copy and paste the following prompt:
Create a 10-minute long presentation, with slide titles, and detailed speaker notes, with minimal text on the slides. The audience is a group of graduate students and professors. Start the presentation with an interesting and compelling story. Use as many slides as necessary keeping in mind that I like to use a lot of large images in my presentations. - Copy the suggested speaker notes and paste them into your working document:
- The easiest way to do this is to click on the Copy button at the bottom of the chat, and then Paste the text into a Google Doc or Microsoft Word document to edit the text suggested by NotebookLM.
- Click on the Save to note button on the left to keep a copy of the chat for future reference.

- Now that the presentation outline is in an editable Google or Word document you can personalize the content, wording, and ordering, as well as correct any factual errors that it’s made. As you read the suggested text, ask yourself the following questions as you edit and improve the text:
- What has it done well?
- What has it not done well?
- What mistakes had it made?
- Will using NotebookLM save me any time compared to creating the presentation on my own?
- What edits do I need to make to the suggested text?
- Note, that if you clicked on the Save to note button, the saved note will appear in the bottom half of the “Studio” panel on the right of the web app. The auto-generated title for my note was, “Digital Badges: Empowering…”
Build & Customize Your Presentation Title Slide & Speaker Notes
Now that you have a title, and draft presentation outline with speaker notes, it’s time to start to build and customize the presentation in Google Slides or the PowerPoint document you created in the Getting Started portion of this activity:
- Select the title slide that you want to use and populate it with your presentation title, and if you want, your name and email address as well as anything else you’d like to put on it (maybe the conference name, class name, or group you’re presenting to).
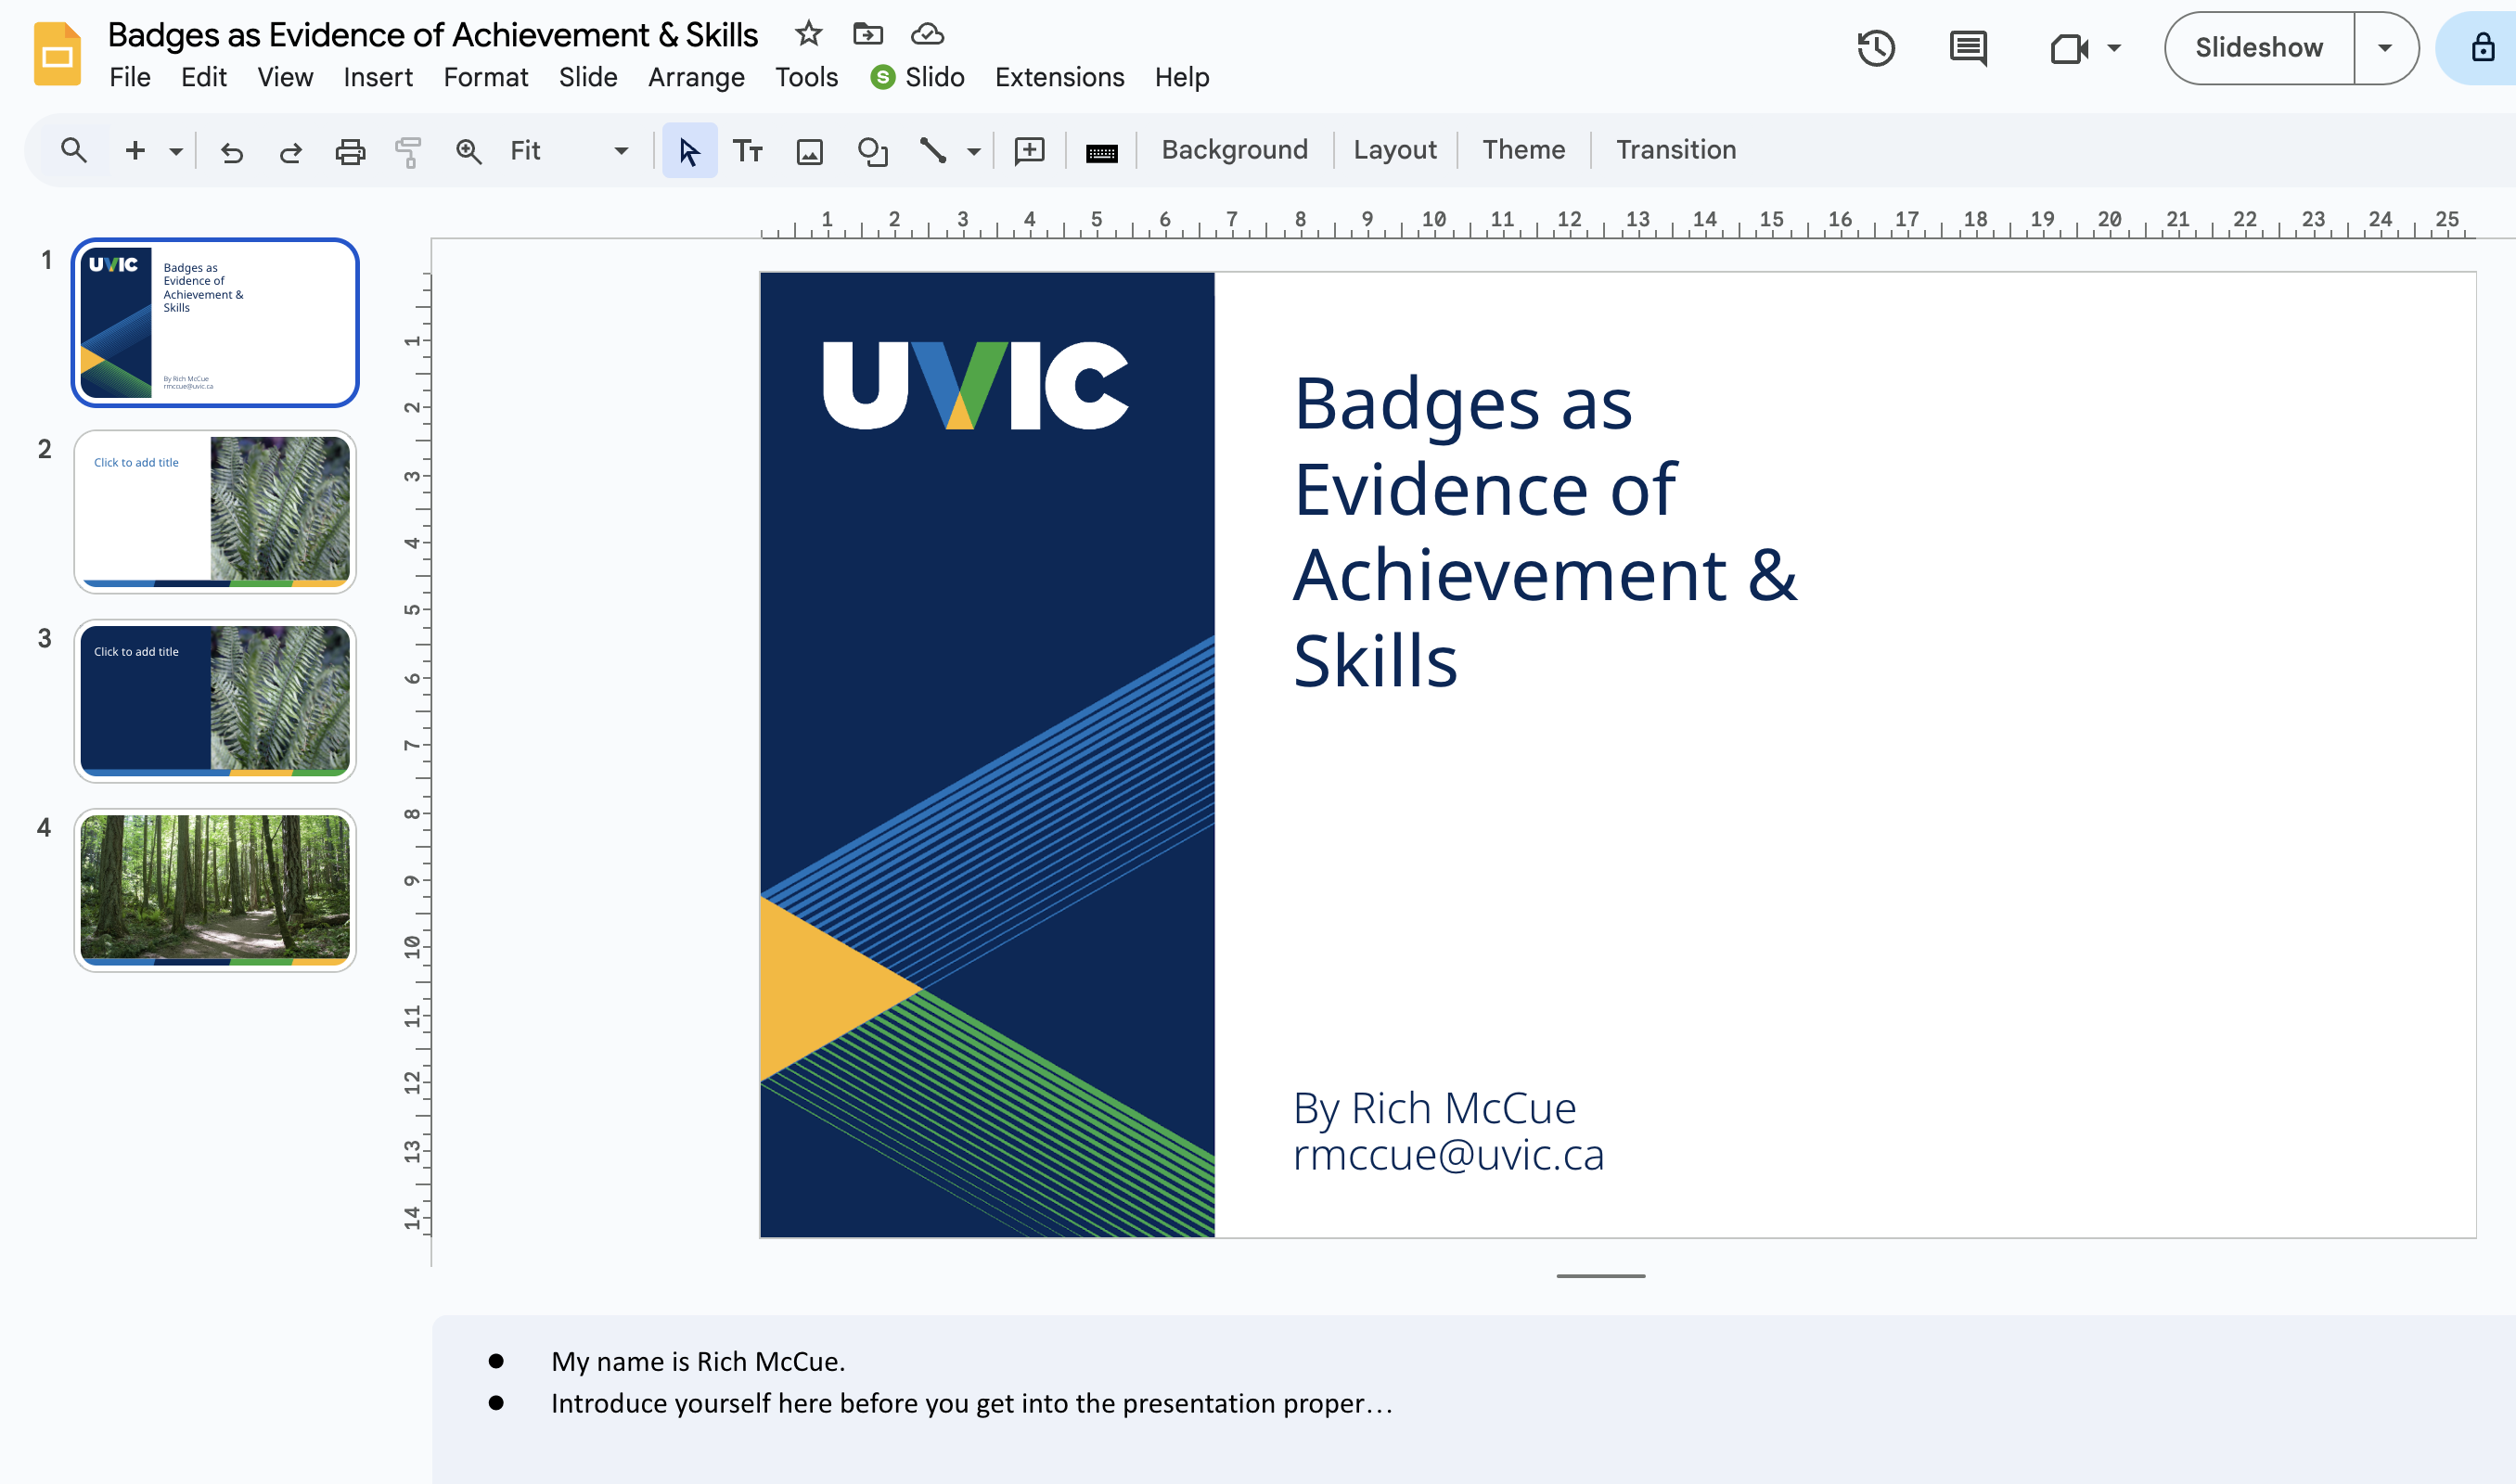
- Feel free to delete any of the template slides that don’t fit the look or feel you want for your presentation. As you can see in the image above, I deleted all but four of the template slides on the left-hand side of the screen for my presentation.
- Now let’s create an image for your title slide:
- Let’s go to the Meta.ai website to create an image for the title slide (as of January 2025 Google’s free Gemini image creator is not nearly as good as the free Meta.ai image generator). NOTE: You’ll need to log in to Meta.ai using either a Facebook or Instagram account to create images.
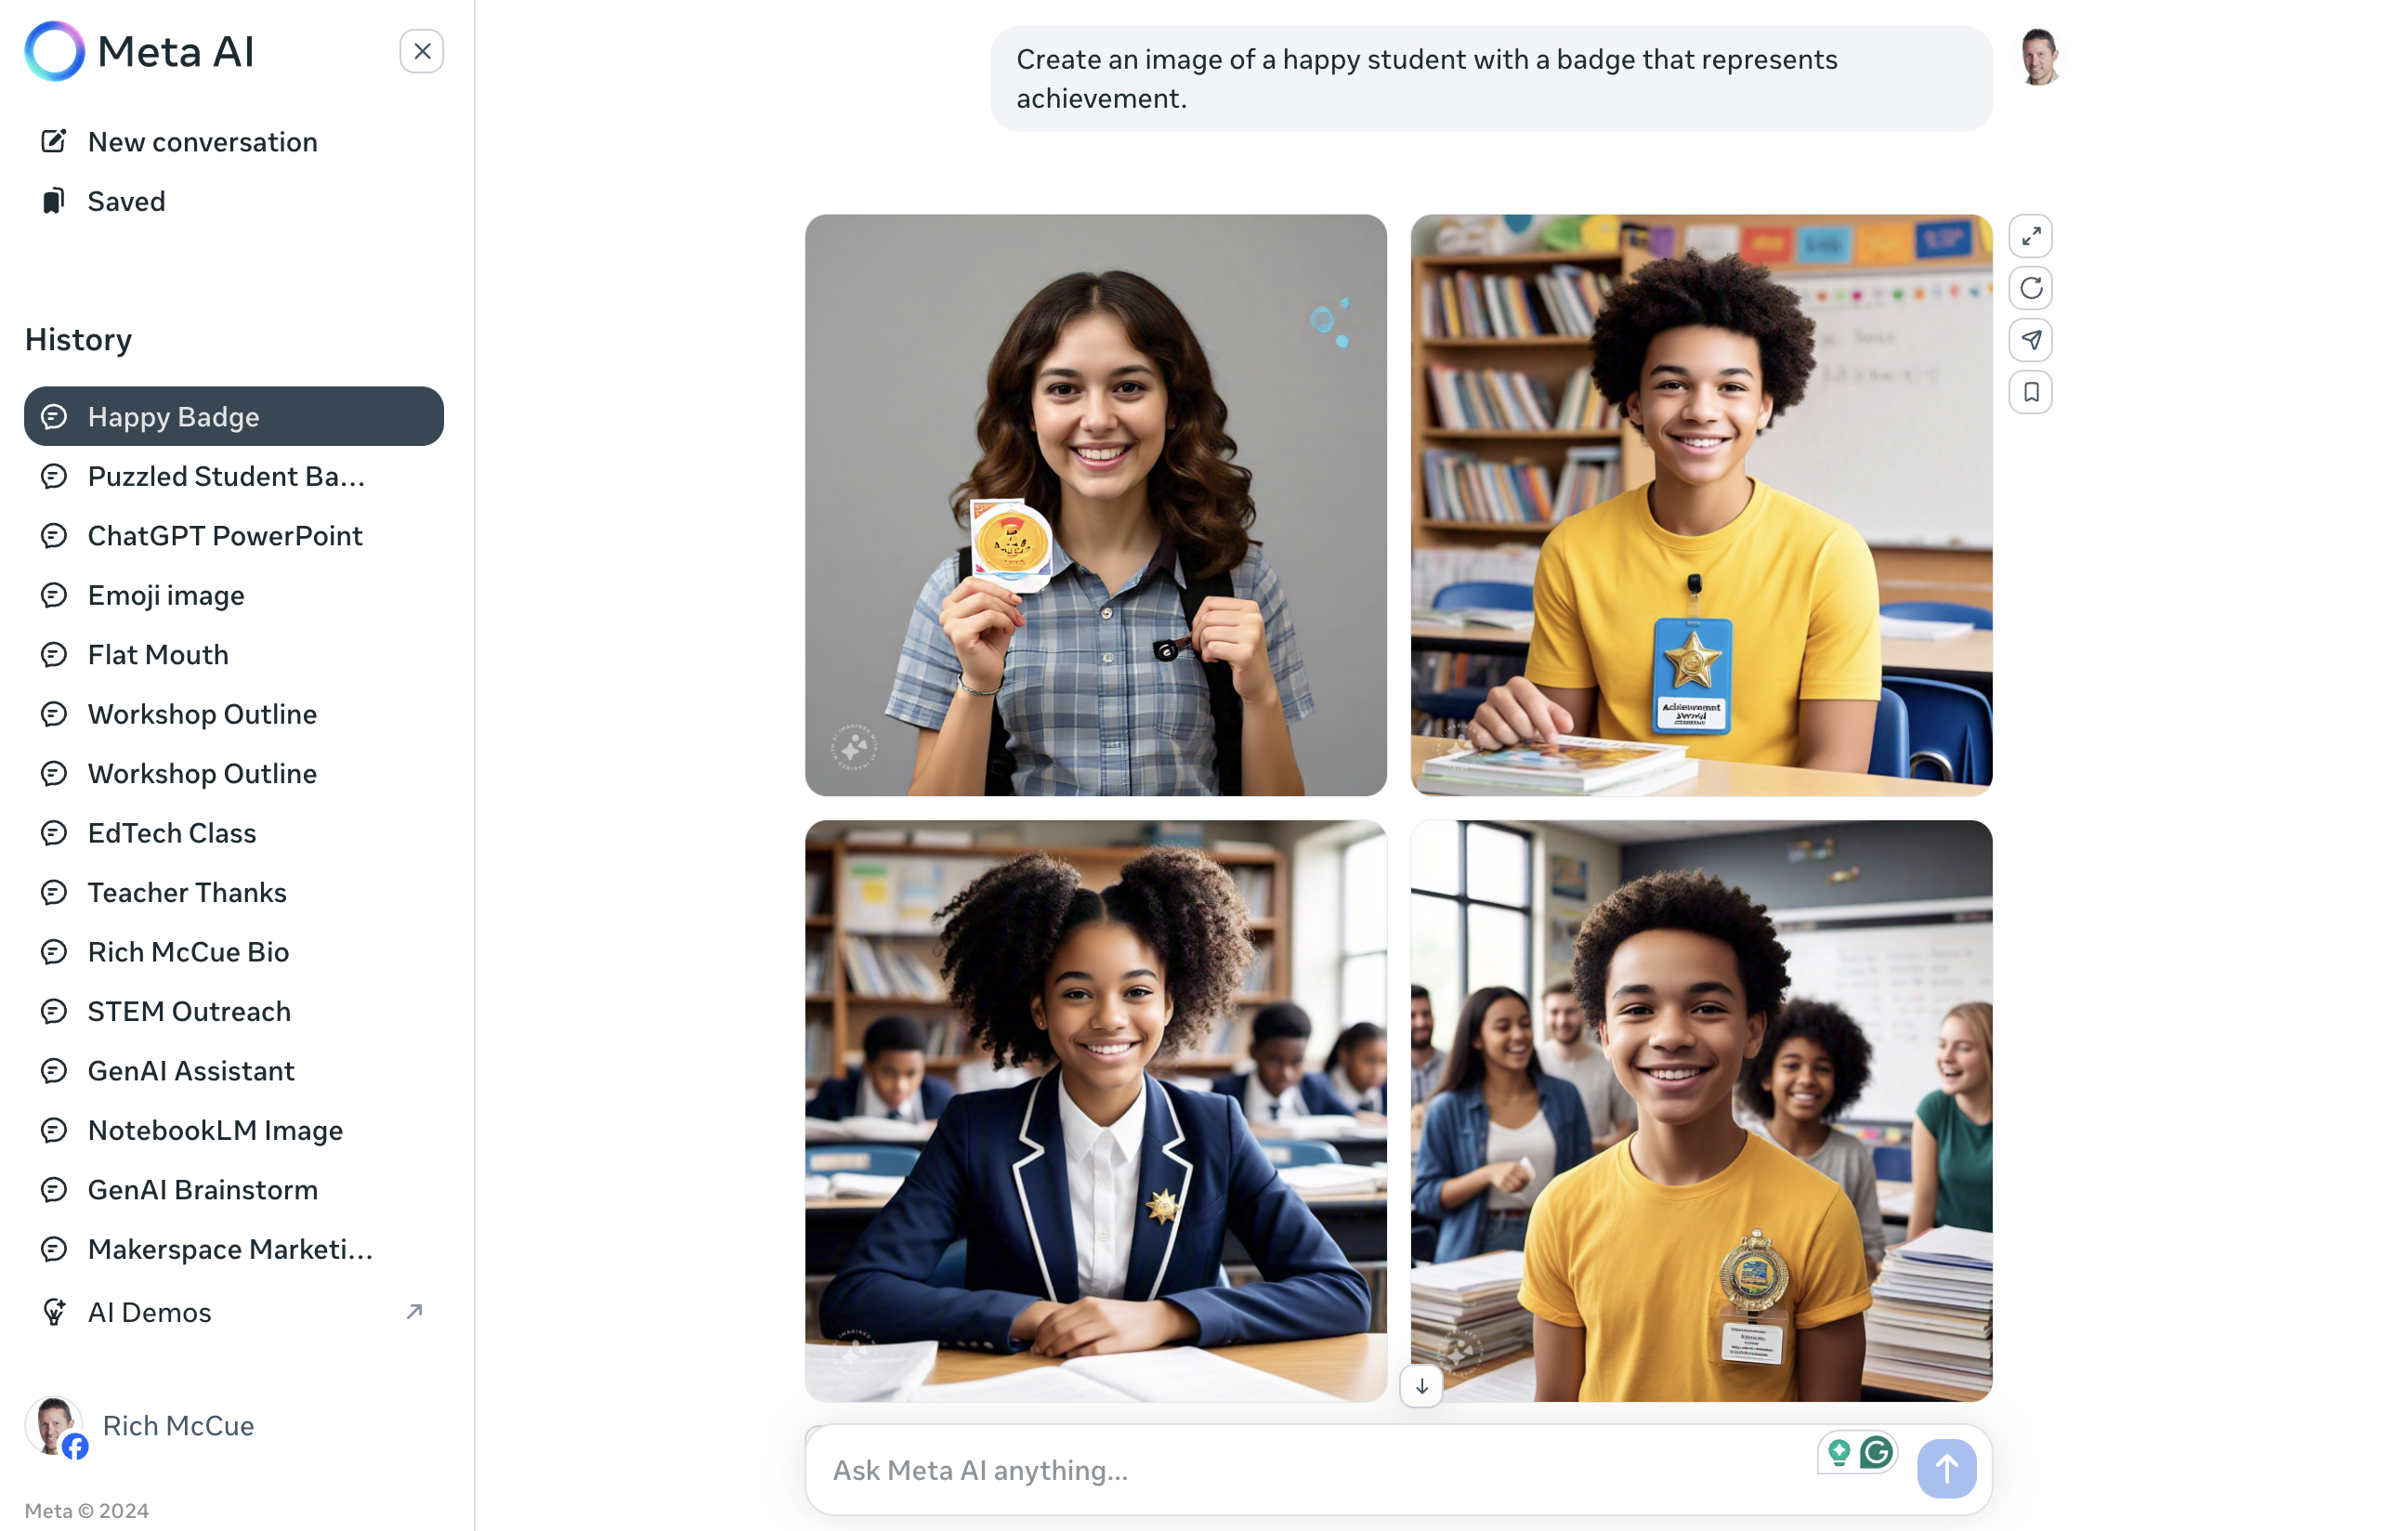
- Copy and Paste the following prompt into Meta.ai chat box and press Enter on your keyboard to create an image for your title slide:
Create an image of a happy student with a badge that represents achievement.
- Right mouse click on the image you’d like to use and then select Copy Image. Note: Browsers other than Google’s Chrome browser might use slightly different language from “Copy Image.”
- Go to the title slide in your presentation and Paste the image you just created onto the slide. Then move, resize and crop the image. See the video below for details on how to create, copy, paste, move, resize & crop an image
Reflection: Are there any potential drawbacks or problems you can think of when creating images for your presentations using GenAI tools?
Build All Other Presentation Slides & Speaker Notes
Now we’ll create the rest of the slides for the presentation by repeating the steps in this section for each of the remaining slides to be created:
- Creating new slides using a template slide
- Add the slide title/text to the new slide
- Add the speaker’s notes
- Create an image to go along with the title and speaker notes
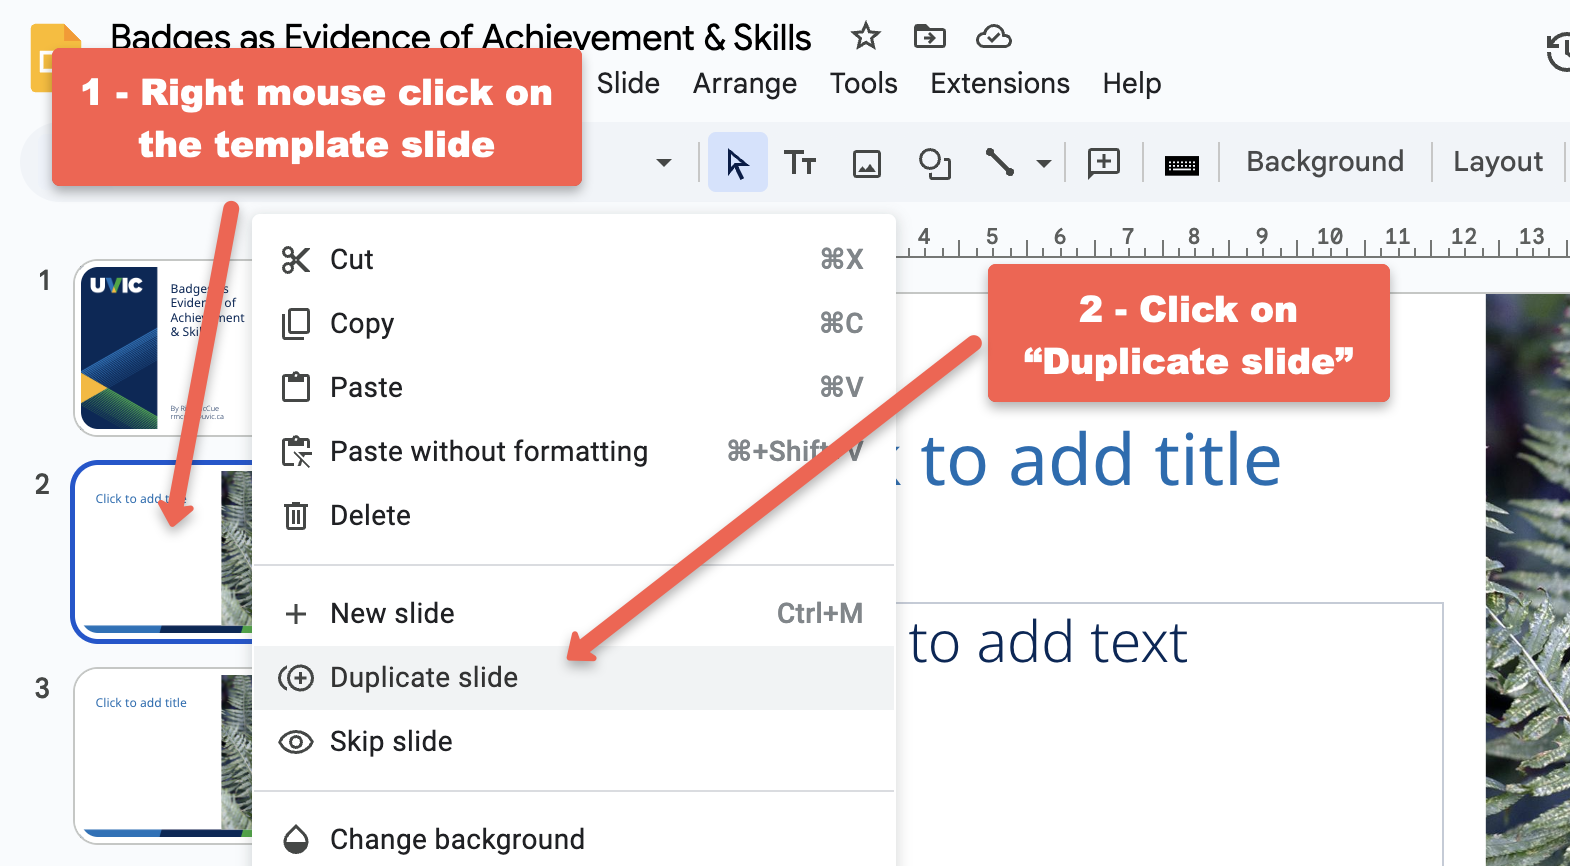
- Duplicate a template slide:
- Right-mouse click on the slide you want to duplicate.
- Select Duplicate slide from the popup menu.
- Add the title and text to the slide by doing the following:
- Copy the suggested slide title from the document where you saved NotebookLM’s suggestions.
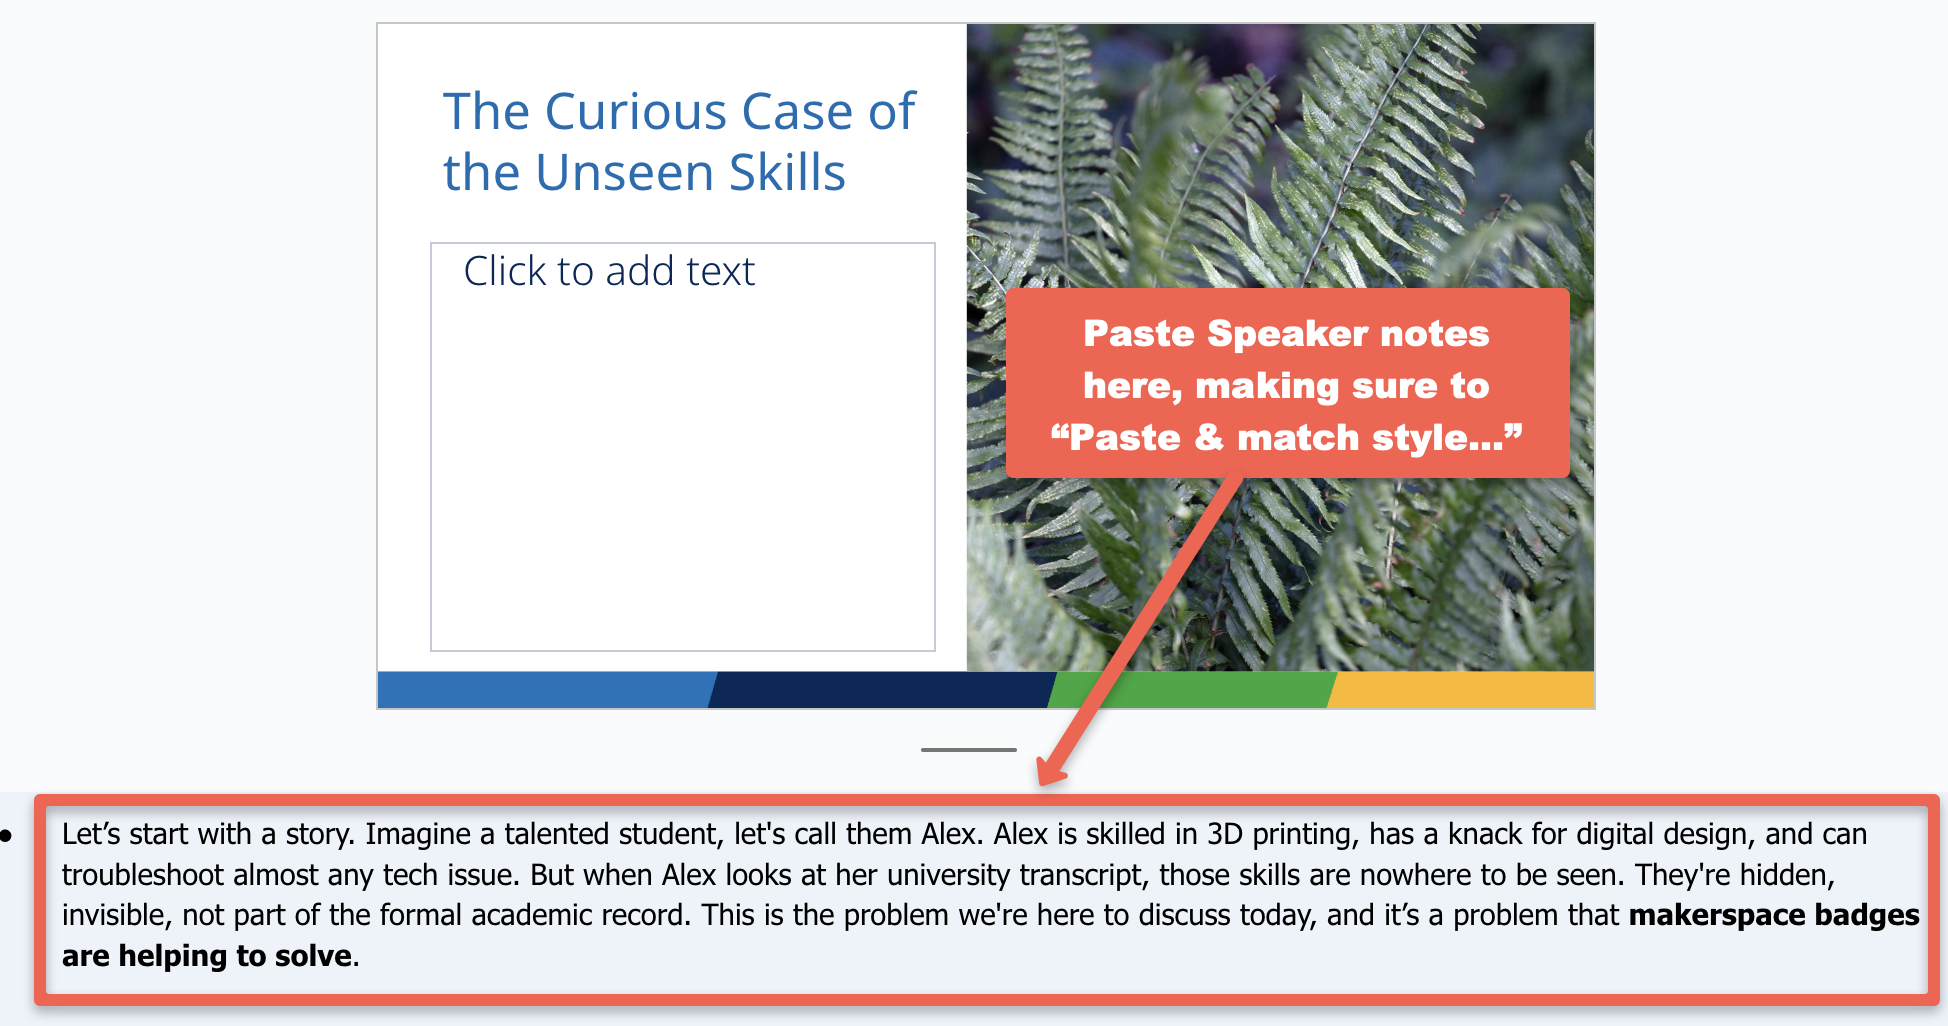
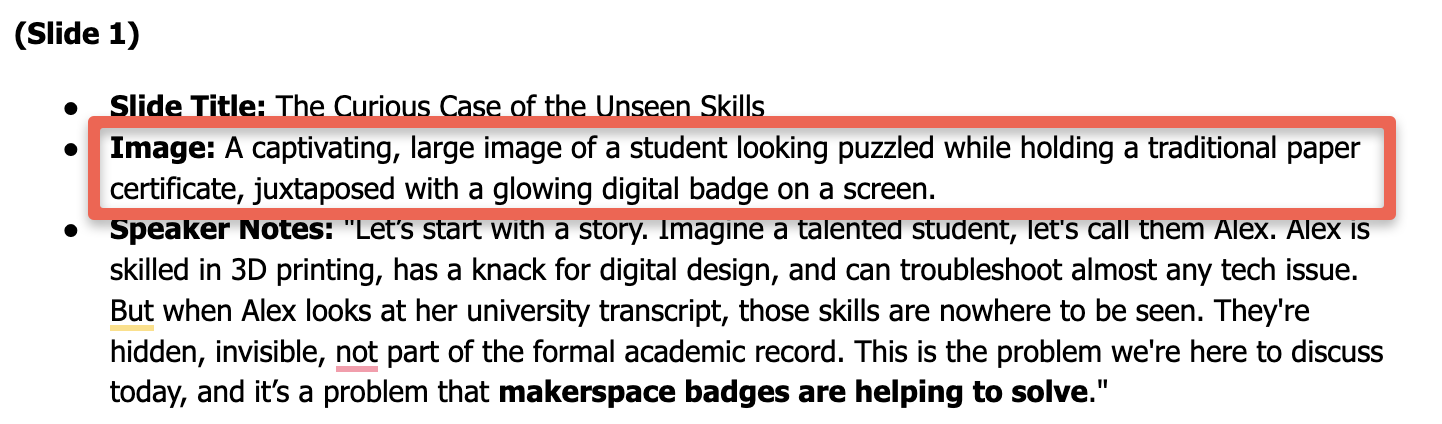
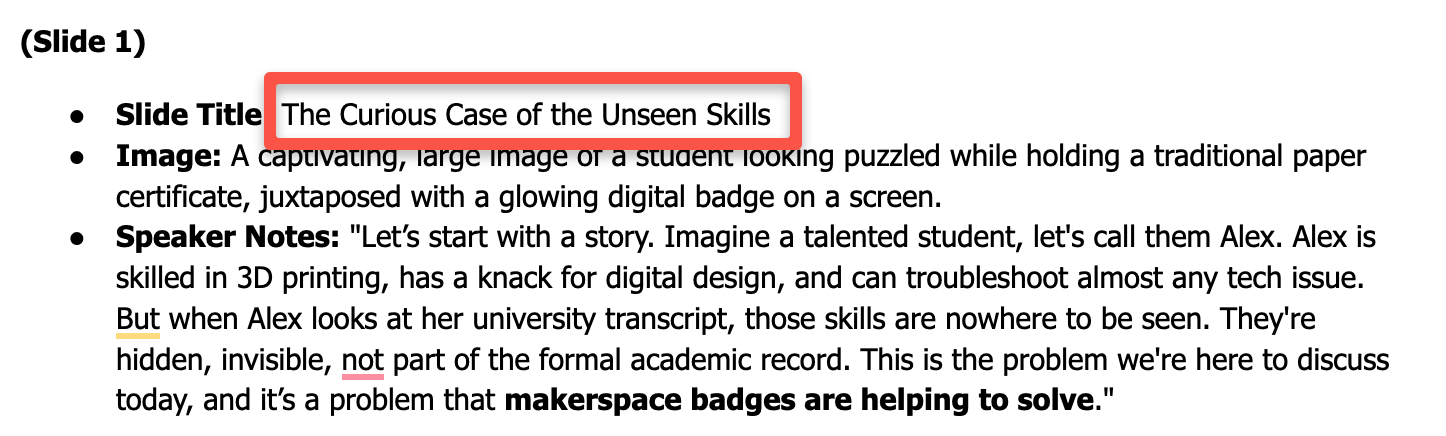 - Paste the title text into the title block at the top left of the slide. - Note: It is often helpful when pasting to Paste & match style…
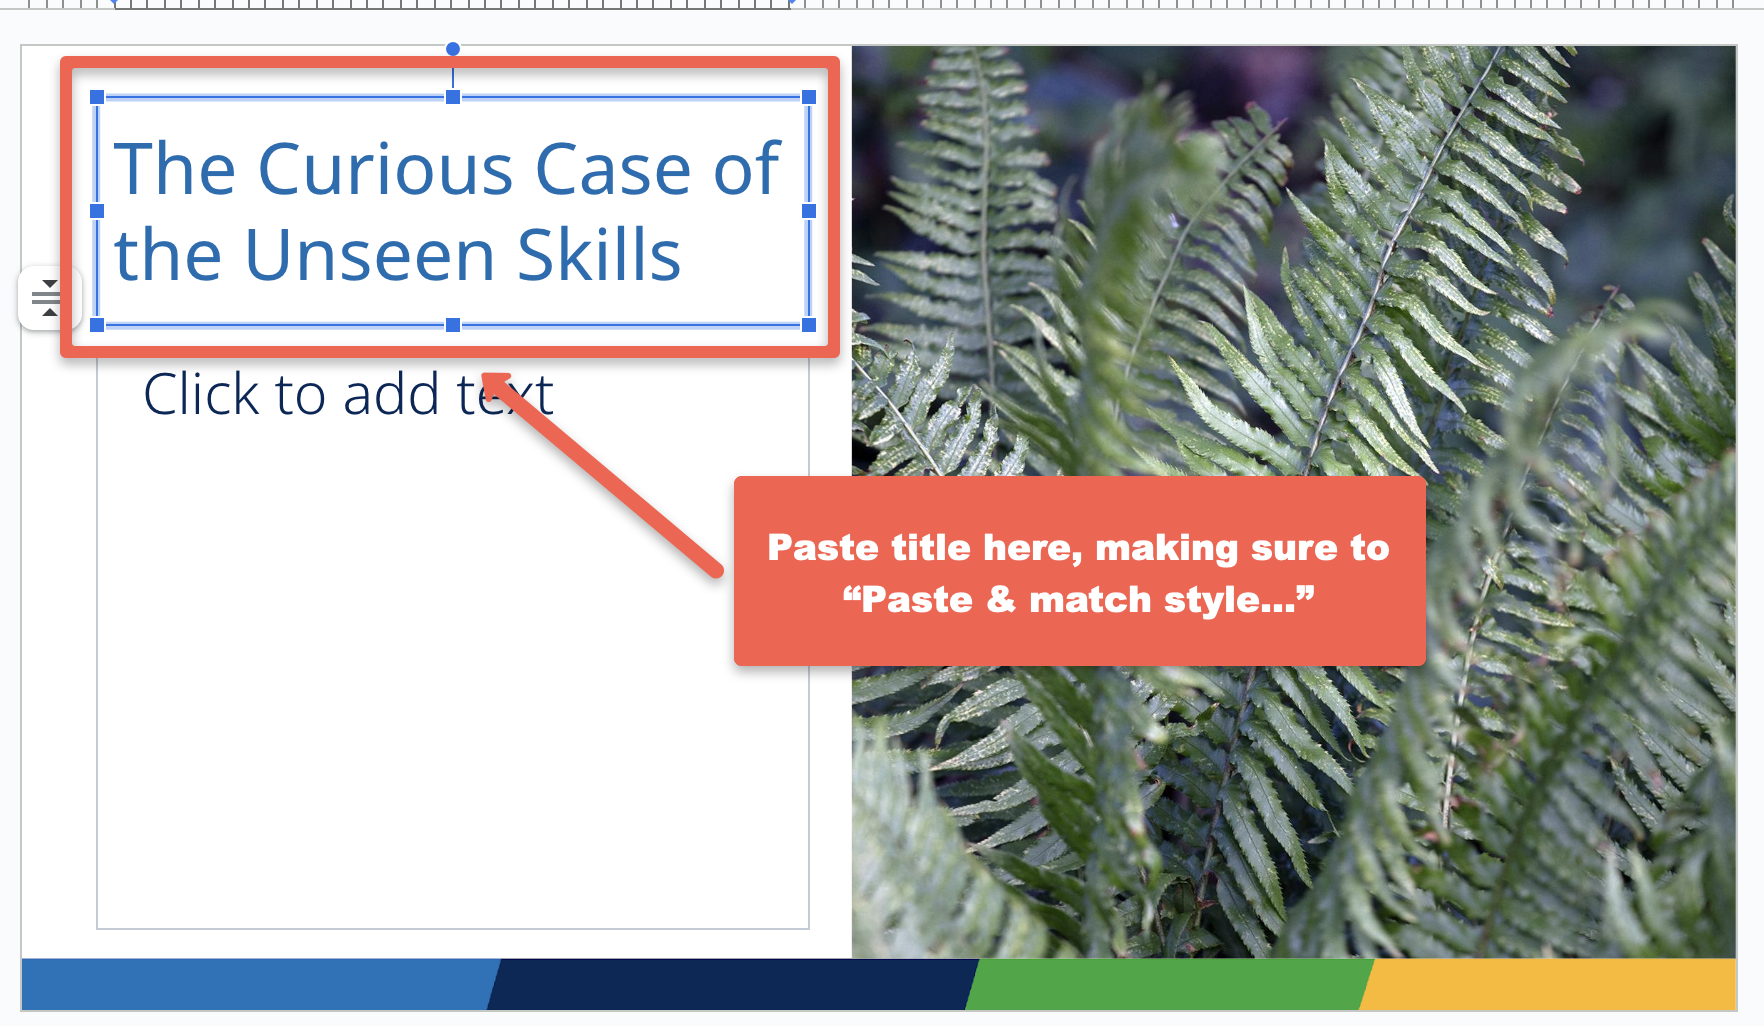
- Copy the suggested slide title from the document where you saved NotebookLM’s suggestions.
- Add the speaker notes to the slide by doing the following:
- Copy the suggested speaker notes from the document where you saved NotebookLM’s suggestions.
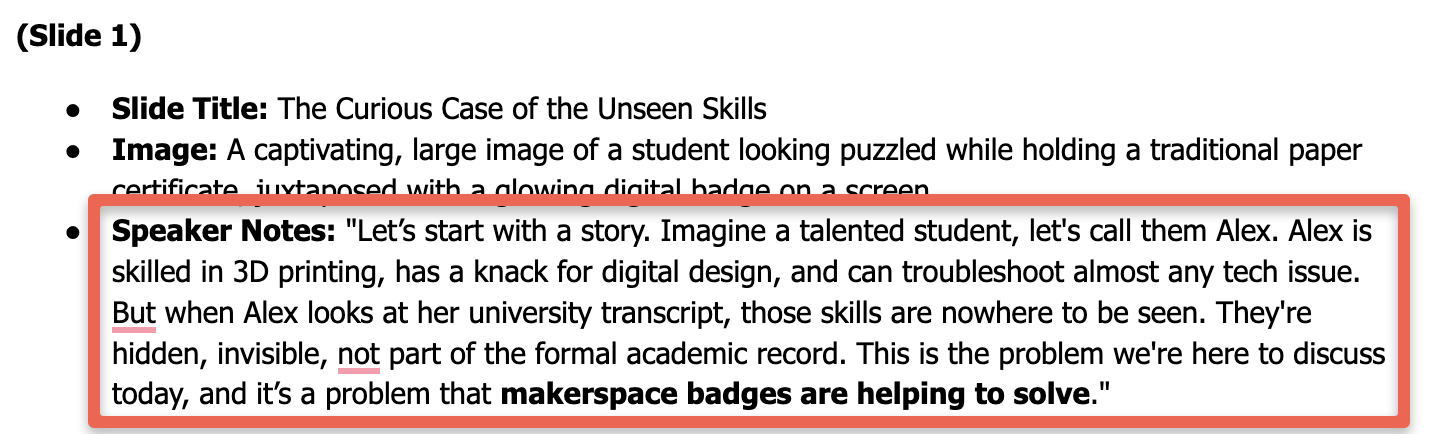
- Paste the speaker note text into the speaker note area below the slide.
- Copy the suggested speaker notes from the document where you saved NotebookLM’s suggestions.
- Create an image for the slide by:
- Delete the current image, by selecting the image and pressing the delete button on your keyboard.
- Copy the suggested prompt from the document where you saved NotebookLM’s suggestions.
- Paste the prompt into Meta.ai chat box and press Enter on your keyboard to create an image for the slide.
- If none of the images it generates look like they are not a good fit for your slide, feel free to make follow-up prompts to fine-tune the images generated. For example, you might want to use a follow-up prompt like this:
Make the badges larger and more colorful - Once you have a badge you’re happy with, Right mouse click on the image you’d like to use and then select Copy Image. Note: Browsers other than Google’s Chrome browser might use slightly different language from “Copy Image.”
- Go to the slide in your presentation and Paste the image you just created onto the slide. Then move, resize and crop the image.
- Review the slide title, image and speaker notes to make sure that they all are:
- Accurate: Are there any factual errors in the text or title? Do you know enough about the topic to catch any factual errors without referring to the source journal article? If not then you’d be wise to go back into NotebookLM and click on the associated citations for the claims you need to verify.
- Appropriateness: Is the image generated appropriate and related enough to the title and speaker notes that it reinforces the message you are trying to communicate and is not distracting from the message? If the image is not reinforcing your message, you could try some new prompts, or to websites that have royalty-free images like Pexels or Unspash.com.
- Repeat this process for each slide until you’ve finished creating the presentation.
Reflection
Title generation:
- Would creating the title for the presentation using NotebookLM save you time?
- Are you happy with the quality level of the titles NotebookLM generated?
Text generation:
- Would creating the text summary of the presentation using NotebookLM save you time?
- How much editing of the text would you need to do to get it to a quality level you’d be happy with (if any)?
- Were there any factual errors in the presentation text?
- Are there any major points or concepts that NotebookLM missed?
Image generation:
- Would creating the images for the presentation save you time?
- Are you happy with the quality of the images?
- What other options do you have to include imagery in your presentations?
- Are there any potential moral and legal issues around the images, videos, audio and text the GenAI companies are using for training data?