BADGR Backpack Sharing Instructions
In this workshop, you will learn multiple ways to share and create a digital badge collection that can be suitable for a personal portfolio and resume.
Information on how to add badges to numerous platforms such as LinkedIn.
1.Badgr digital backpack (adding to your resume)
- Login and open your backpack on BADGR. Note: make sure you create an account with the same email the issuer of the badge used to provide you with a badge.
- Next you will see your badges, beside the badge tab, select Collections.
- Click on the Create collection.
- Name your collection as (your name) resume, for your description write in This is my collection of badges for my resume.
- Now click on Create collection.
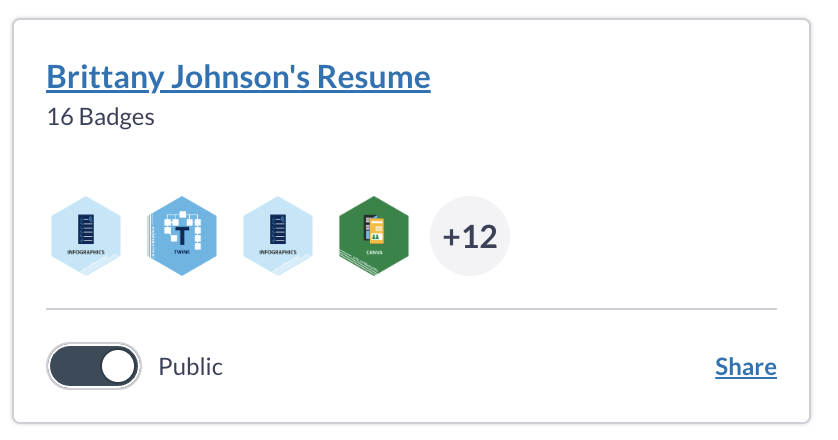
- Next click the toggle on (located beside the public tab) to make this visible to the public. It should now display a check mark.
- Then we can add badges by pressing Add Badges.
- Once all have been selected, press Apply.
- Now we can share the collection by clicking on Share Collection, on the right hand side.
- To add the link to your resume or to a Wordpress website, use the link tab and copy the URL.

Here is an additional link on how to create a collection
2. Optional: Social Media and HTML Instructions
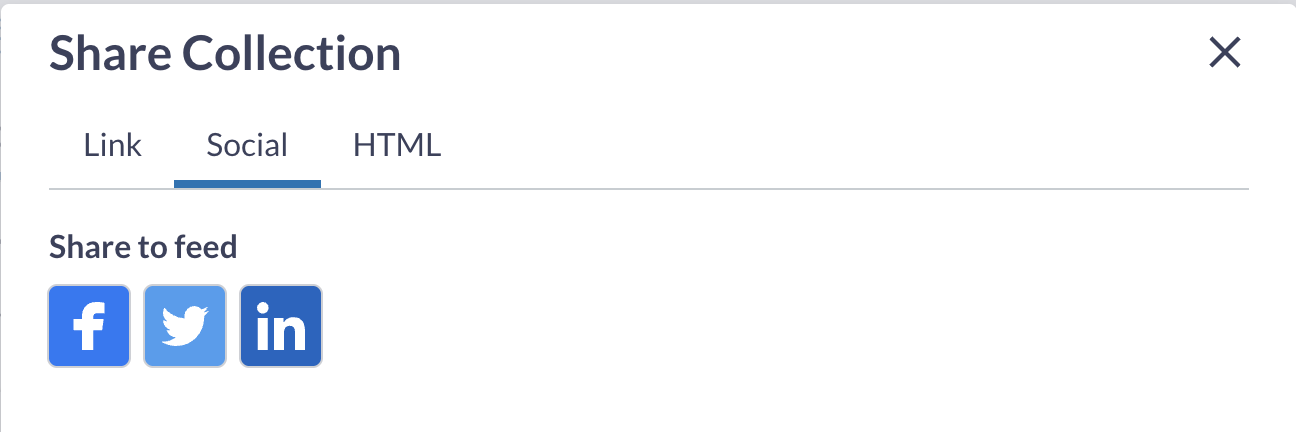
- If you would like to share to a social media platform, click the social tab and select the corresponding social media platform. Here is another article that outlines how to share on social media.
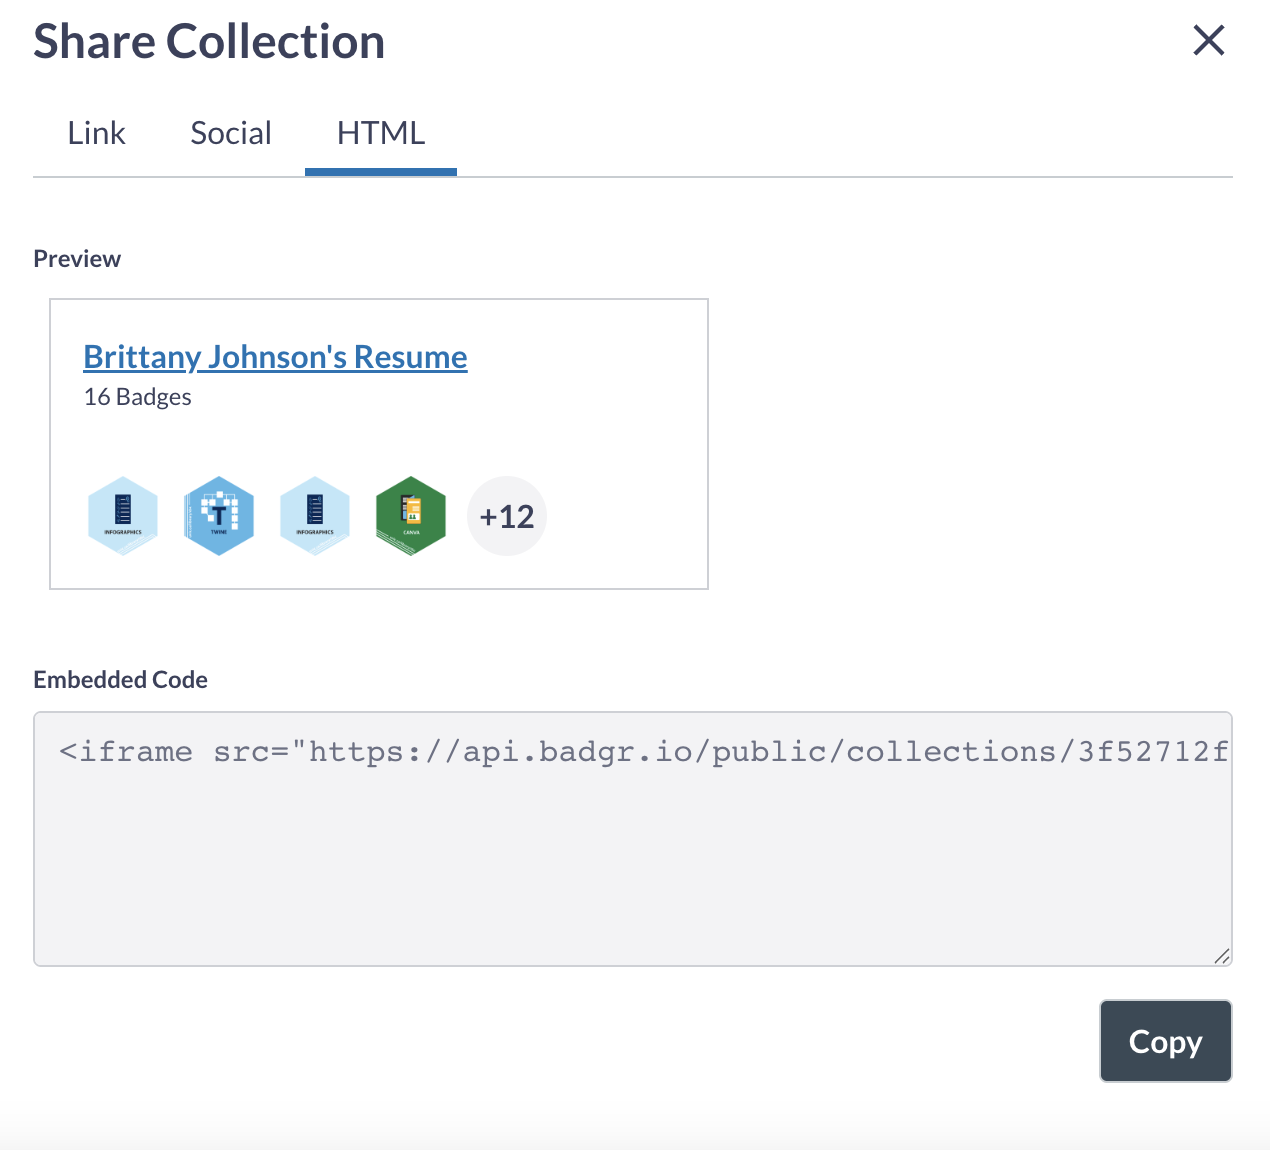
- You can also embed the code by clicking on the HTML tab and copying the embedded code.
Note: When you earn more badges, you can revisit the collection by selecting the collection and clicking Add Badges.
3. Extension Options
I. Bitly URL shortener for Resume (Note there is no need to do this for Wordpress, as you can embed the link and change the visible text, see Step 3 section III)
- Visit Bitly URL Shortener.
- Scroll down to where you see the shorten your link box.
- Paste your link from your badge collection URL (Step 1 of this activity).
- Next, click shorten.
- Bitly will auto generate a shortened URL. You can copy and paste this link onto your resume.
II. QR code maker
- Visit a QR code maker.
- Use the Bitly URL link, or the main link, and paste it into the text section of the generator.
- The QR code maker will auto generate a preview and you can save it by downloading it to your desktop as a JPEG file.
III. WordPress Embedding Links and QR codes (More information on WordPress posts here)
- Create new post by selecting the plus sign and toggle down to post.
- Paste your digital backpack URL.
- It will automatically try to embed the URL. Instead, at the bottom of the box that appears, click “convert to link”.
- To modify and shorten the visible text of the link, backspace all or some and replace the text with what you would like to be visible. For example, your name digital badges backpack.
- Note: make sure the text is still showing up green and that you did not remove the associated URL.
- Next, to add a QR code, select the plus sign within the post (right hand side).
- Click on the image tab.
- Upload your QR code JPEG image. Your QR code will now appear in your post and you can adjust the size and edit the image by using the tool box, when it is selected.
Received a badge on Brightspace
- You will receive a confirmation email. Login to the course on Brightspace, then select the badge.
- Next, share the badge. You can share your badge to your profile and to your eportfolio.
- At the bottom of the text box, you will see “Please provide the email address you use to login to Badgr Backpack. If you do not have a Badgr Backpack account, enter the email address you would like to use and follow the steps to register.” Fill out your email address (same as you used for your Badgr account).
- Now, you can visit your profile (top right corner) and you will see the badge located there, as well as on your eportfolio and Badgr account.
Done! Now you are able to share your digital badges through numerous platforms.